Then make some chisel path on each of these points. I use here Noise component to make a field of direction. The noise is a value between [-1, 1]. This value is transformed to an angle [0, 2*π]. A vector perpendicular to the normal is calculated using Cross Product, this vector is then rotated. Depending on the scale of your object you’ll have to adjust the scale of the noise. Knowing the point and the direction a line is done. https://www.food4rhino.com/app/4d-noise
First is that carving by hand does not leave smooth areas between the gouge cuts. There are only valleys and ridges. So if there is some way to evaluate the surface and make sure every smooth area is gouged in some degree it would bring a higher level of realism to the surface.
Second if you can introduce a wider parameter of random gouge depth it would also add realism to the surface.
Finally if you can produce 2 1/2 D relief carving that can be machined by a 3 axis CNC router in wood without undercuts I think you may have a really significant commercial application.
It seem possible to have some metrics that compare the heights of points between the initial and chiseled surface. So I imagine I will have points and sort of height of “default” and depending on that I’ll add some new chisel effects on these places.
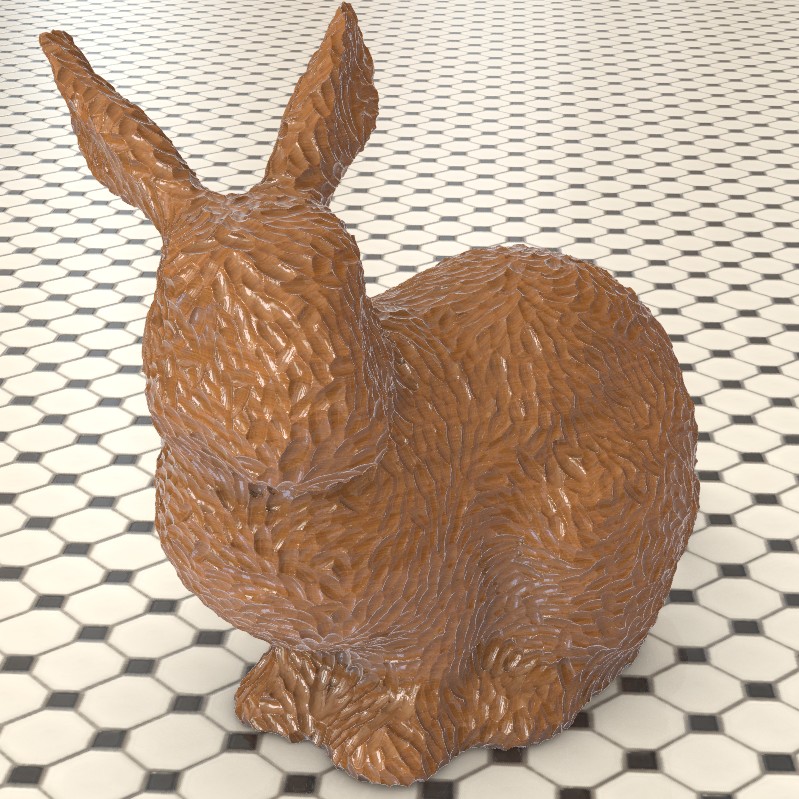
I tried to do that here, I also used a random generation that is less evenly spaced. More random here but also more “non chiseled” parts!
So if you can now amend this to use a rectangular block as a starting point and create a chiselling strategy that someone with a KUKA 6 axis robot can use we can all have a wooden Stamford Bunny!
Ok I understand, there are many ways to do that. But as the pattern is existing it is quite sure that the concavity will not be the result of an ellipsoid. Also the pattern is flat but with an ellipsoid it is not.
You could offset the curves in order to have the CNC paths.You could adapt the depth depending on the offset you use.
But surely better to use that
Muchas Gracias Laurent por compartir tuTrabajo-Codigo !
Realmente muy interesante.
No queria dejar pasar el tiempo, sin probarlo.( un par de imagenes)
Con algunas mallas,me dio bastante trabajo,
por algun motivo que desconozco, pero anduvo muy bien.
Gracias, pues se aprende bastante.
Nada facil, llegar a esa definicion.
Very nice pattern you’ve created. I’m very new to Grasshopper, just getting started with it. I’m trying to create a similar texture to be applied to a drawer front. I don’t understand how you take the texture from the spherical mesh and remap it to the desired mesh, like you did with the rabbit. Any guidance would be greatly appreciated!
Hello, I am quite new as well on GH. Could you please let me know how you did it? Which parameter I can play with to get this result (big crater effect). Or show me where is the example for this one ? I cannot find it on example mesh 2. Thanks