The first render is using the ground plane with the material Deep Water on GP.rmtl (514.1 KB) applied.
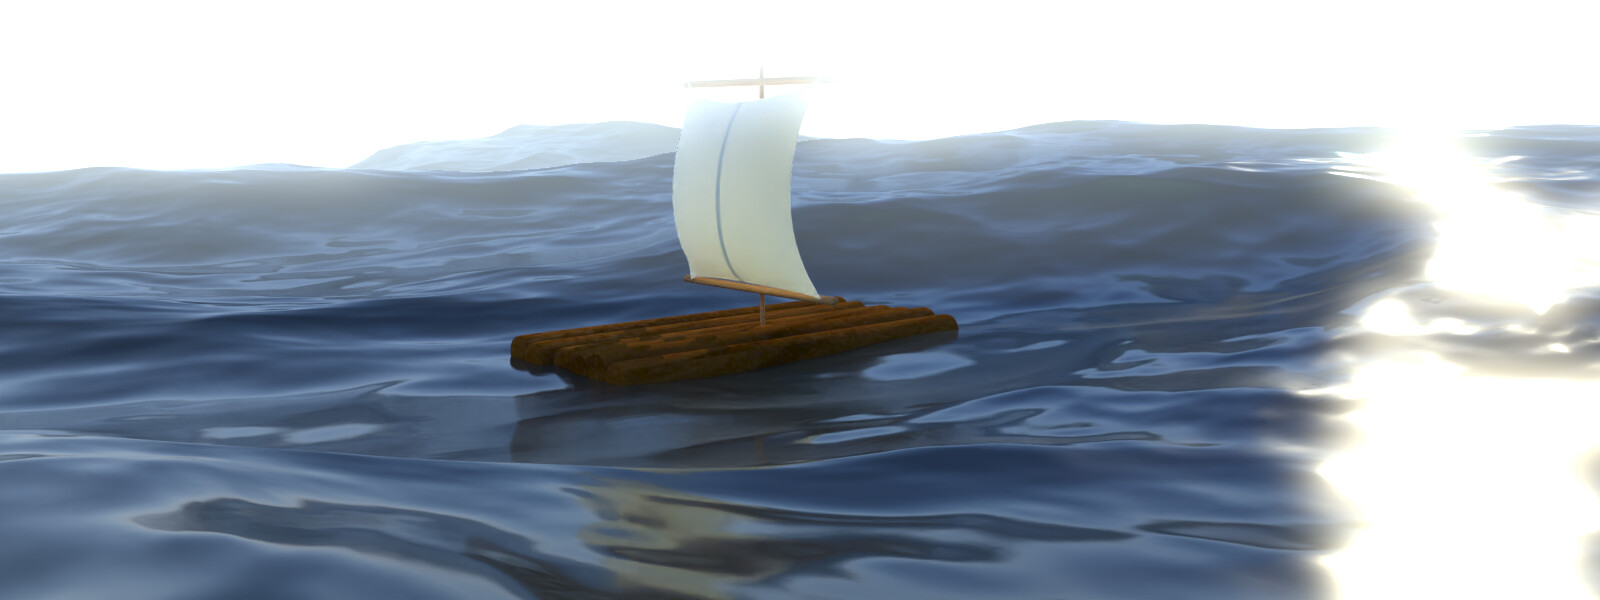
The second render is using a mesh created using the ocean modifier in Blender 2.91.0.
The raft is mainly subd cylinders to get quickly rounded edges. I applied the Brazilian Palm material from the Rhino library. Bamboo from the Rhino library was applied to the mast and booms. I was too lazy to do stays for the sail. The sail was created in Blender using a cloth modifier and wind force. The sail has a subsurface material on it. The logs of the raft are held together by an unknown magic.
I have worked hard on my water and sea surfaces and materials over the years since my main market is marine design. I have used everything from Flamingo to my latest effort TwinMotion. Along the way I have used Brazil, Octane, Keyshot, Thea and others that I have forgotten about. Lots of little tricks learned along the way and I was very proud of the presentation package I sent off to client late last night after a long day of tweaking the environment and material settings in TwinMotion and its nice one button link to Rhino. I started this project using Rhino7 eval for a 230’ LOA Offshore Supply Vessel conversion to an Expedition Yacht (Toyhauler). Awaiting approval from the owner for color scheme and thought I would have a go at the new raytraced preview mode (Cycles) in R7. Nathans post here and the download of his ‘Deep Water on GP’ material was soon tweaked into this stunning water surface which really show off the project in an industrial harbor setting. Stunning to me anyway in that it completes 1000 cycles on an aging GTX 1070 in a mere 36 seconds! This sort of quality at such a speed and the ease with which I can tweak the material for other locales is a godsend for my work. Thanks for all your efforts Nathan.
I just re-read the OP and saw the links to the very nice HDR and downloaded that to use for my Global Environment to come up with this result in just a few clicks. Thanks again Nathan. Now I just have to figure out how to apply a displacement channel to the water material to create a wake for the vessel!
I have upped the image size and increased the quality and am still getting just under 4 minutes for this image.
A simple ‘capture to clipboard’ to post here.
For that I’d use just a big plane (the ground plane is an insanely huge plane). That way you’ll have much more control over it and what you can do with it. The groundplane is a bit limited, you can’t for instance control the geometry density, which is something one would need for good displacement.
throw a little focal blur on that image and the realism will increase a bunch- It’s a little crisp against that backdrop which gives it a bit of an uncanny valley look… Also play with your skylight and sun settings to get the secondary soft shadows that will help too-
Kyle, what is a ‘valley look’? I’ve tried your suggestions and thanks for the suggestions. I am also using TwinMotion and Thea Render with this same model and comparing the results. Been a while since I did anything with Octane but may add that to the lineup just to cover all the bases. I’m hoping that the Rhino PBR materials now available in R7Cycles con render properly in either Thea or Octane without a lot of massaging the material assignments. TwinMotion has and option to convert Rhino materials into their own materials but I get lost in some of these material rabbit hole between softwares. Here is my last Thea render of that Expedition Yacht conversion.
uncanny valley is a phenomenon that is mostly applied to human forms, It happens when something is realistic but not quite realistic enough to be perceived as “really real”…
(tom hanks character in the polar express is a classic example)
It’s also referred to as “CGI looking” There is a big leap in lots of little subtleties between what you have here (which to be be clear is quite nice) and something like this (from artstation here: https://www.artstation.com/artwork/L2OL1K)
It’s mainly the softness of the shadows and the subtlety of the lighting.
There is nothing “wrong” with your work…I’m not bashing…Quite the opposite, you have an amazing model here and I’d encourage you to keep pushing the rendering to show it in it’s best possible light.
soft shadows, maybe warmer light (lower sun?) and some focal blur and bloom on the water would go far toward pushing this from very good to great!
You may even play with a brighter skylight, no sun , but a panel light instead at a long distance with a inverse squared falloff and a super high emitter value… that way you can control the color and shadow intensity as well as getting “nicer” light than the sun which tends to be quite harsh… Or even 100% environment lighting…
Thanks, now I recall reading about the ‘uncanny valley’ phenomenon. Just for the heck of it, I took the model that the last render was from using Thea and I had spent a good bit of time converting most of the material to Thea materials from their ‘online repository’ and switched back to Cycles and was surprised to see very little change in the look. I added some of the Cycles depth of field blurring as you suggested and think I may have climbed out of the ‘valley’ to some extent. What do you think?
Well, I thought I was using the actual render button and settings in the Rhino tab but I hadn’t switched back the default render engine from Thea to Rhino. I did that and found that all the color assignments had not come through but found it odd that some color was restored by switching to Legacy Rhino render. I switched back to Thea render in the render pull down and tried it again and the Cycles window pops up but is apparently reading the Thea materials. I was still able to try some of the post render goodies as well as the contrast/brightness controls which let me tone done the harshness that you mention. I actually turned off the Rhino sun and let the lighting come from the universal HDRI. I know it is a real mashup of rendering tools but not bad considering that I get a lot of post editing tools. Tweak, test and repeat for sure!
Now I am just confusing myself straddling the fence between Thea and the post editing features in Cycles but am getting a look I like. I do like the way my Q&D crew downloads from SketchFab are rendering with only a single material file to keep things simple.