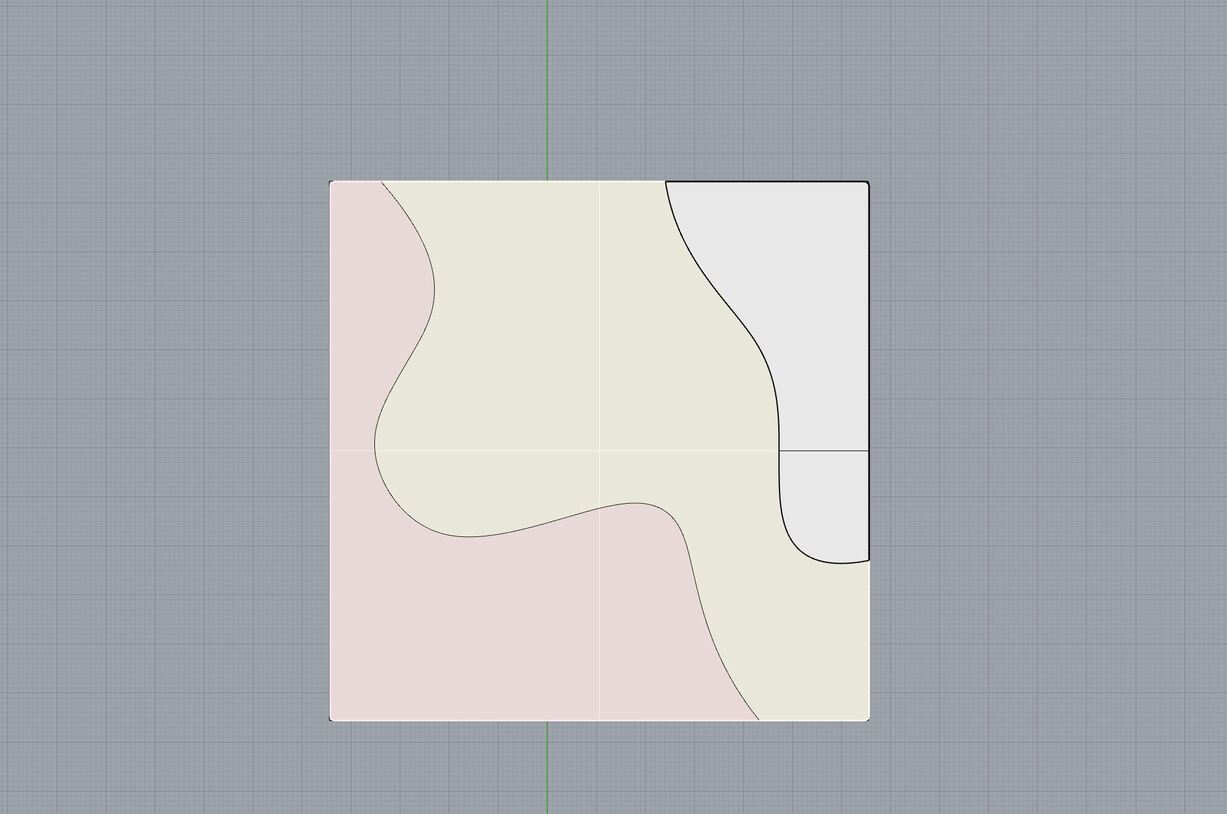
However, when I try to blend srf the three subsurfaces back together (each with their own displacement map texture) the polysurface suddently just adopts one of the textures. The three parts are no longer three different textures but one texture spread out over the original square tile. Is this multiple displacement maps within one closed object not possible in rhino? If an object is a closed object it can only have one displacement map texture?
The reason I wanted to join them back up was because I wanted it to be a closed object ready for 3d printing. The idea was that it would be one object with different levels of texture in different areas. Some areas would see a very pronounced displacement map with higher levels of displacement whereas other areas would see a more subdued version of the texture. A gradient of texture of sorts!
Is there another way of achieving this effect? Like smoothing out a displacement map texture in selected areas of geometry? Maybe something similar to the idea behind the sel brush paint command in which you can do a brush stroke selection of control points to then manipulate?
yep, apply your displacement on them as separate surfaces.
then extractrendermesh which makes your displacement “real”
then join the mesh bits up into one closed mesh and do any repair with show edges and fill mesh holes. verify it’s closed and then export as an stl to your printer of choice.
I was able to apply a clean displacement map (with smooth clean edges) using the ctrl + shift selection on all three surfaces. I then did as you said and extracted the render mesh from all three parts. However, when I try to join them all up into one closed mesh I keep running into problems. I ran the fill mesh holes command and it still doesn’t seem to close up the mesh. The mesh appears as an open mesh and has over 200 naked edges.
I have been told other mesh editing software is better for this kind of work. Is there any point even trying to join these up in rhino at this point, given the level of naked edges and holes I am dealing with? Am I better off switching to something like blender or Zbrush to do the final closing up of the mesh at this stage? I am thinking of looking at Zbrush for the next stage of the project.
So this goes to kind of what I was pointing out about the aspect called UV mapping. To get the true type of control that you’re looking for it isn’t just about selecting the geometry and applying the displacement map. Rhino does have quite a few UV mapping tools and capabilities which you might want to start to take a look at. Below is a video from Brian over at Rhino that does a great job of explaining what is involved with this process.
While what you’re currently working on is a pretty basic shape, once you starting going down the route of using more complex shapes that aren’t just “X and Y” you’ll need UV mapping to help.
Again you might want to this about this as being a two stage process. Like how you might use Photoshop, Illustrator, and In-Design together to create a graphics. You might use Rhino, zBrush, and Blender together to achieve the results needed. So for example you might create the design initially in Rhino and UV map it…then take into zBrush and do the displacement and finish it off with doing some particles/liquids in Blender.
As mentioned before, Rhino is going to bottle neck on the file size, the geometry type, and the ability to really fix the model to make it ready for 3D printing. No need to paddle up stream, against the current, with no paddle…
I’m not sure the the video from Brian about the UV mapping tools loaded on the message, could you please share again?
Also thank you so much for the recounting of the various stages (And softwares) that are part of the 3d modeling journey! I have a lynda.com membership and I have found there is a great zbrush for beginners tutorial on there so I will start that within the next week! Onto the next!
I have tried the matchmeshedge command and that doesn’t seem to work either. I think I am going to try and continue this in a more mesh editing focused software!