Thanks
*

Tests Video :…https://youtu.be/2e69s3xTb1E
Greetings
…
can you post your wire frame?
Hello
Thanks for your reply,
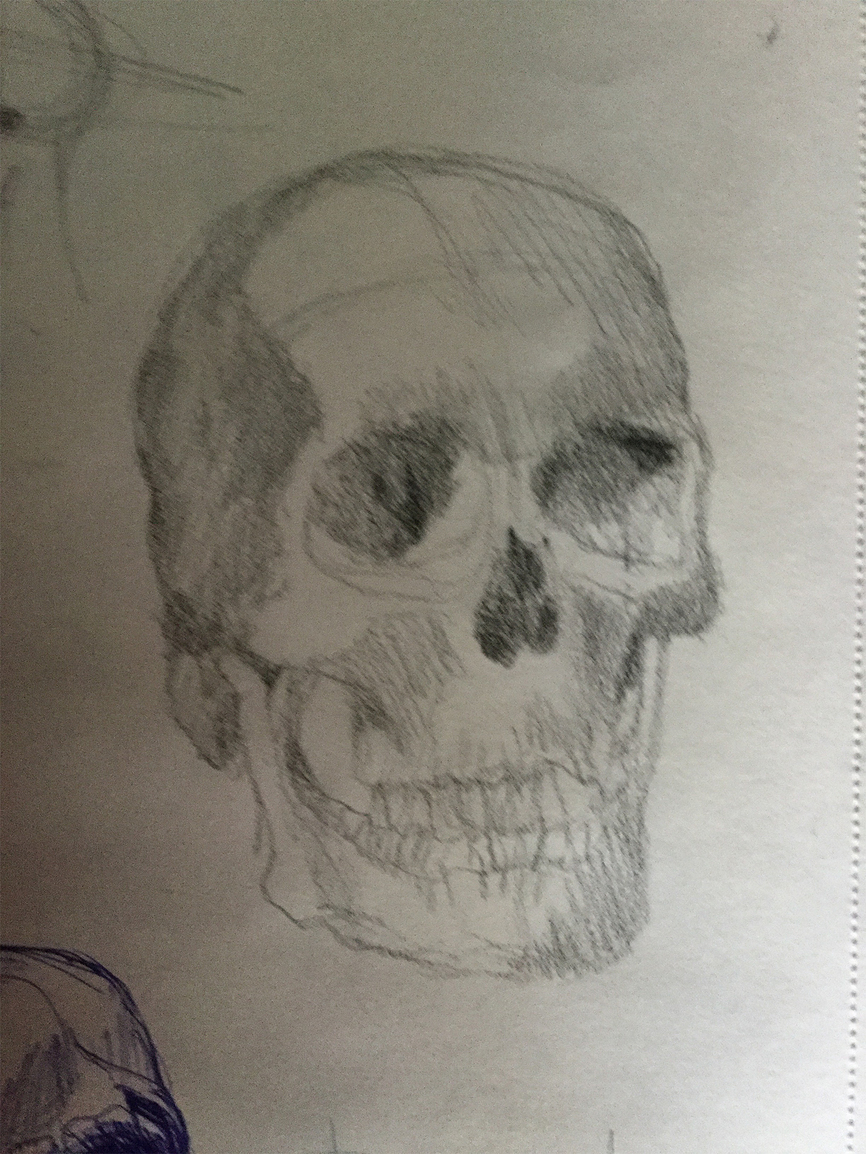
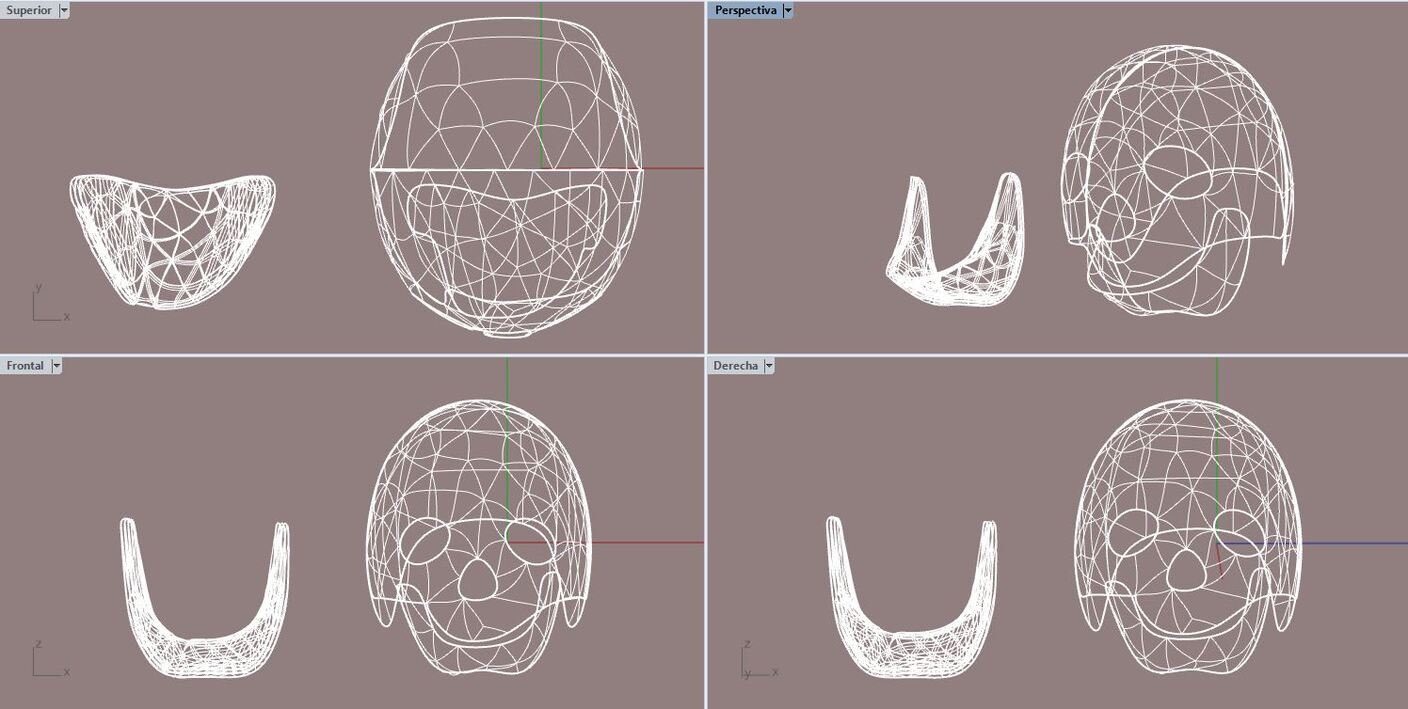
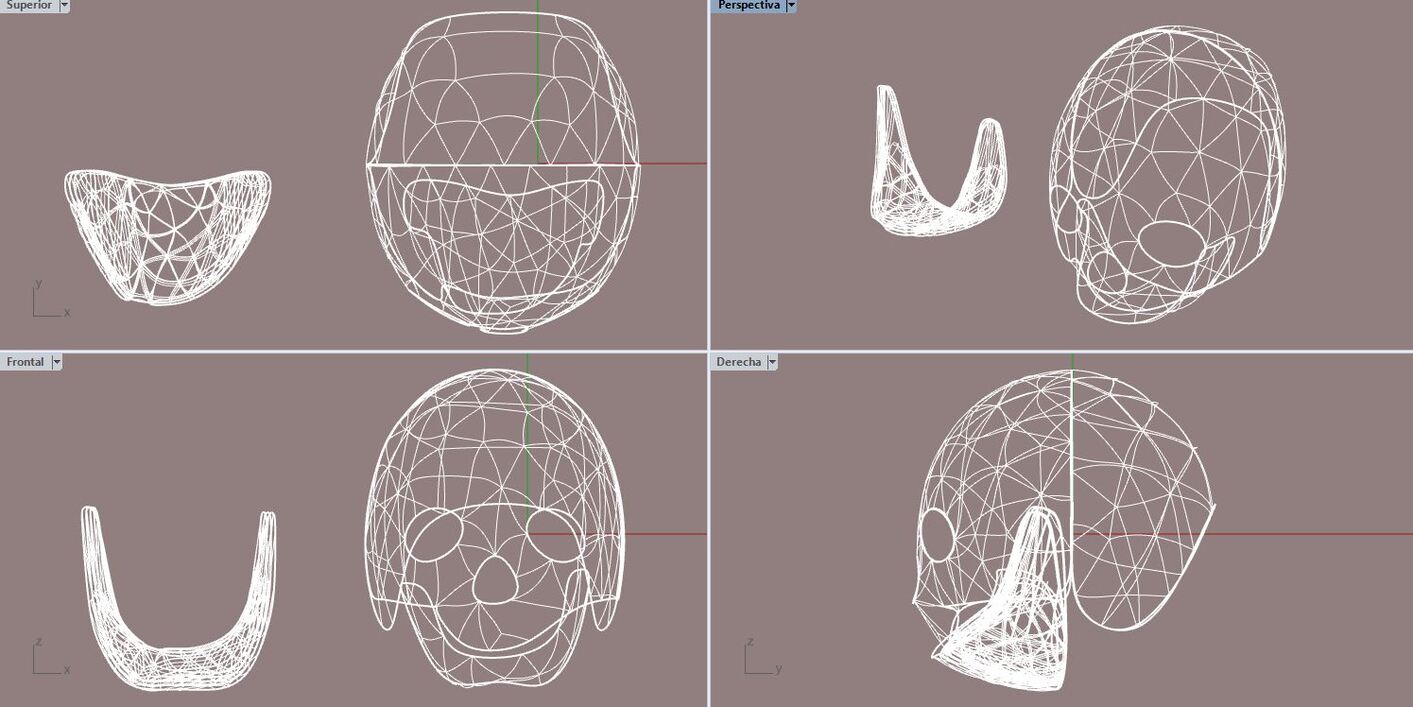
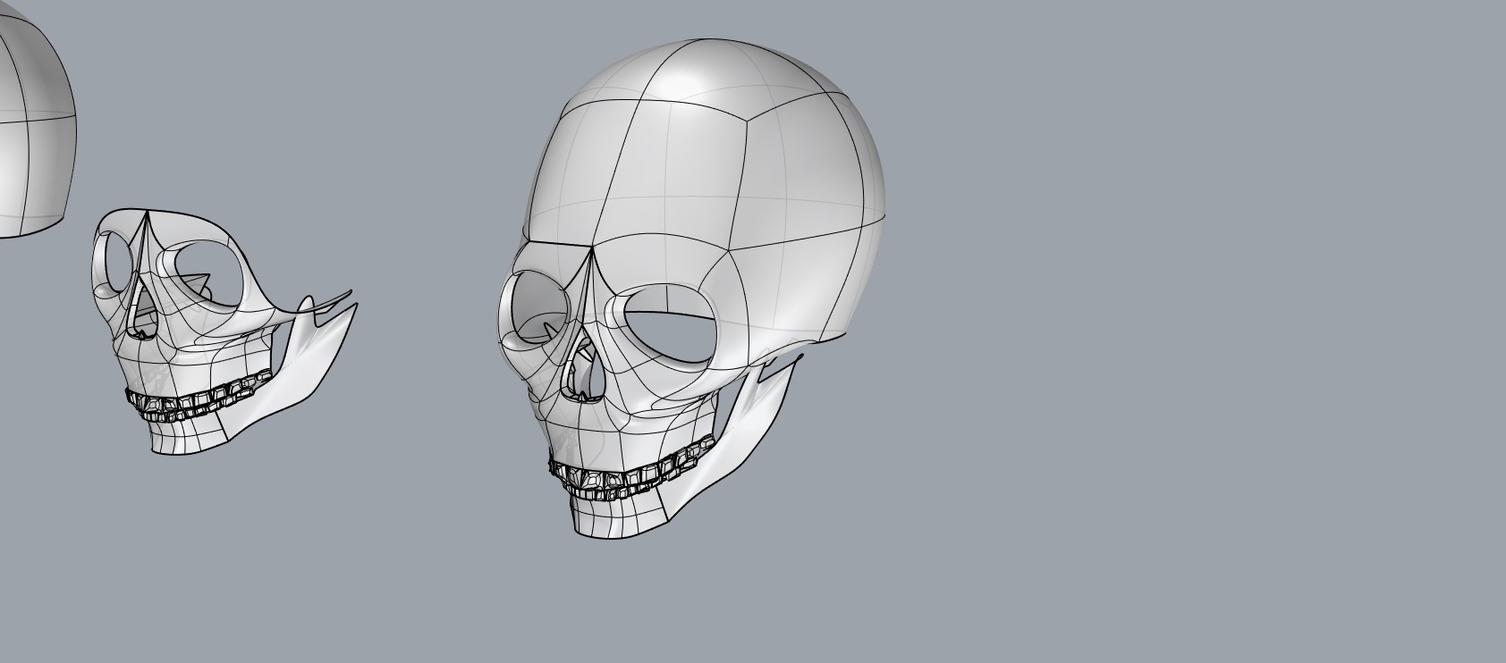
Here is the wireframe.
** Honestly, I still think I’m learning to model with that new Tool, and then sometimes I think I still have a chaotic Process, ---- going from Mesh to SubD and from there to Poly again and back to SubD sometimes, which I finally have so many options, I don’t even know which part is which, and I select the best one, and I try to follow what I like the most.
(Sure, I have SubD layers, another Poly, and another mesh).
Because it looks like this in the video, I’m not sure apply several steps, back and forth … haha.
I would really love to come back to this, when I have more free time,
because it is interesting when one approaches the real model.
(I don’t like anything even that wireframe / nothing real yet,
but it was very fast)
—Imagine, the “hand” sketch is part of a Facial Anatomy course for artists, --years ago–
and I still like it much more! (It’s mine, of course)-----.
…I see a clown on the wireframe, not a skull
interesting… how did you get to that mesh with all those triangles? I’d aim for quads where ever possible
Nice challenge Kyle…thank you for posting.
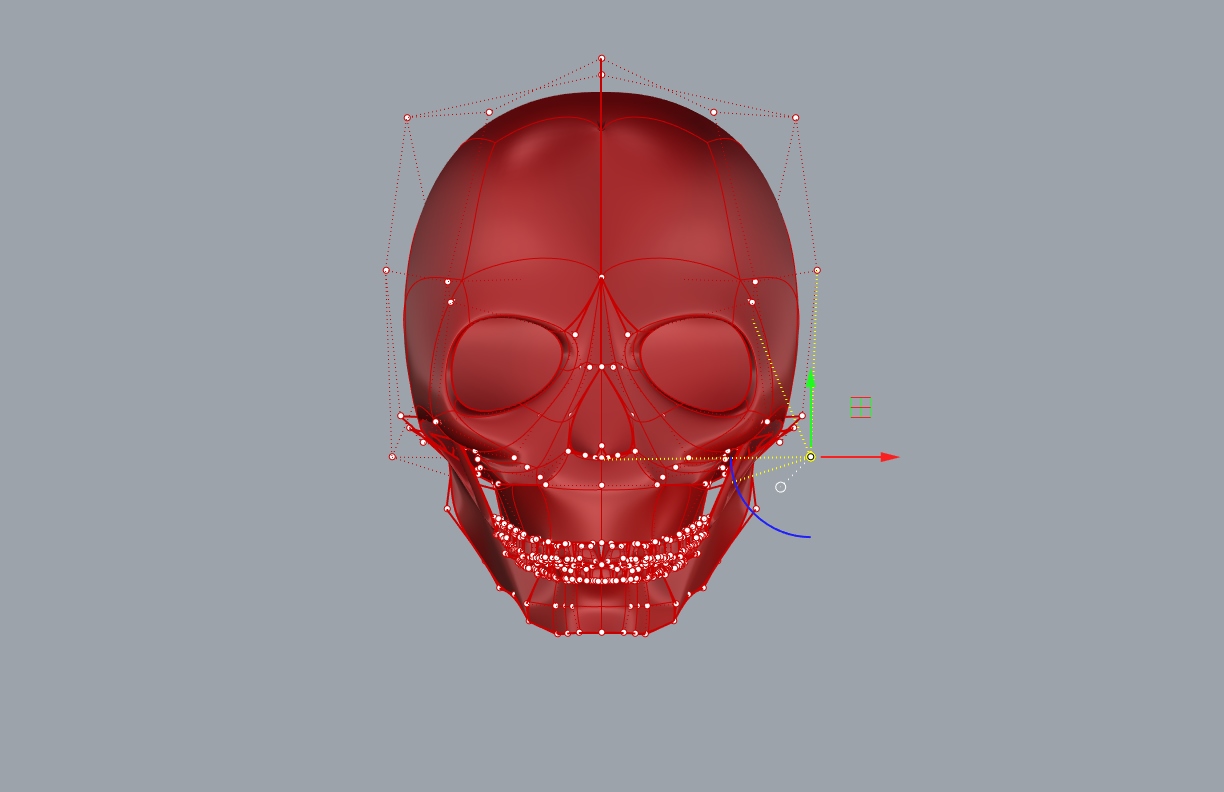
Biggest frustration was doing tweaks using control points. I don’t know if I’m seeing a bug possibly with the reflect command or just bad modeling on my part. The top of the skull (dome) I originally created using a ball primitive (minimal surfaces) and modifying for the head. Late in the model, an area of the head towards the front would crease when I moved a control point at the jaw and throw off certain surfaces where vertex meet, which would require deleting a face and reworking. Anyway, maybe someone else has had this problem.
Good stuff:
Tool notes/annoyances:
Might be helpful to have:
Started off the skull as sphere primitive.
The annoying point at the top of the head was a battle I lost…I would fix it, and it would reappear.
The vertex at the top of the skull seemed to flip into a different state at some point when moving control points in another area of the model.
Moving control point connected to jaw
Original model on left, model on right filtered through Quadremesh. Point on top of head less noticeable on Remesh.
Teeth detail…started with quad surfaces and hacked away…extrude, rotate, delete surfaces
Quadremesh left to right. Original, Target Quad Count: 500, 200 and 100. Noted that the Quadremesh picked up the point on the top of the head at 100. The resulting Remesh of the original is not exactly symmetrical if looked at closely.
The original Sub_D model on left has a weird top of head…this seems to have flipped on it’s own after moving a control point.
nice!! I think the point on the head is a result of an unwanted crease, or a point that needs to be stitched. You can crease a single point, and I believe that is what I am seeing. There are some tools that crease by default (and I’m trying to get that changed) so you may want to occasionally select all and uncrease to make sure they are gone, unless you specifically want them.
Typically I do not use creases, but use a tight bevel instead to get a “corner”
However you covered a LOT of ground here and hopefully gained a better understanding of how to make a very complex model like this.
>> you generally can select and delete a point as needed, it just creates an ngon<<
Awesome feedback, thanks for trying this and for your comments!!
Hey Kyle, thanks for your feedback. I’ll go through it and clarify points if needed. Yes, this exercise was very helpul in getting further up to speed with Sub_D.
Here’s a solution I tried with the crease created at the top of the skull. Prior to doing this, no matter how I tried removing the crease, the resultant model had a crease in a different area. But, even this method generates an unexpected crease on the left side above the eye socket.
Apologies if too much info…want to make it clear as possible. The results of the Join command continue to feel a bit random.
Haven’t used the “Join” command yet, just positioned parts.
Using command Join: (Sub_DJoinedEdges=Smooth) – crease created above left eye socket, but not above right eye socket.
So, I backed up and tried the Join command again and got different results. And with selecting the area just below the eye sockets and above and “Remove Creases” command it appears correct.
Appears correct after using “Remove Creases” command.
progress in all areas!
nice- thanks for sharing that.
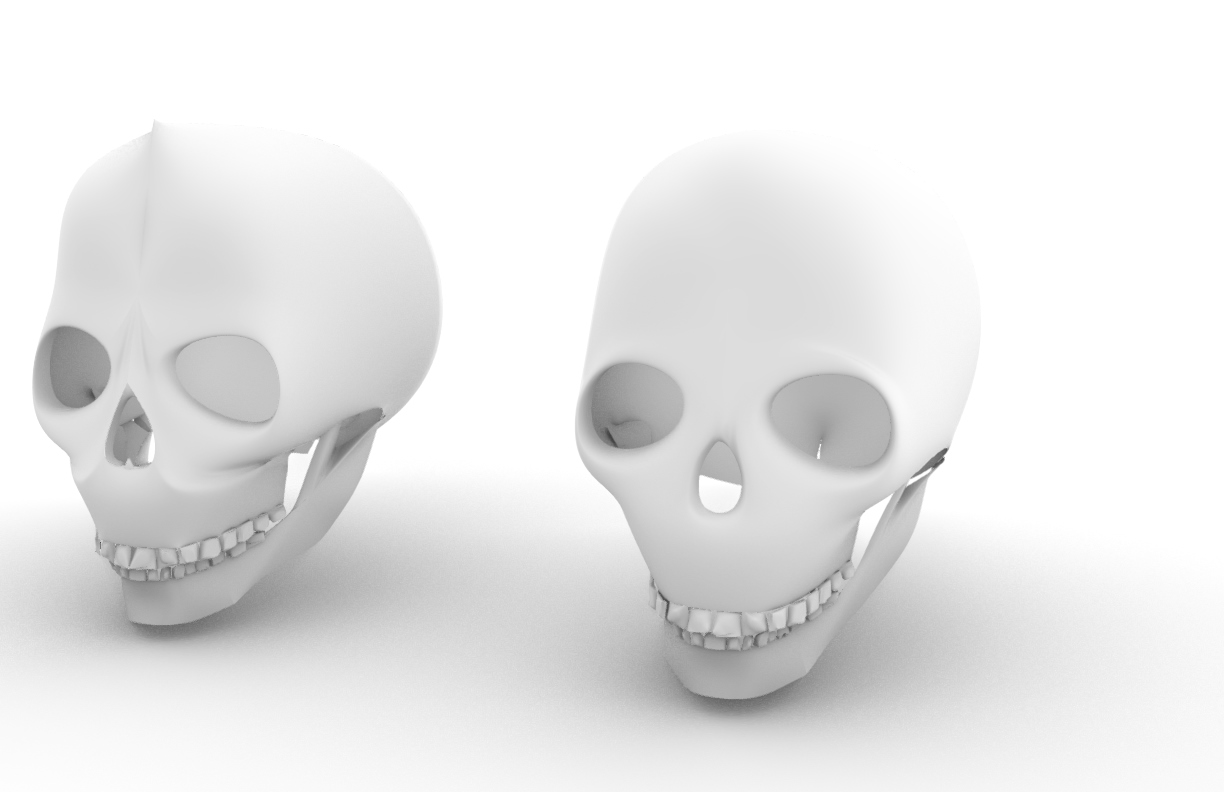
OK, so I am a lit late to the party, but here is my contribution.
Edit: The thoughts behind the rendering:
I consider every rendering a portrait and try to find the personality of the object so it can be portrayed in a good context. To me a scull is dramatic and deserved a dramatic stage lighting, thus lit from above with a soft spotlight. And being an icon of life and death I though a close to black background would do it justice. The materials are plasticy with color reference to real life, but I didn’t want to go closer to reality since the model it self isn’t of a higher detail level. And since a scull references life and death, mystery and stories only partly told, I descided to put it on a stick to slightly tell a story of this being presented in one way or an other, for the viewer to reflect upon.
Oh, and it is rendered in Raytraced mode, just viewcaptured after 1000 iterations. Lit with one box with emission turned on and the environment sat to 0.2.
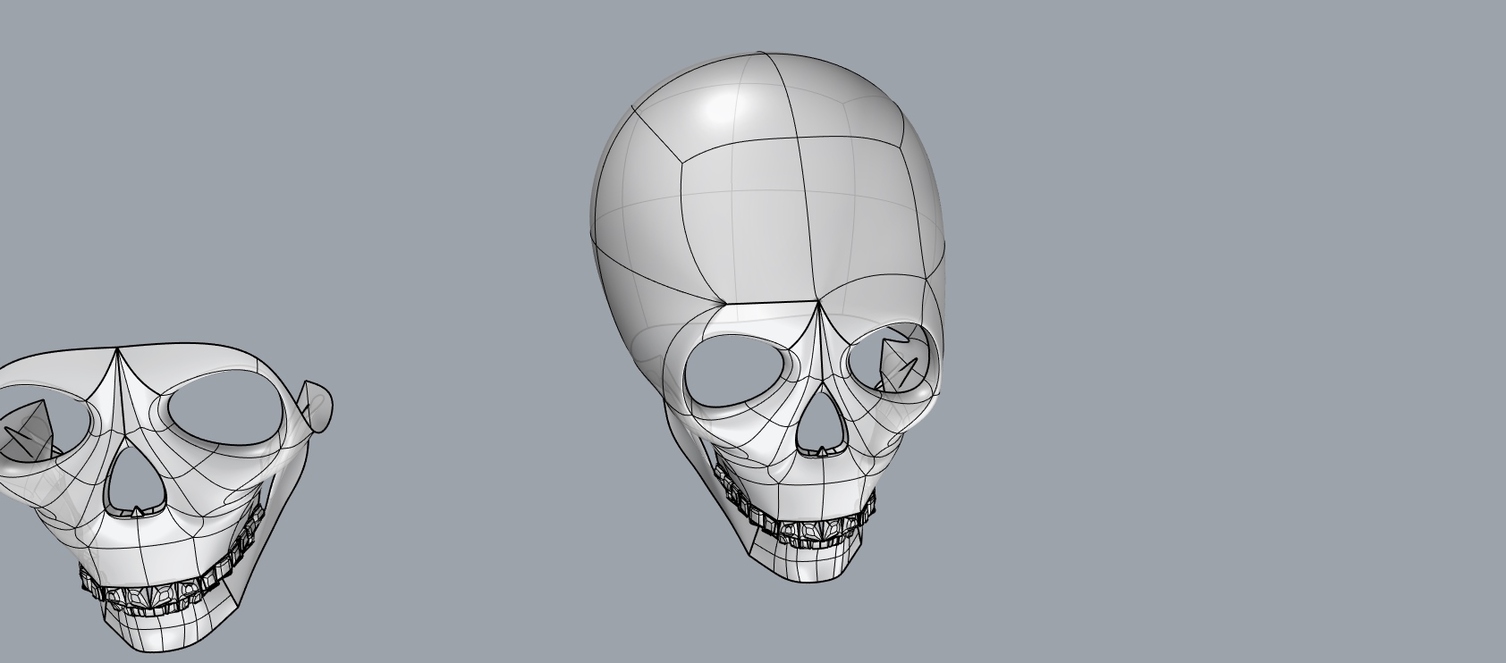
And here in Arctic with the wires on:
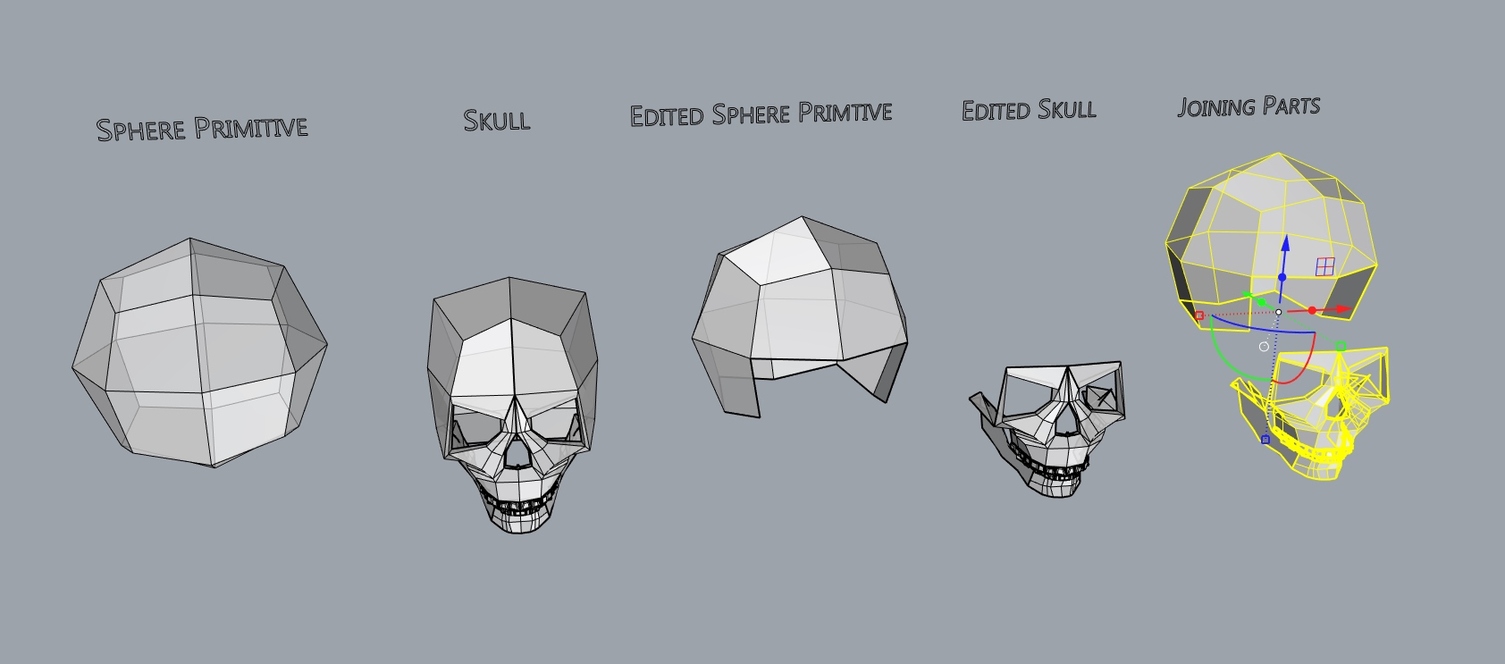
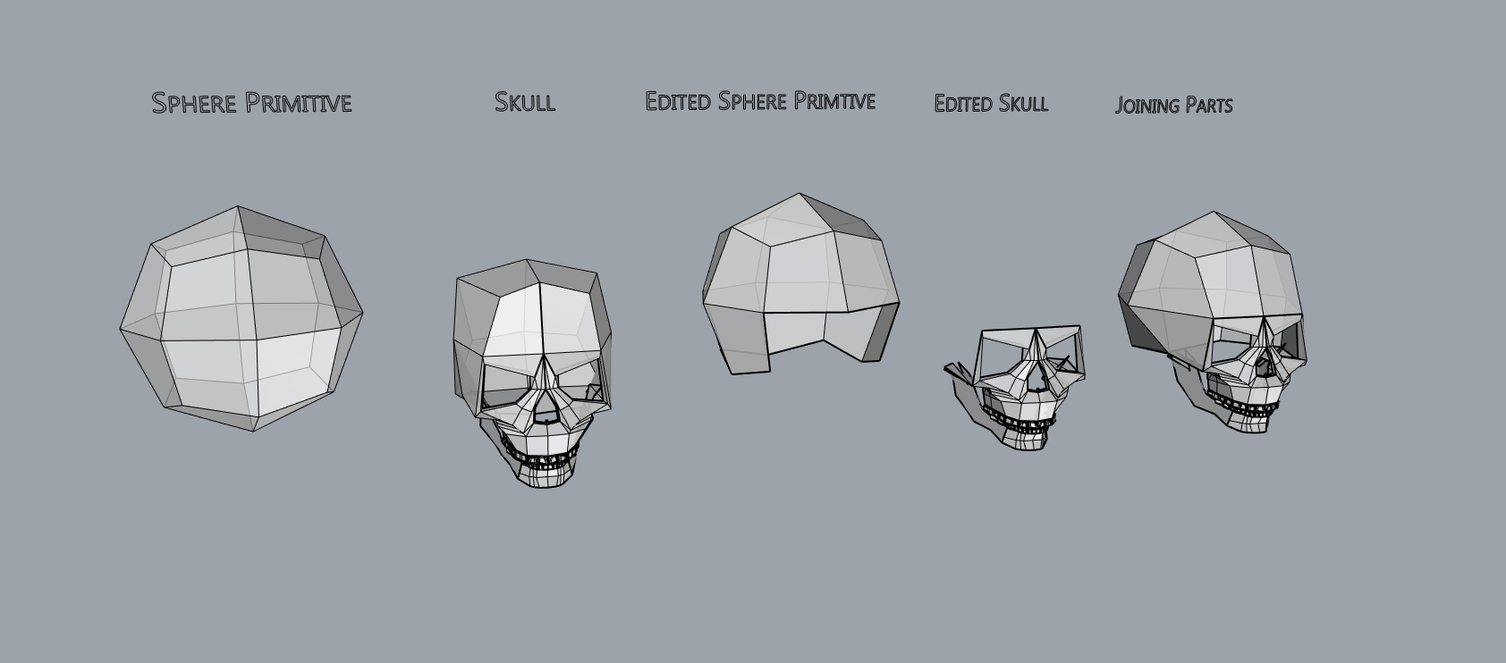
And of course the rough mesh:
As you can see there are many things that could have benefited from more tweaking, but I put a time limit on the build so this is as far as I came in three hours. (You can clearly see in wireframe that the chin is off, but it doesn’t look too bad in smooth mode) My motto for modelling is the same as for nurbs, if the controlpoints are nicely distributed the result looks best AND is easiest to tweak.
I started modelling the eye socket and then worked out from that, then the nose cavity, stiched that to they eye socet, then part of the back head, then the “gum” for the teeth, the bone bridge that the jaw rest against and then stiched all that together. Added teeth and made a mirror of that for the jaw, hid the head part and deleted lots of faces and completed the jaw. Then I reflected the parts. I prefer modelling one side and then just do mirrors to have a look at the whole, and delete those as I go along.
Hope you like it.
Well done!!
Now, let’s all just think for a second…
Before 7 came out, how would you have done this and ended up with a nurbs result?
Can we agree 7 is shaping up to be pretty cool?
Sure we can argue over this and that, and will for ever…that’s what nerds do. But…I’ve been doing this a Looong time (30+ years now) and when I see a program add things that allow me to do things I couldn’t do before I get pretty stoked.
This is not to diminish the work left to do, but cmon folks! Skulls!! In rhino!! And you can boop them to a nurbs model!! Is this not cool af?!
I hope you all are having as much fun as I am!
Thanks for sharing, and for your feedback, keep it coming!
I couldn’t agree more! This was a good challenge too and SubD modelling on this level requires a bit of experience, but is not that difficult either. One just needs to take baby steps and imagine where the shape needs to change direction. And then tweak until it looks good. (And for that good references (from images or even other models) are cruzial!) I usually google for “blueprints” and go for a good image of a front + side and set that up in 3D)
There are many small wishes I have for modelling, and will adress these as I go along, but for now I am exploring what you already have added.
And as you say, this is cool as flipp, doing a nurbs scull in V6 is not something I would take on bedridden with a bad back… (That’s why I did this challenge today, on a sunny Saturday… what else could I do that would make more sense?)
Here’s a quick small gold’n’gem version.
@jdhill I think this in crystal with dispersion could look cool, but I would need some master help to set it up right. I’ll send you the model if you can assist 
Sure, I’d love to play with that model. In the current public version I am only enabling dispersion for the Gem material, when it is set to diamond (and though you can use dispersion in the IPR (viewport) solver, you’d want to use a production solver for a final image). Some dispersion in the ruby eyes, and some subtle roughness/bump mapping in the gold, and the backdrop, could probably be good.
Here is one using gold (at first I missed that you meant to do the whole skull in crystal), which was done with my current code, and uses bella materials directly, with some bump & roughness mapping:
And here is a crystal one (jpeg, because the 16-bit png is about 15mb), using just the auto-translated materials in the current public release:
I’ll p.m. you the modified model so you can take a look.
Awsome, that really pops out! Seeing the internal difractions in the scull adds subtle levels of details that just makes me want to look at the image longer.
Thanks for doing that!
I’ve been playing with Bella here and it’s shaping up to be gooooood.