I have this mesh surface model of a cliff and I am trying to make this surface into a NURBS or polysurface that I could boolean into or edit into and make cuts and changes to. I would also like my shapes and lines to snap to the surface which it does not currently do. All I can currently do is select individual boxes that make up the mesh. (sorry for my lack of correct terminology), picture attached below.
I used the MeshtoNurbs command and the object took around 6-8 hours to convert into a Nurbs surface, even then, the file was extremely large and when I went to conduct any kind of boolean or other command to it, I could only select the individual meshes and surfaces that made up the entire thing, such as these:
I want to be able to make this a water tight cliff geometry that I can dig into or edit into, what would be the best practices to achieve this, I also tried QuadRemesh and converted to SubD but I find that that alters the geometry, however maybe I am not entering the correct settings.
I have attached the model as well, any help or process on how to make this cliff an entire editable object that I can manipulate and snap to would be life-saving and I would achieve my goal.
There is a fundamental difference between mesh and nurbs topology, and you should be able to justify why you need nurbs topology for a project.
Generating a nurbs surface from mesh (or pointcloud) arbitrarily can resulted in a massive wasted effort, not to mention a compromise in the results. A nurbs surface will NEVER reproduce the same level of detail present in a mesh.
If you have mesh or point data, and there is no specific need for nurbs topology (ie. a downstream process that requires nurbs such as some CNC, CFD or FEA applications) you should NEVER convert it to nurbs.
Rhino is great software in a general sense, but if if you are using Rhino’s nurbs tools for a result that you could (should?) be using a mesh for, then you should consider a different tool or workflow that can work with the meshes to produce the results you want. MeshtoNurbs will make a massive file, that will take much longer to work with and you are not gaining any advantage for a result.
Presumably you are using MeshtoNurbs because the other tools like Quad Remesh / Subd and the ToNurbs will interpolate the results (ie. smooth out details you want to keep).
I’ll definitely check this out again, when I get a min.
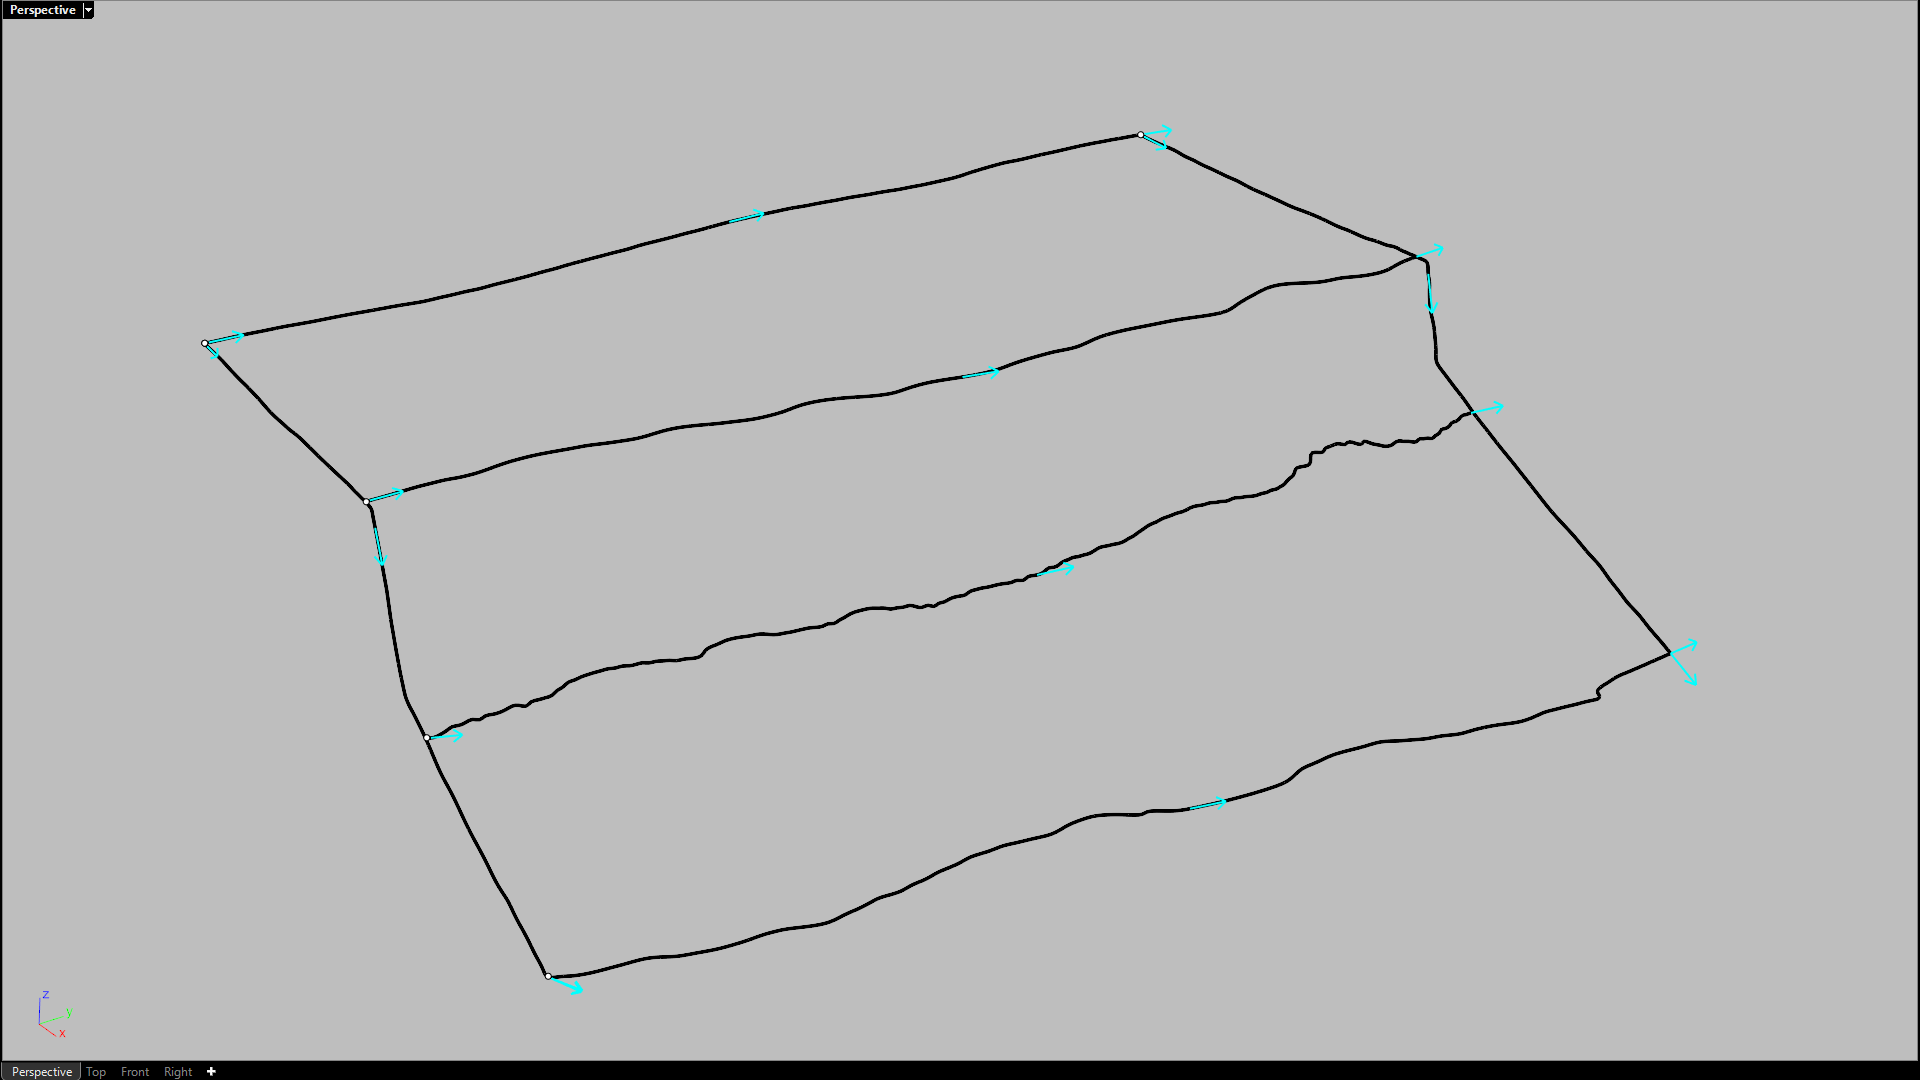
Here’s a quad remesh, but honestly might be better to just use the original mesh and pull a curve network to it and go straight to nurbs via netwrksrf.
On this type of geometry you might get faster results just using ‘section’ or ‘contours’ lol, but there’s still minute details that will pop out better the way I’m doing it I think, which is kinda why I do it this way.
I wonder if I make the original mesh more uniform, if the pull action will work better…
There are Mesh equivalents of numerous Rhino commands such as MeshTrim, MeshBooleanDifference, etc. and many allow operations involving both meshes and NURBS surfaces/polysurfaces. Edit mesh objects | Rhino 3-D modeling
MeshToNURB creates a separate NURBS surface for each mesh face and joins the surfaces into a polysurface. It does not reverse engineer the surface. The results of MeshToNURB are occasionally useful but generally it should be avoided.
Press and hold the Ctrl key and hover the mouse over the Osnap control.
PersistentOnMesh (POnMesh)
Snap to and track along a selected mesh until the command completes.
To access this object snap on the Osnap control
Press and hold the Ctrl key and hover the mouse over the Osnap control.
I find it useful to Contour or Section a mesh to create a polyline through the mesh, or
MeshIntersect a surface or polysurface with a mesh to create a polyline of intersection. MeshIntersect | Rhino 3-D modeling