I kindly ask for some help to “restore” good quality into raytraced mode… I guess I tweaked something and it looks awful now (i thought it was linear mode and gamma)… but I think there is somehtimng else…because even the texture is terrible. (cycles render on the left… cycles raytraced on the right)
the issue persists—when using raytraced mode, I see a ‘striped pattern’ where there should be a smooth gradient light falloff. In rendered mode, after applying a Gamma correction, it looks fine, but this fix is no good in raytraced mode.
The viewport has lower bitresolution than the Rhino render window. There is nothing you can do. You’ll have to use the Rhino render window result you get from the _Render command.
If you are in “Raytraced” mode, and you turn OFF ‘Gamma’ and ‘Linear Workflow’, also try to change viewport as follows:
Raytraced → Shaded → Raytraced
Sometimes, the Raytrace render queue never actually implements a change “live” and I find those two options are regularly never updated. From your image, it looks like even though you turned the pair of options off; they are still active, often a symptom of the Render queue never actually updating.
It’s not a guaranteed fix, and unlikely to help you, but it’s always worth a proper viewport refresh. I’ve not seen a render recently with that striping recently where it isn’t gamma and linear workflow ruining the render, especially when they are low lighting.
I think I understand this odd behavior now… but I still believe there’s are bugs or something that should be addressed. All the screenshots were rendered using “raytraced/Cycles”.
It seems that in this dark scene—where the only light source was an object with an emitter material—the expected smooth gradient was replaced by an awful striped pattern (no matter if gamma was turn on or off). Once I added the skylight, the issue disappeared. Nonetheless I don’t think this should be the behavior, as the actual Render in Cycles is actually capable of solving the scene correctly.
Additionally, as David mentioned, gamma and linear workflow settings were not updating live and seemed to remain active in some way. Strangely, enabling both gamma and linear workflow in the render options appears to negatively affect only raytraced mode. but not the actual render
Finally, I encountered some very disturbing renders, where the displacement of the materials became completely crazy—just from activating the gamma and linear values (nothing tweaked from the material or the object itself)
I hope these observations help improve Rhino in future releases.
Regarding your displacement, you can see the discussion here:
but more importantly, here:
Essentially, I think it is a bug that the gamma function acts on a the non-colour channel (displacement) in the PBR maps. Most PBRs come with a displacement map. If you want displacement, then you need to move the map out of the PBR channel, and into the actual Rhino Displacement map area; independent of the material.
Regardless, always make sure that the PBR has no displacement map if you want gamma and linear workflow to be switchable.
Gamma
Going against the norm, my recommendation for gamma and linear workflow… turn them both off, and leave them off. For everything.
They cause so many problems, and as we now both observe, the render queue is clearly not updating them “live” reliably. This way madness lies, as I have seen multiple instances where people are making lighting, material, and other adjustments, only for the entire process to be undermined by gamma & linear workflow (the banding you see here, for example).
My suggestion is to make sure that the raw render is always as “pure” as you can get it without the additional colour management of gamma & linear workflow infecting what you can see.
The implementation of Filmic in Rhino Cycles is also good for these types of scenes as a control, and while it does sometimes act a little extreme; doesn’t just bin up massive ranges of greyscales into the dark bands you see.
You can also probably use Photoshop (if you have it) and make colour adjustments on the raw render using OCIO management profiles, which are far more flexible.
If you don’t have Photoshop, then I can also recommend GIMP (which does have colour management) with the G’MIC extension, which has endless ways of doing colour transforms (not OCIO), and even film simulations.
bella
I know you are also a bella renderer user. bella will do OCIO natively, and you can load whatever profiles you need into it as you see fit. It also has lists of film simulation tone mappings.
Me? Aspiring to find the time to be a Bella Renderer User . Haven’t really used it much yet though. To be honest I think I need a better CPU (hopefully the business case arises for that sooner than later )
Wow! The displacement issues in those other discussions are crazy. Thanks, @David53, for pointing those out as well.
I also believe there is a bug with raytraced mode. As mentioned before, the actual render command delivers an acceptable result in Cycles, but the interactive raytraced mode is now unreliable with all these issues. I tried turning off displacement maps in the materials and applying them directly to the objects instead, but the banding still appears in raytraced mode no matter what I do.
Speaking of displacement, I’ve found that the best results come from applying the displacement map directly to the object itself. However, the PBR workflow with displacement in the material should work in Rhino too. As discussed in other threads, many PBR materials come with displacement maps by default, and using them in the material setup could speed up workflow. In my case, I can easily toggle displacement maps on or off for each material, but that’s only because my scenes are very simple.
@keithscadservices – I’m the Bella user here! (Well, still learning.) I really like Bella—give it a try!
That said, Cycles is also great, especially in terms of speed. And I think that 80% of situations I’ll be still on native Rhino Render… that is why I was expecting raytraced to be more friendly rtoday…
I already told you that it is due to the viewport. RhinoCycles creates exactly the same results for Rhino Render and Raytraced, but the viewport has not enough resolution to show that properly. I cannot improve that - the framebuffer bit resolution needs to be increased to 32 bit.
To get out the non-banding results use _Render with Rhino Render.
Additionally, changing PBR materials with displacement while Raytraced is running doesn’t work, that is a known issue. You have to toggle the Raytraced mode. Material changes include making changes to gamma settings.
To be honest I don’t understand mapping channels currently - I have to do some reading. In my example I just used displacement without a texture. I’ll experiment with the mapping channel however.
I’ve ran into some performance issues that I might be able to avoid with this method (mapping with a custom object versus using displacement to shape my object).
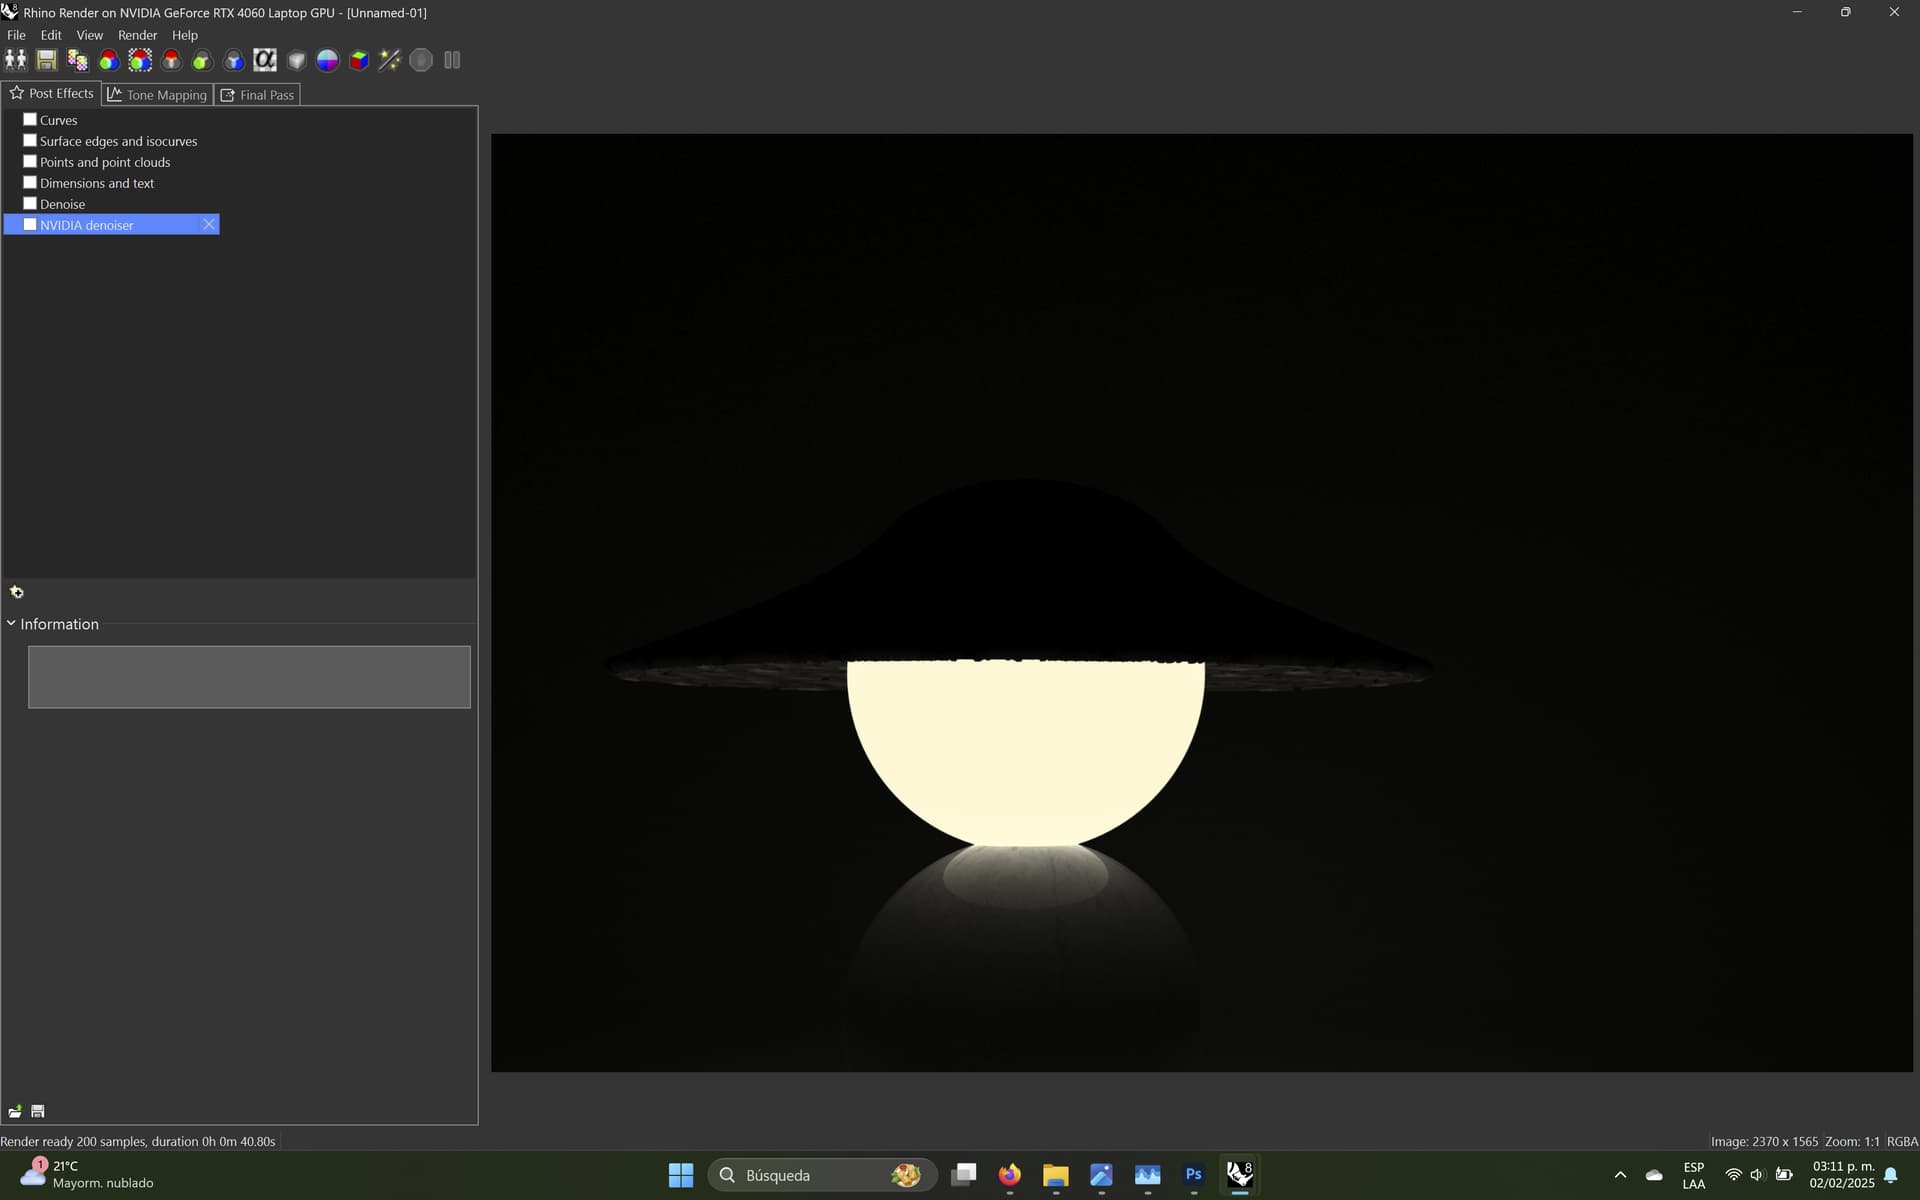
I have found in the past that the denoiser also does not deal well with smoothly varying backgrounds. We can demonstrate this to some extent in viewport:
Got to be careful here, as you can end up dealing with monitor effects (hardware) rather than what other should see. I checked here that what I was seeing translated to another device (my OLED phone display, for example). Indeed, the striping effect is there in the first, absent in the second.
You may also help yourself here by going to a sample count of towards 1000. It may help stop the agression of the denoiser.
Thank you, @nathanletwory, for the explanation! But I think I now understand the problem, and I’m not sure if it has to do with color depth at all.
I’ve been trying to replicate the banding in overly lit scenes—with no success. So I don’t know if color depth was really the issue. But I did notice that the problem became evident the moment the denoiser kicked in (around the 10th pass). That’s when I realized—the denoiser is very bad at interpreting dark areas in the render, and that’s what created those extreme multicolor bands.
So the solution is simply to turn off the denoiser. I hadn’t identified it before, but the raw render also had some banding. However, in this specific scene, the Gamma in the Final Pass did a good job in combination with the denoiser almost hidding the bands—unlike what happened in raytraced mode.
Aaanyway, thank you all for the follow-up!
(So, for the wishlist, I’m not sure if this is a frame buffer bit depth issue or if the denoiser itself needs a different approach. Both the default denoiser and Nvidia’s produced almost the same banding.)
thank you very much… it took me some time to me to figure out that too!! (and also the hardware specific things… I even though that the issue was gone this morning but it was just the brightness change in my monitor… once I dialed it up… I saw the bands again)…
I also have to mention that I also realize now that JPGs sharing in the forum was not helping to comunicate the problem… adding to the difference in the hardware of ech of us (screens and monitors)…and the compression of the uploaded Jpgs… the quality I was seeing in my PNG screenshots are not the same as the what looks in some of the uploaded JPGS.
Finally. about the banding (including the one that you shared)… I’m starting to think too that the effect is (negatively) enhanced becouse the perceptual illusions explained by Josef Albers…