Dear Rhino Whisperers,
I’ve done the texture mapping tutorials with the chair and secateurs so many times I now know the script better than the Lord’s Prayer. Perhaps it would help to learn the Lord’s Prayer.
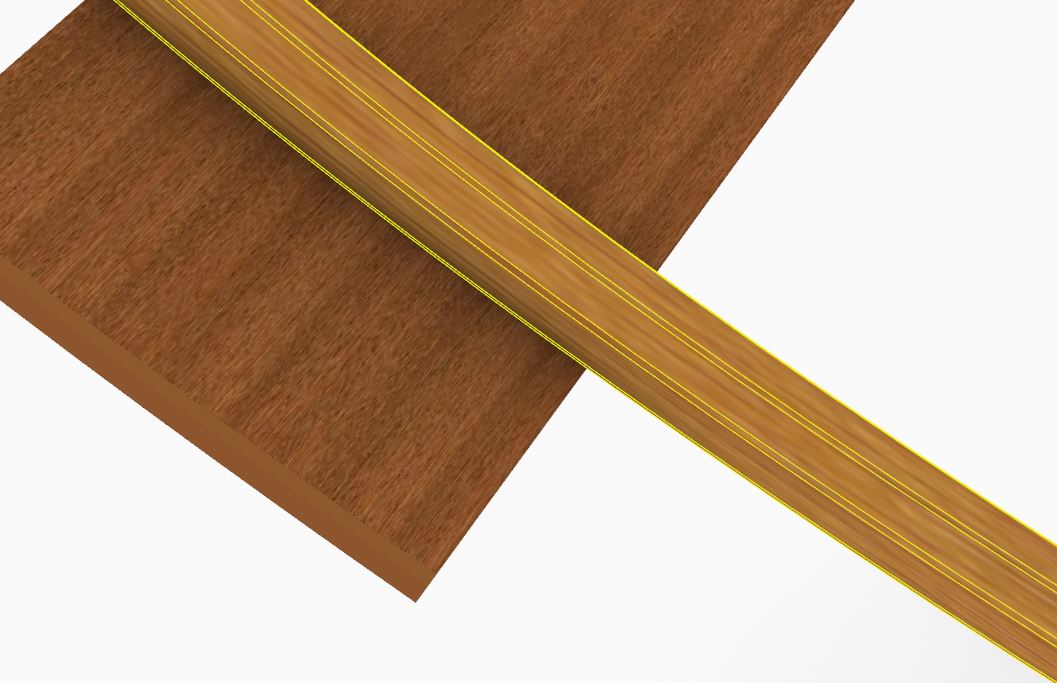
I’m trying to unwrap this surface (a steamed oak frame) and apply the material to it in UV editor. It all looks very nice and sexy, then when I _apply it all goes mushy and not at all scaled as the preview indicated.
I think I’m using Custom Object correctly and the right channel.
Although I’m playing in WIP V7, I was having similar issues in V6. Do I have an antiquated brain trying to operate modern technology?
Any help greatly appreciated.


Rhino 7 SR0 2020-2-4 (Public Build, 7.0.20035.14285, Git hash:master @ 513036f72aa841452537291975b8781c9a897bd7)
License type: Commercial, build 2020-02-04
License details: Cloud Zoo. In use by: Giles ()
Expires on: 2020-03-20
Windows 10.0 SR0.0 or greater (Physical RAM: 32Gb)
Machine name: DESKTOP-87GA217
Non-hybrid graphics.
Primary display and OpenGL: NVIDIA GeForce GTX 1050 Ti (NVidia) Memory: 4GB, Driver date: 3-16-2018 (M-D-Y). OpenGL Ver: 4.6.0 NVIDIA 391.25
Secondary graphics devices.
Intel(R) HD Graphics 630 (Intel) Memory: 1GB, Driver date: 2-28-2018 (M-D-Y).
OpenGL Settings
Safe mode: Off
Use accelerated hardware modes: On
Redraw scene when viewports are exposed: On
Anti-alias mode: 4x
Mip Map Filtering: Linear
Anisotropic Filtering Mode: Height
Vendor Name: NVIDIA Corporation
Render version: 4.6
Shading Language: 4.60 NVIDIA
Driver Date: 3-16-2018
Driver Version: 23.21.13.9125
Maximum Texture size: 32768 x 32768
Z-Buffer depth: 24 bits
Maximum Viewport size: 32768 x 32768
Total Video Memory: 4 GB
Rhino plugins
C:\Program Files\Rhino 7 WIP\Plug-ins\SolidTools.rhp “SolidTools”
C:\Program Files\Rhino 7 WIP\Plug-ins\Commands.rhp “Commands” 7.0.20035.14285
C:\Program Files\Rhino 7 WIP\Plug-ins\WebBrowser.rhp “WebBrowser”
C:\Program Files\Rhino 7 WIP\Plug-ins\rdk.rhp “Renderer Development Kit”
C:\Program Files\Rhino 7 WIP\Plug-ins\RhinoScript.rhp “RhinoScript”
C:\Program Files\Rhino 7 WIP\Plug-ins\IdleProcessor.rhp “IdleProcessor”
C:\Program Files\Rhino 7 WIP\Plug-ins\RhinoRenderCycles.rhp “Rhino Render” 7.0.20035.14285
C:\Program Files\Rhino 7 WIP\Plug-ins\RhinoRender.rhp “Legacy Rhino Render”
C:\Program Files\Rhino 7 WIP\Plug-ins\rdk_etoui.rhp “RDK_EtoUI” 7.0.20035.14285
C:\Program Files\Rhino 7 WIP\Plug-ins\rdk_ui.rhp “Renderer Development Kit UI”
C:\Program Files\Rhino 7 WIP\Plug-ins\NamedSnapshots.rhp “Snapshots”
C:\Program Files\Rhino 7 WIP\Plug-ins\Alerter.rhp “Alerter”
C:\Program Files\Rhino 7 WIP\Plug-ins\RhinoCycles.rhp “RhinoCycles” 7.0.20035.14285
C:\Program Files\Rhino 7 WIP\Plug-ins\Toolbars\Toolbars.rhp “Toolbars” 7.0.20035.14285
C:\Program Files\Rhino 7 WIP\Plug-ins\3dxrhino.rhp “3Dconnexion 3D Mouse”
C:\Program Files\Rhino 7 WIP\Plug-ins\Displacement.rhp “Displacement”
C:\Program Files\Rhino 7 WIP\Plug-ins\RhinoLabsTools.rhp “Rhino Labs Tools”
C:\Program Files\Rhino 7 WIP\Plug-ins\import_ZPR.rhp “ZCorp Import”
C:\Program Files\Rhino 7 WIP\Plug-ins\export_ZPR.rhp “ZCorp Export”
C:\Program Files\Rhino 7 WIP\Plug-ins\digitize_MicroScribe.rhp “MicroScribe Digitizer”
