Because I have to subtract the inward surfaces upward so the weird shaped part can set down into the weird shaped cavity without encountering interference.
Here you go (attached).
The objective is to tool-cut the ‘blob’ vertically up through the truncated cone.
Start the cut at the base cavity (what you inquired about was the start point), and cut upwards.
All interfering surfaces should be cut by the blob where the blob touches the cavity walls.
The blob needs to vertically slide down into the cavity when done.
I was going to try to do the cut in in 0.1mm increments, but it was too much work.
I had trouble creating good profile loops (intersect btw plane and blob).
I wanted to establish a method before trying to automate it in GH (I’m a novice @ GH!).
Thanx… UVR8h.3dm (19.4 MB)
then with some use of BlendCrv to skip over the ugly bits, you can eventually end up with a reasonably clean silhouette curve in the right location. It will take some work.
That, in theory could be extruded up through the box and with some trimming etc could get the cavity you want - I’d be inclined to try to simplify this curve - eliminate the more extreme wiggle, then expand it slightly outward - Scale2dmight be ok in this case if it is just a little - to give a bit of clearance so the fit can be other than 100% perfect. But you shape is so convoluted, I hesitate to say this will work the first timer
Excellent…was wondering if and how I could do that!
Thanx, I’ll give it a try.
Update:
Looking good.
Only thing is, my R6 controls are lacking a few options.
I assume your controls are for R7, right?
Are any of them in R6 updates?
If not, what method would you use to make a curve along the polysurface?
Thanx. I tried Silhouette and it didn’t create curves around the DraftAngle perimeters.
Any other ideas?
I don’t mind manually creating splines, but don’t know how to do it on a polysurface.
Surely such a thing regularly happens when doing RE work Rhino?
UPDATE:
I was going to try sketching on the mesh that was used to create the surface, so imported it and tried but failed.
Then I thought to use SketchOnSurface. It worked, but it makes nasty looking curves. When editing it (BlendCrv, etc.), it detached from the surface, so the cutting extrusion surface didn’t make the correct cut. So it seems I need to just create a SketchOnSurface the best I can and then extrude>cut so it’s correct. It’ll look like junk, so it’ll have to be cleaned up somehow. I wonder how clean the curve>cut would be the way you did it? Doesn’t look too ‘nice’!
Hello- I made a curve in V7 - it has a lot of locations where I simplified/smoothed the shape… I might be inclined to rebuild it at say 500 points or so to clean it up further but it may be a start.
_Silhouette works in V6. Make sure you are viewing the model in the pull direction in a viewport with parallel projection. So for this model, just run _Silhouette in the Top viewport.
After the curves are generated, work in the same viewport to determine what needs to be deleted and trimmed away.
I tried to attach the part, but it was too big.
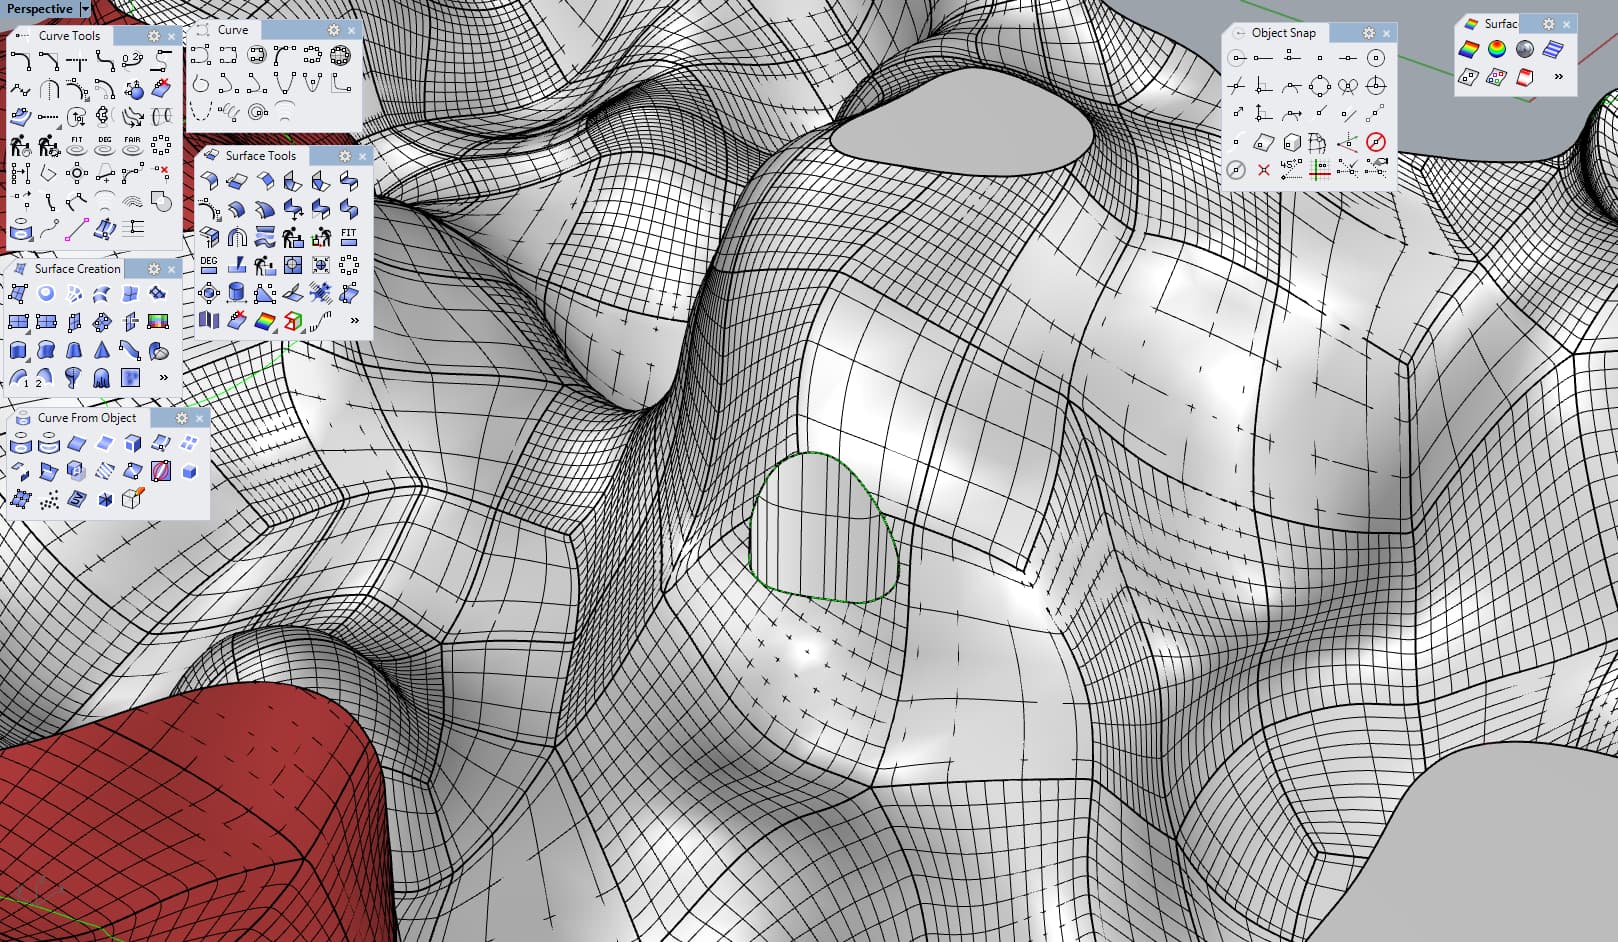
Anyway, I did one small patch the way you guys suggested to see how it works.
Came out good.
Here’s a screencap of the area I did: