This seems like an appropriate question here:
Where does Rhino keep .ini files? Would be nice to simply drag a bunch of the .ini files and drag them to that folder. (I found the shader folder, but assuming that’s a whole separate thing.)
Thx
Alan
I have no idea about that, but I think that some of the developers could help with figuring out that.
I’m curuous why is not possible to import multiple display modes simultaneously. Importing them one by one is sluggish.
I love the look of your view port styles. Can you kindly share the viewport files?
Thank you so much for the files and the quick reply!
I highly recommend these two scripts. ![]() The “Set cycle modes” script (activated with the right mouse button) gives you the ability to open a vertical list with all the available display modes and then choose which ones of them will be switched by the other script.
The “Set cycle modes” script (activated with the right mouse button) gives you the ability to open a vertical list with all the available display modes and then choose which ones of them will be switched by the other script.
Cycle display modes (this is assigned to the left mouse button in my Rhino):
CycleDisplayModes.py (1.4 KB)
Set cycle modes (this is assigned to the right mouse button in my Rhino):
SetCycleModes.py (2.4 KB)
I use the following icon:
![]()

i usually click on the ‘tiny’ arrow next to the viewport title (perspective or whatever) and it’s easy to miss… good workaround
FYI, you can actually just right-context-click anywhere in the viewport (may be nec to not have anything selected, can’t remember) and the same window will pop up as when you click the “tiny arrow”.
You can also right-click the viewport title for that window.
Just options.
Ah yeah thanks. That is helpful
Not in Rhino 7. Works only in Rhino 8.
There is one thing to improve here. When I hold the RMB, it will show a “waiting” icon next to the mouse pointer, which is not pretty. I suggest to remove that extra icon entirely. ![]()

I’m on it. ![]()
I’m in Rhino 7 and this happens after I click with the right click mouse button.

it’s an option, on by default, that you can find here:

cheers ![]()
Hi @Rhino_Bulgaria ! I wonder if there is any option to batch import all the displaymodes at once instead of importing one by one?
As far as I know, there is no way to import a bunch of display modes at once. I made such a request recently and it was officially added by the developers to the list of features to be considered for a future release (after unknown time, or maybe never). Cheers!
I’m aware of that, but the circle waiting icon is very distracting for those who want to use the RMB context menu. ![]() There is no purpose to show it for a brief second, only to be replaced by the list icon a moment later.
There is no purpose to show it for a brief second, only to be replaced by the list icon a moment later.
I made 3 new display modes that differ very little from each other.
“Badass 1” and “Badass 2” are nearly identical, except that the latter has a slight dark tint at the bottom of the objects. “Badass 3” uses shadows, but that also reduced its contrast.
Badass 1.rar (1.1 MB)

Badass 2.rar (1.1 MB)

Badass 3.rar (1.1 MB)

In order to avoid losing of contrast and still have strong shadows, you can apply the _SetObjectDisplayMode command to the desired objects and choose either “Badass 1” or “Badass 2”, and then switch to any display mode with enabled shadows. Here are two examples:

This is a slightly modified version of Shaded 5 called Shaded 5 Ultra. I also made a second version called Shaded 5 Ultra 2, which has a blue fill colour when clipping plane is used. There are 4 differences:
- The clipping plane fill colour is set to yellow (Shaded 5 Ultra) or blue (Shaded 5 Ultra 2);
- The border of the cross section is 2 pixels wide (down from 3 pixels in Shaded 5);
- Selected objects sliced by the clipping plane are fully visible in wireframe (using the selection colour, which is yellow by default);
- The background colour is set to RGB 157, 163, 170.
Shaded 5 Ultra.rar (8.6 KB)
Here is a direct comparison between Shaded 5 and Shaded 5 Ultra:
Shaded 5 (selected object):

Shaded 5 Ultra (selected object):

Shaded 5 (no selected object):

Shaded 5 Ultra (no selected object):

Shaded 5:

Shaded 5 Ultra:

Shaded 5 Ultra 2:

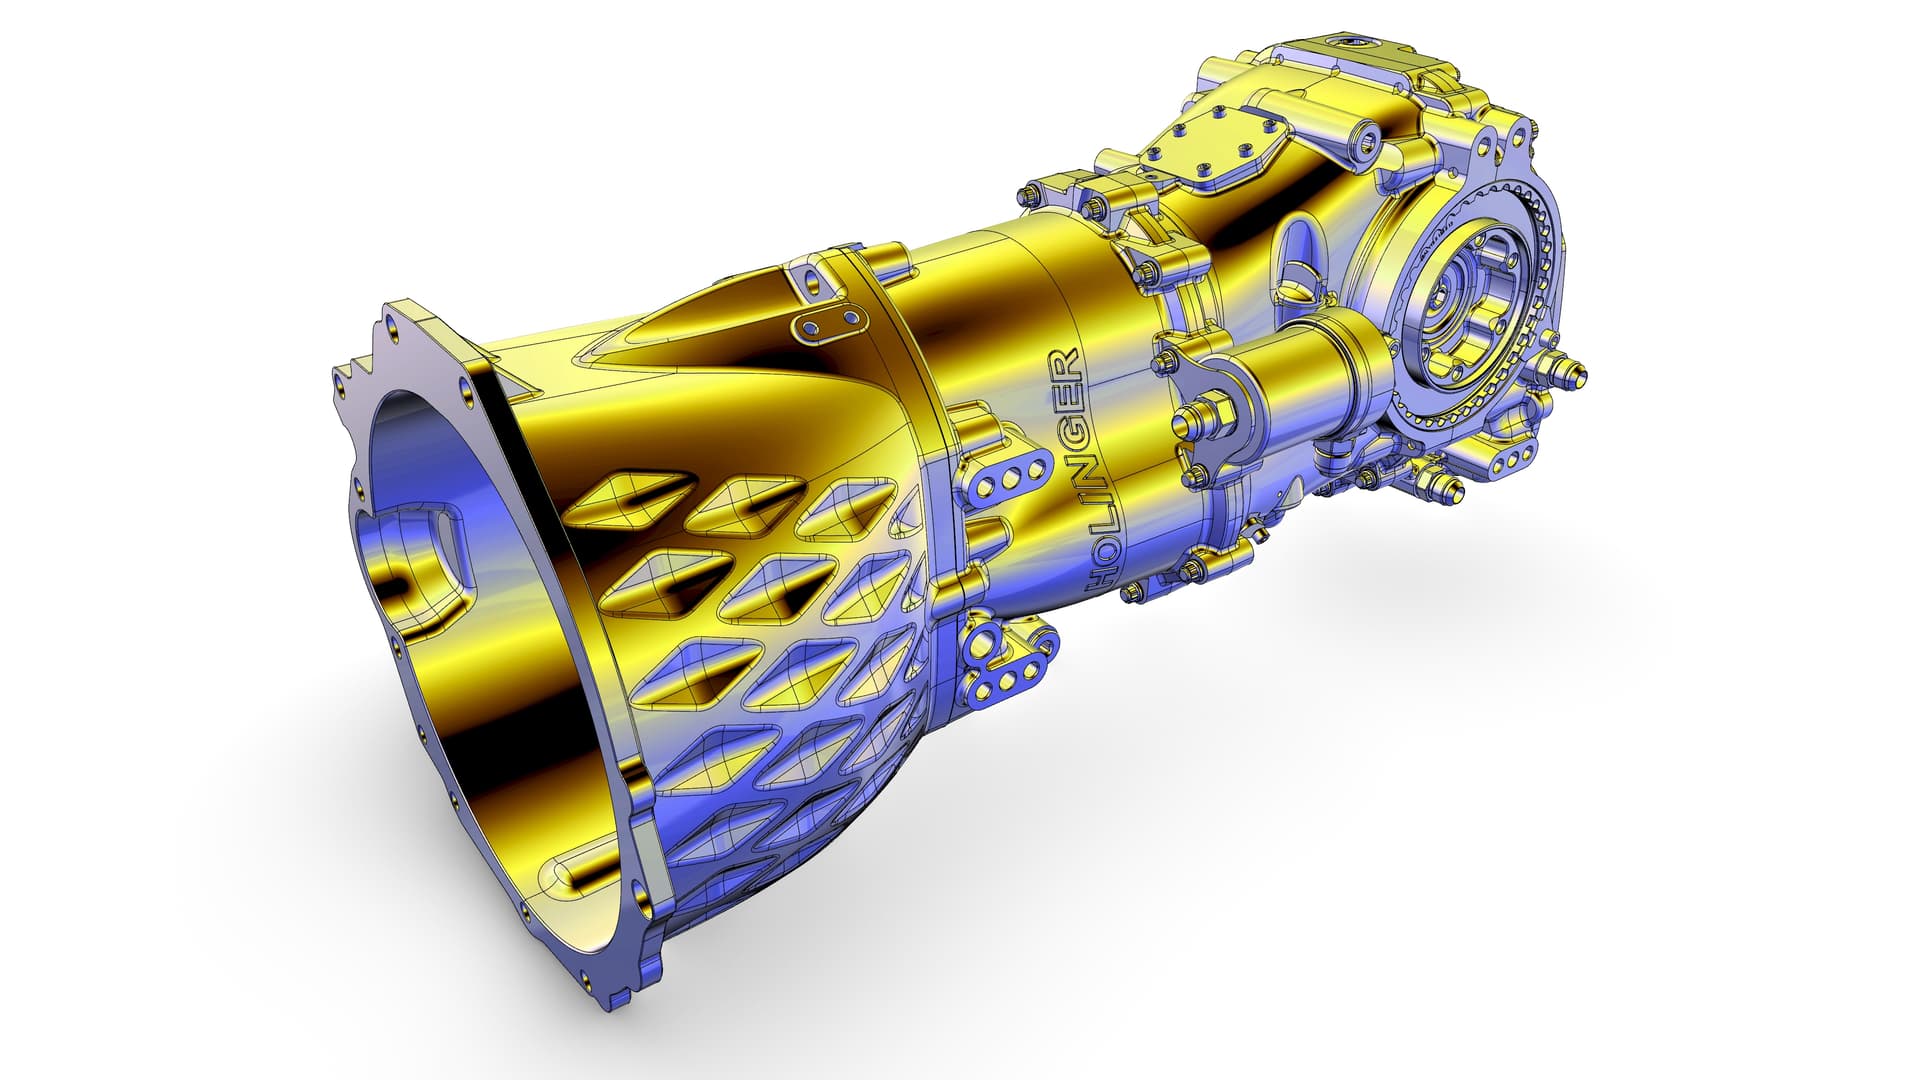
I have two display modes that mimic a bronze material. They could be also made into materials. This is just a plain environment map, no scratches.
Bronze 2:
Bronze 2.rar (5.2 KB)

Bronze 3:
Bronze 3.rar (5.6 KB)

Bronze 4:
Bronze 4.rar (5.6 KB)
Same as Bronze 3, except that the background colour is changed to RGB 85, 111, 134.

A basic material using the Bronze 3’s environment map. Works great with my Bobi 1 display mode optimized for the best performance:
Bronze 3 material.rar (5.1 KB)
Bobi 1.ini (13.8 KB)

Additionally, you can try the following:
Bobi X17.ini (13.9 KB)
Bobi X17 with the parts using SetObjectDisplayMode set to Bronze 3:

Bobi X17 with Bronze 3 material:

Bobi X12 delivers a similar result, except that it uses less contrasty shadows:
Bobi X12.ini (13.8 KB)
Maybe rename the topic into:
“Come and See, Bobi’s astonishing custom viewport mode collection!”
Thank you ![]()
![]()