I’m having trouble using the flow along surface command to add real 3d texture to a surface.
The surface in question is a pipe, which is meant to be a purse handle. What I wish to do is add a real 3-dimensional and 3d printable texture (not a 2d texture map) to the pipe surface.
The smash and unroll commands don’t seem to work on the pipe surface as it is doubly curved. I have been trying to use the CreateUVcurve command but this doesn’t seem to work ideally either. I end up with a completely out of scale version of what I need. I have included below some images of the step by step process I have been using and the suboptimal results.
Thanks so much for your suggestion, I greatly appreciate your response.
I tried applying the ”displacement map to render mesh method” however I am having trouble getting exactly what I want.
I seem to be getting these very sharp and seemingly overlapping and inward folding textures along the surface that seem quite likely impossible to 3d print. Below are some screenshots of my settings for the displacement map and the results.
I then messed around a little bit with the mesh options in rhino and managed to get something that seems a little bit more subdued, however the geometry still feels far too sharp and not suitable for 3d printing. In addition the texture seems to be very deformed and distant from the displacement image used for the map, I see almost no correlation between the two textures. I have included some images of this second version below as well as the settings I changed.
Is there a way to maybe smooth out some of these sharp details yet still keep a somewhat crisp rendition of the texture? I keep finding myself at the two extremes of either very sharp unprintable textures or very faint barely noticeable textures.
Let me know if you need me to provide any more screenshots or information to help with any solution brainstorming!
I have tried your new suggestions and cranked everything up as well as used a much higher resolution image, but unfortunately it doesn’t seem to work very well on my model. It seems to be a very blown up version of the texture stretched out very faintly over the model. Is there any way to maybe change the scale of the texture being displaced over the surface? Maybe if we could scale the texture down it would work better? I tried this method on a larger surface to see if this helped anything but I got very similar results. I have included some images below of both models even after cranking up the numbers.
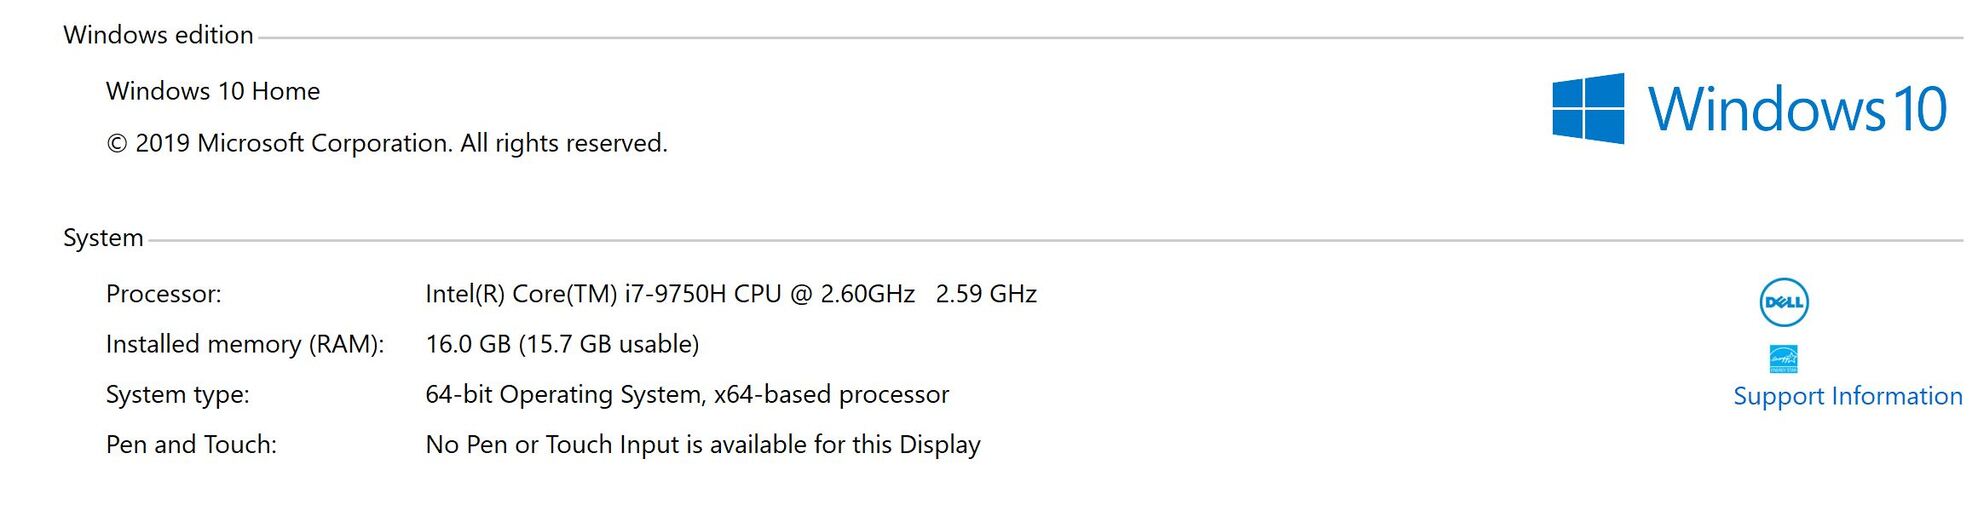
I also fear that maybe my computer doesn’t have the capacity to handle the displacement function very well and thats why i keep getting suboptimal results. Below is an image with the specs of the computer i am working on.
I did read online that displacement mapping is infamously hard on computer systems so this might very well be the case. Is there any way for me to increase my computer’s capability of handling displacement maps? Any external features I can buy to supplement my current set up?
If this is the situation do you have any suggestions on how to go about adding these kind of complex textures to surfaces through any other methods? Am i completely doomed because of my hardware limitations? Are there any other programs out there that might be able to help me achieve this? I seem to be seeing the name of a program called Zsurf come up a lot as well as blender for surface texture adding functions. Would you recommend this?
I’m so sorry for all these questions-I am just desperate to achieve these kinds of complex textures in 3d printed objects and want to explore as many avenues as possible!
I managed to get more of a texture showing on the pipe surface by customizing the mesh options in the general rhino options, turns out the mesh settings were on “smooth and slower”. I must say although there’s a bit more of a change in the surface, the texture shows up as very sharp spikes and seemingly impossible to export as a 3d printable file. Not to mention it looks nothing like the original texture I wanted to displace.
Attached below you will find a rhino file with the pipe surface and a rhino file with the polysurface. I wasn’t able to get the Polysurface displacement to show up at a mesh detail any higher than “very high”. Every time I tried to select “extremely high”, the displacement would never complete and the program would crash.
Let me know if you need any more files or information!
ok a few things… your strap was not a closed surface, so you’d never be able to print it anyways… so… assuming we fixed that and it’s a closed surface-
make a material and map your displacement map in the color channel… this will allow you to visualize your texture and adjust it quickly without waiting for the heavy displacement to happen.
2nd…
your texture is not seamless so it shows joints where it repeats… you’d need to fix that in photoshop… google “how to make a seamless texture in photoshop” there are tons of tutorials…
3rd… once you have your texture seams repaired, apply a guassian blur of about 6-9 pixels… your image has too much detail to make a decent displacement.
Invert the image so it displaces correctly… black goes down, white goes up- set it grey scale…color doesn’t do anything here.
remember that displacement uses 1-0 1= max down, (black) 0= max up (white)
if you want the displacement to be centered over the surface (half displaces “in” half displaces “out” set you black point at -.5 and your white to .5. if you want deeper deeps… set it to -1 and higher high set it to 1.
you may need to up your mesh memory limit and your refine steps may need to come up a bit…
then apply the displacement and visualize at the medium or low setting and make adjustments to repeats, height and so on… then crank it up untill it looks good.
then run extractrendermesh and send that out as an stl and print.
Tips:
your original surface is closed and has no naked edges.
-you may want to over displace a bit to account for sanding and finishing the part.
-you may want to test print a few smaller pieces at different displacement heights to calibrate your expectations of what number mean what level of detail.
Wow thank you so much Kyle! I don’t have access to rhino right now but once I am able to again tomorrow I am VERY excited to give all of this a try! Anything seems possible now!