Electrolux Vac Bug - FINISHED

finished

Update design change 1:

                                        **START**

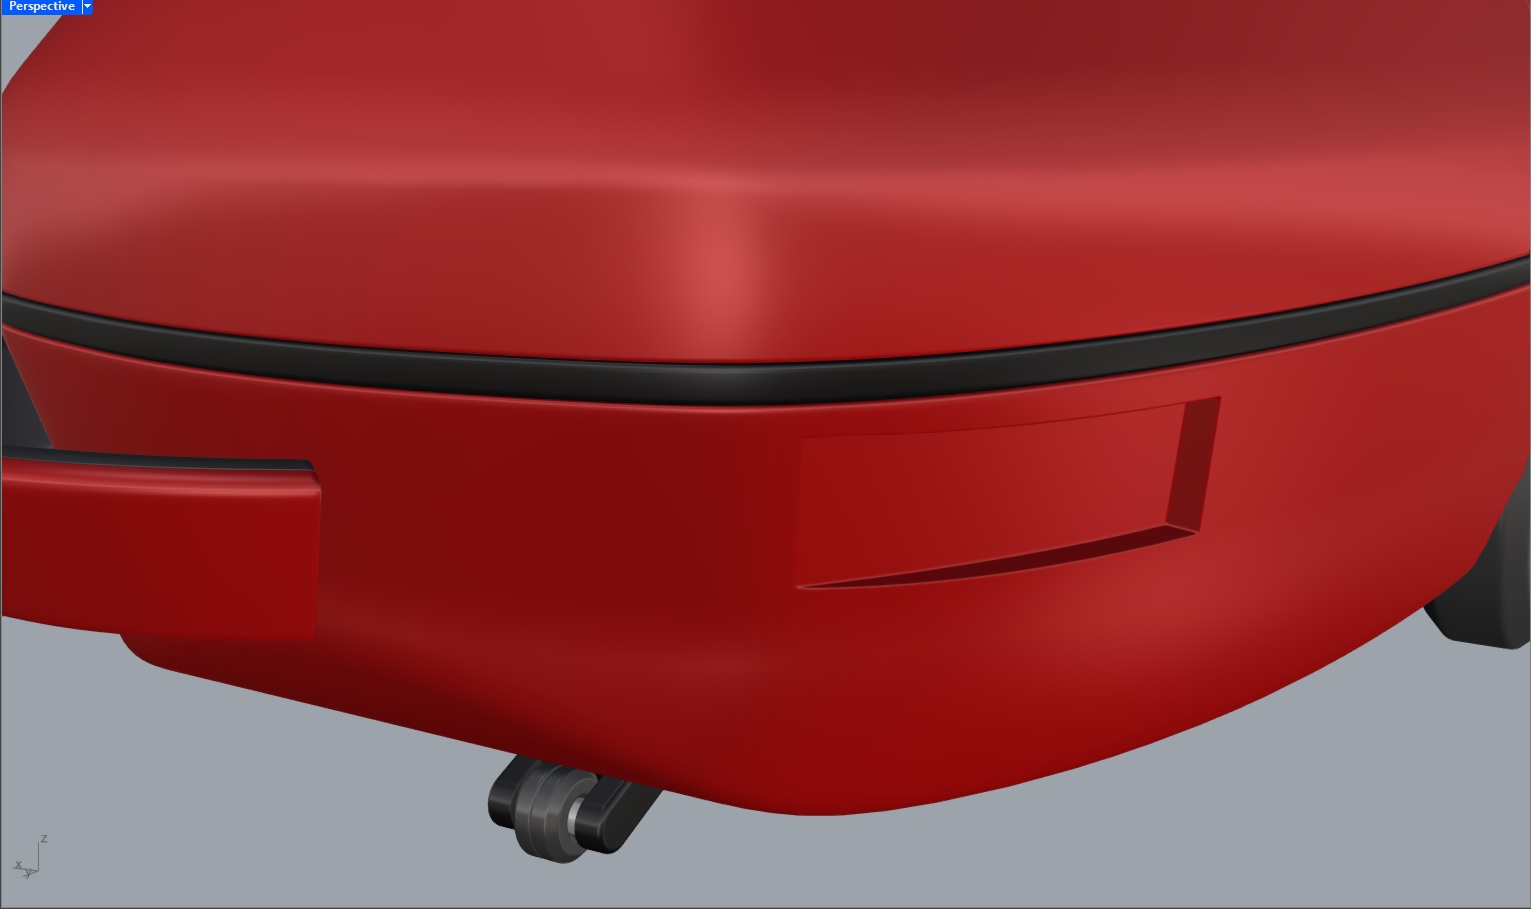
making a second vacuum cleaner this time making the body in nurbs after messing around and came up with this strange shape of a bug.

the idea so far is for the backside to open up similar to a flying bug then reveals the vac bag, accessories filter etc…

if anyone have any ideas or changes i can make ill be happy to recieve any input, so far this is what ive made and i will keep posting updates on the wip here.


front filter needs an open mechanism and something to pull it out and maybe structure on the inside walls


making an interior structure and positioning the vac bag this will have a hinge mechanism to rest aswell as a filter and rubber seal

11 Likes

another stunning model… you just keep killing it-

no notes. :wink:

can’t wait to see the renders

more structure and filter cage


The Cadartz label is in place

usually i put the finish date on the pnc but i dont think i will finish it at that date which will be changed later, the idea with the labels is to ad depth and familiarity to the product so nothing really makes sense but also serves kinda like a hidden signature on an art piece

2 Likes

vac bag holder almost in place just needs to be attached and be able to rotate for easy removal of the bag

1 Like

in position


and rotates for on/off bag removal

4 Likes

This is amazing!!! This is a very high quality model! Do you do everything according to the drawings?

There is no drawing for this, what I do is to look at many reference images or videos on what a vacuum cleaner has, break it down and populate the model with similar things

For example: the inside always has a structure, a vacuum bag holder, a filter area and a rubber lid seal.

So I start with vacuum bag holder and look at various designs and mechanisms: ok it looks like so and has these cut outs maybe I’ll ad more to make it look more interesting, the mechanism is either detachable or can rotate from a hinge for easy bag removal or to put on a new one


Sometimes it has a snap on design to the hinge etc…

and also trial and errors :melting_face:

4 Likes

Nice work :slight_smile:

1 Like

more details i think im satisfied with the vac bag holder


filter cage got some more detail and the floor structure got some randomly put circles

a rule i follow is if the model looks satisfying in shade the final renders will automagically look good to :laughing: :pinched_fingers:

5 Likes

and this part got some more restructuring thanks to the magic untrim command

3 Likes

design changes thanks to “emergency fubar” and “trash” backup layers, this is because i dont want it to look organic again like the first vacuum cleaner i made

this top looks closer to one of electroluxes real designs and also makes it easier for me to finish this


demonstration of opening if i want to make it like a regular vac cleaner

changes at the handle


maybe add like a screw hole and a plug to make it look flush later

1 Like


3 Likes

2 Likes

intake suction thing aligned to the bag

and some clipping plane of the insides so far

3 Likes

fix anything with the magical untrim tool i removed the line work that did not fit, so now we can save this as a backup and try different lid designs

2 Likes

the spaghetti curves so far remind me that i am hungry and need to close rhino for today

2 Likes

Nice modeling. But guessing it needs a power cable to work too

Good idea for the next Rhino session

power cable in place

more details underneath

and some logo i try an offset by 0.005 mm so it does not intersect, one can do this with labels in the rendering software but i prefer it this way because i am lazy.

also new vac bag lid design

2 Likes

starting placing some screws and more detailing underneath

testing this intake connector thing some vacuum cleaners have

does not look like much now but i have a feeling once the materials are in place this will almost look like a product from amazon website i hope :joy:

1 Like