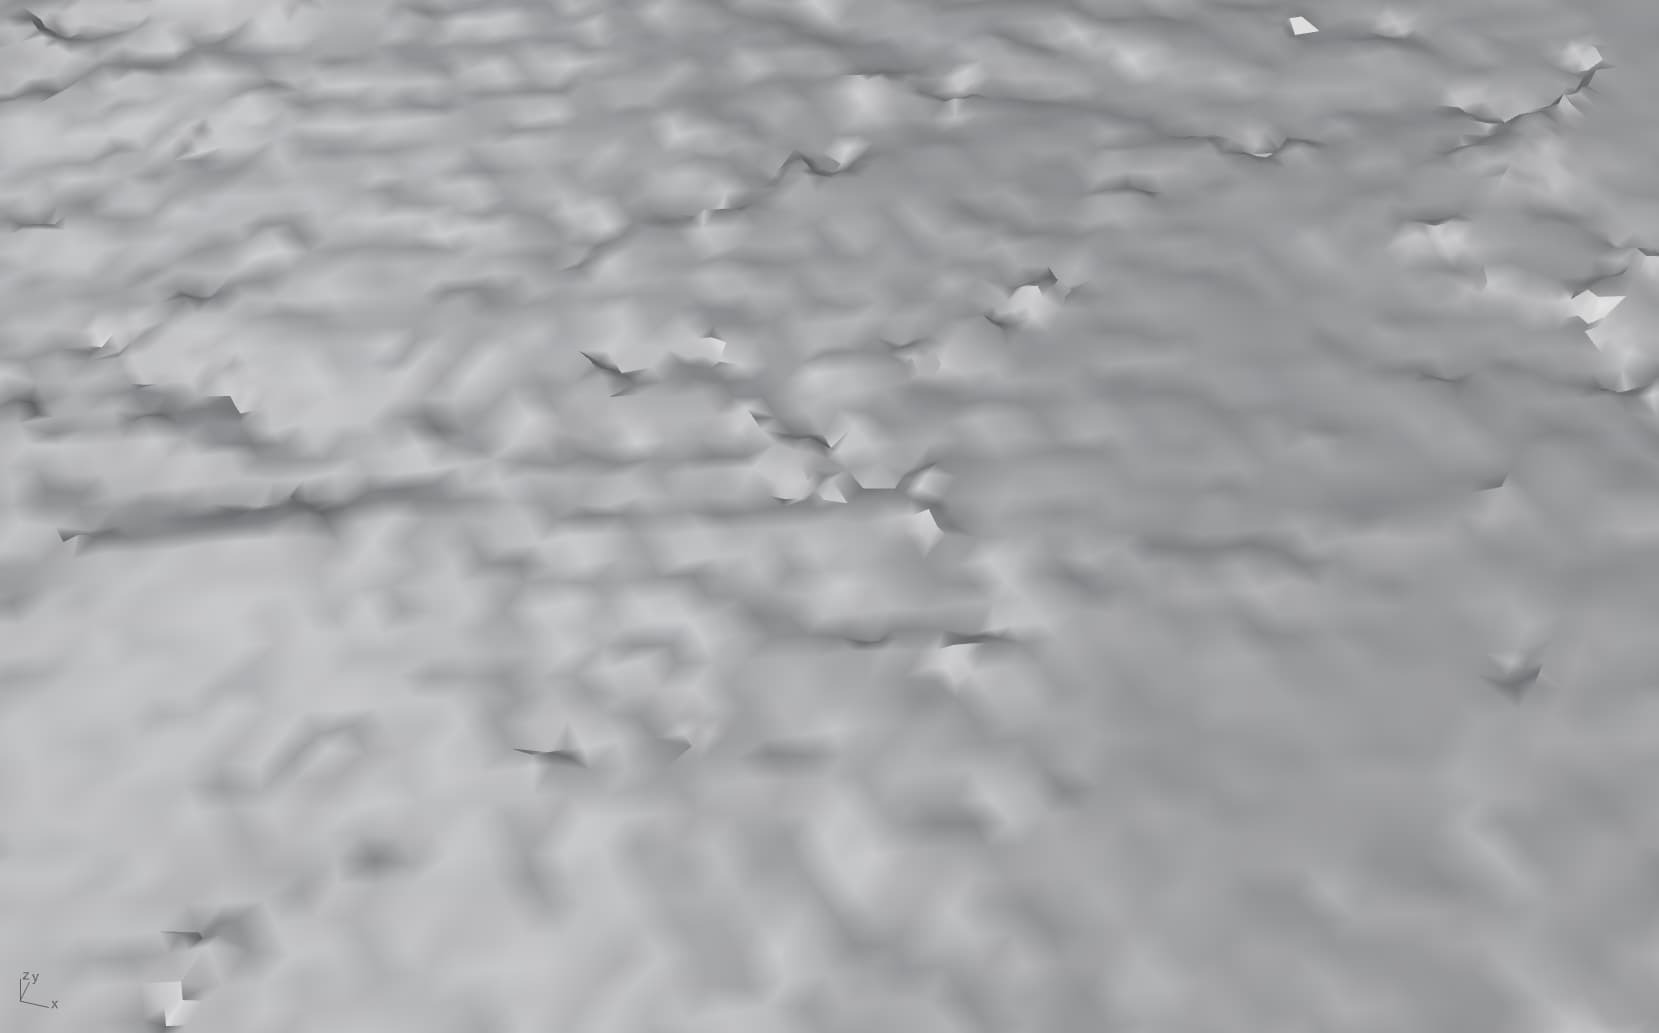
I have tried to use heightfield from image to mimic the texture but the result is quite fragmented. Can someone give me a hint of a better approach ? Thank you
That image doesn’t lend itself very well for the heightfield command. You’ll have to find a bump map that you like. In such images, the gray tones represent height.
-wim
Hello Wim, thank you for the reply, however, to my understanding, the bump or normal map only produces visual depth (fake depth) which is different from the displacement (real depth) that can be ExtractRenderMesh. As my end goal is to 3D print the model, I assume I need to find some high-quality displacement map to achieve this? Please correct me if I am wrong.
i would use photoshop, create masks for each layer of depth from how i see it you get away with 5 layers which have a different shade of grey then use heightfield. the reason your image currently does not work well is because the shadow in the cracks would be total height or depth so masking the regions is all you can do at that point. as a rule of thumb the amount of pixels should equal the amount of points (spans)
well handpaint it, create a layer in ps use a mask and paint the area most elevated, create a second mask do the same etc, for gradients between layers use a gauche blur then load into rhino. i am not on a computer right now i would give you a quick tour trying it myself.
that is a real ugly drawing of course only using 4 layers as a proof of concept that nearly works out already but just to show where to start, for a finer grain you could additionally overlay the original image and have the highlights indent the texture.
if you carefully build that up i estimate 30 min work… not a one click solution but if you are printing it that should be worth it.