Note: This guide requires the Rhino WIP. This is a work in progress meaning that it is meant for testing and should not be used for project critical production work. The Rhino WIP is available to anyone that owns Rhino 8.
Why add Material components to Grasshopper
For anyone that needs to additional tools to manage Rendering materials in Rhino. Previously only one material could be managed manually one at a time. Now with Grasshopper components:
- Create highly unusual materials with multiple effects quickly.
- Create and edit many materials at once.
- Convert Rhino, Vray and Revit Materials to share common properties.
What are material components:
Rhino Render material components to both create, edit and save materials within Grasshopper. The new components off a full range of Material properties including Material, Color and Textures.
The Render material components are located in the Rhino Toolbar > Materials section:

These new material components can be combines with new components for textures and mapping to complete the tools needed for full control over materials:
Using Material Components
Basic Material Creation
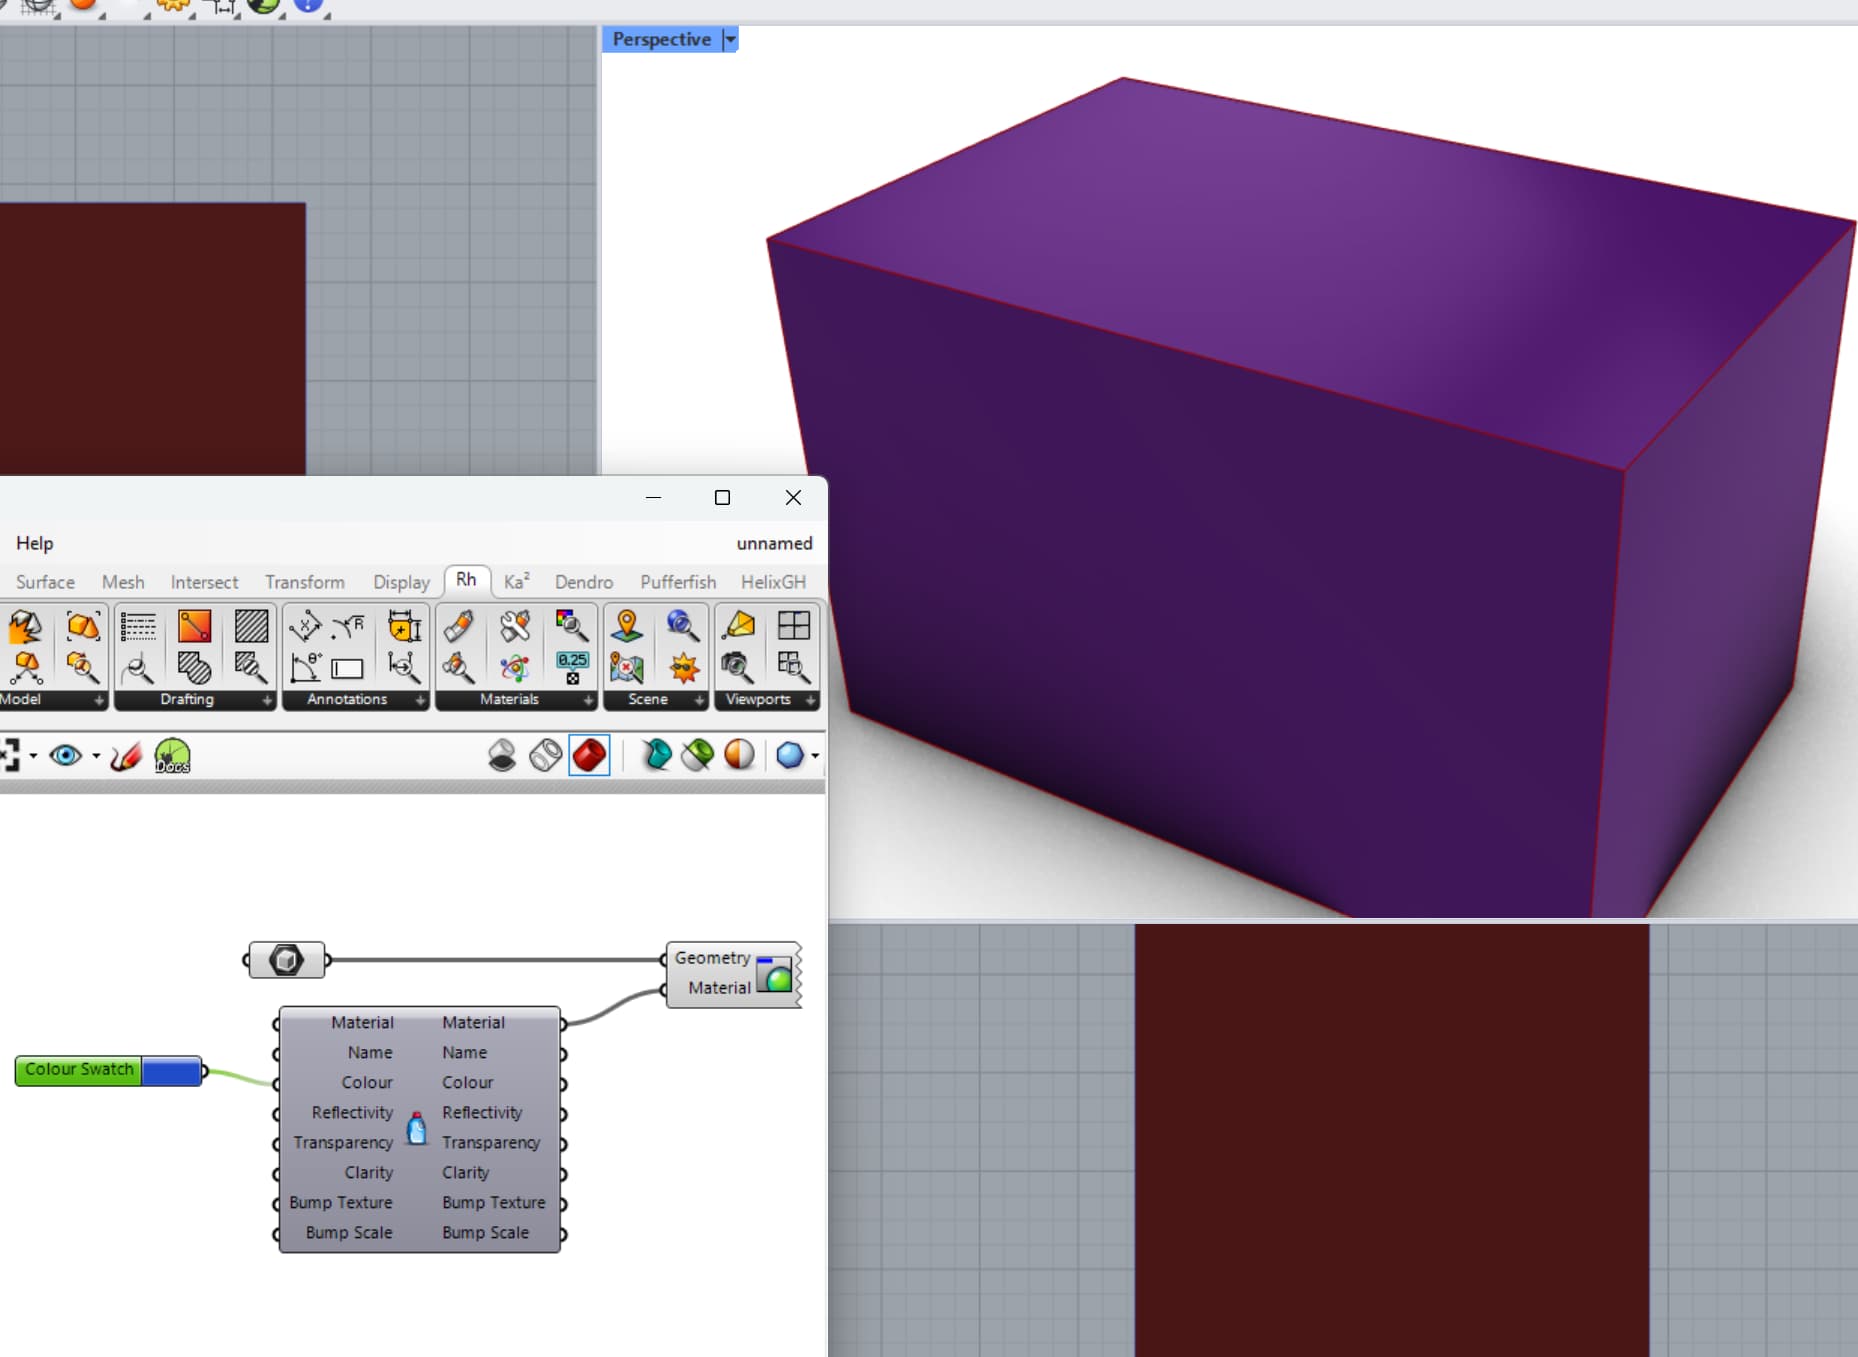
The simplest of definitions to use Render material in Grasshopper and visualize the results in Rhino. We will build on this definition thru the rest of this guide as it allows us to monitor all the changes we are making.

Note: A Material exists in Grasshopper only until it is pushed into Rhino using the Content Cache Component.
Edit Existing Material
Existing materials can be edited by inputting a material component, inputting the material to the component.

In this case an existing Material is input to the left material component. This is an Apple Gloss Paint which is a generally green color (Red = 160, Green=207, Blue=103). Passing that material to the right material component and adding a red color swatch to the base color, the resulting Base Color is more red (Red = 232, Green = 16, Blue = 16).
Anatomy of a Material in Grasshopper
Here are a couple quick examples of what makes up most materials.
The Physically Based Rendering (PBR) material is the most flexible and potentially the most complicated. When first dropped on the canvas, it looks quite compact:

Use the down arrow at the bottom of the component, or right-click on the middle of the component and select “Show All Parameters” to expand it fully to see all possible inputs for a PBR material component:

A couple notes about the inputs and outputs:
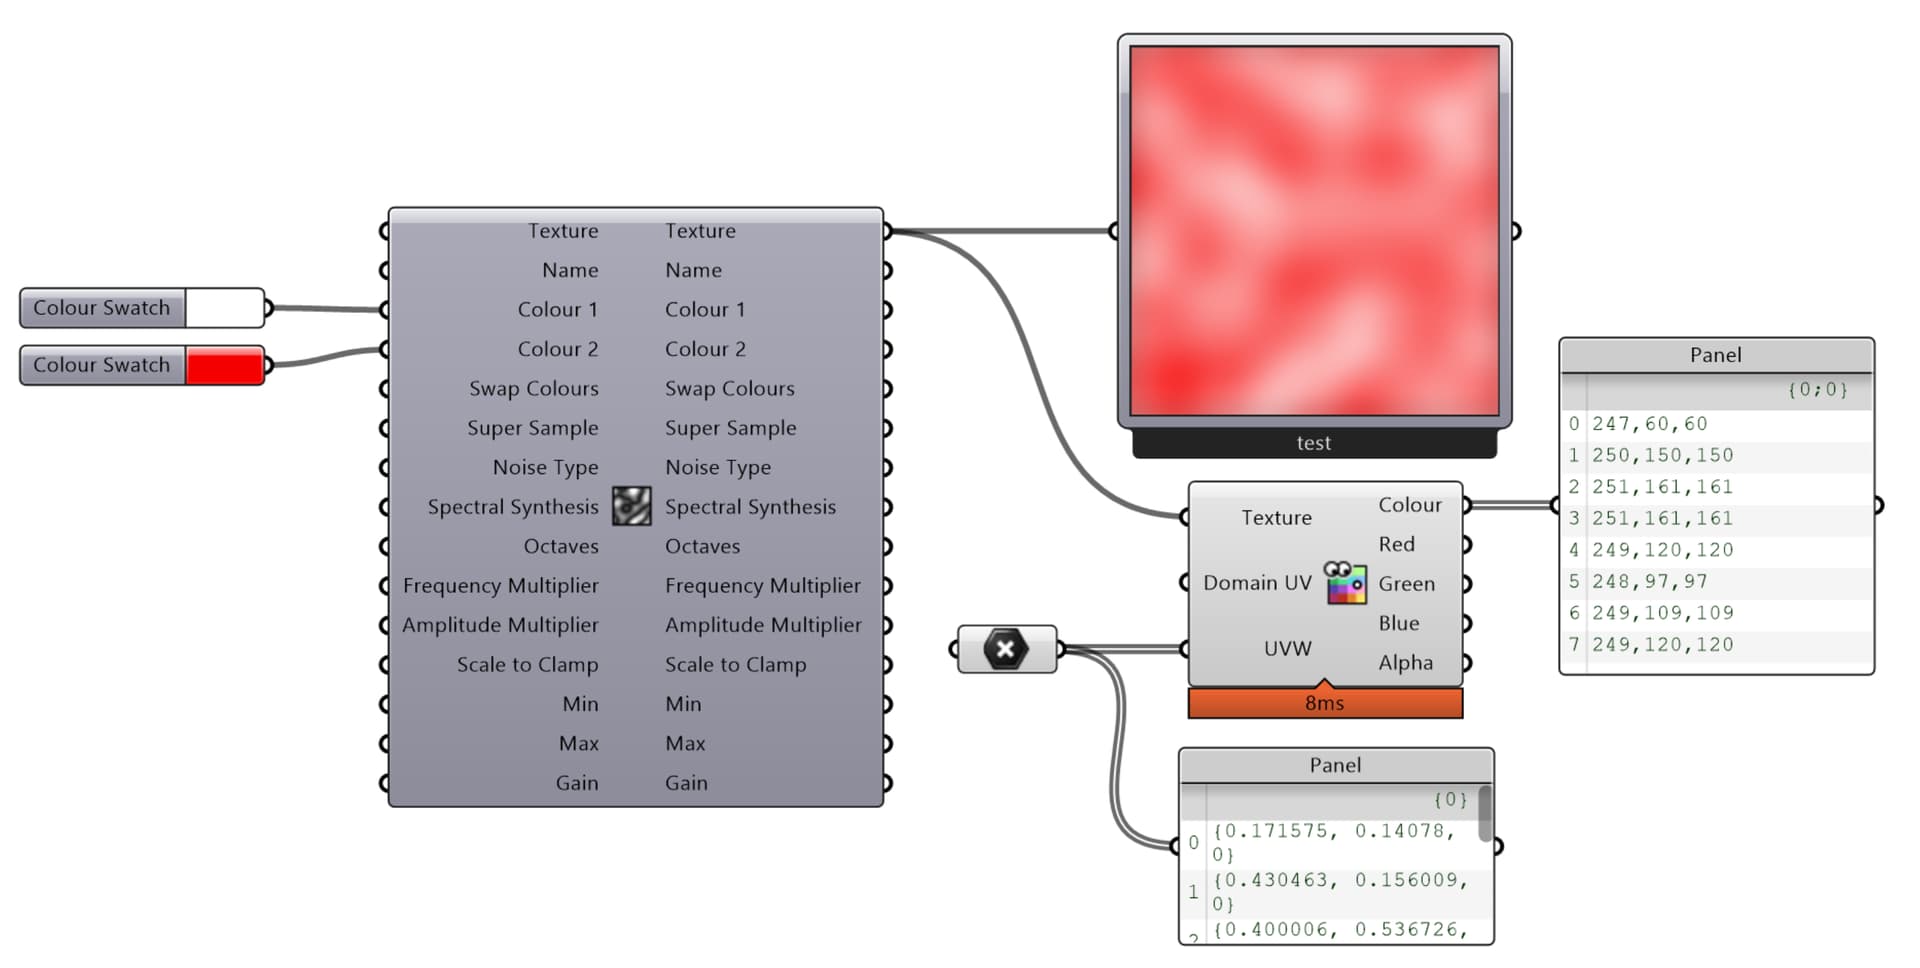
- Most Color Channels can also take a texture. In the case above, a Grid texture is created and pushed into the Base Color channel.
- Other strengths such as Metallic and Roughness are a 0.00 - 1.00 value.
- Outputs for the material may be a value, or a complete texture as seen in the Base Color example above. Use a Render Preview component to interrogate the output for the type and the values.
Exporting Materials
Exporting material files (.RMTL) can be done with an Export Material Component:

The component can embed all required bitmaps and textures within the RMTL file using the Embed Input.
Also, the Overwrite input must be set to TRUE if the file needs to be updated multiple times.
Importing Materials
Materials can be imported directly from a file into Grasshopper by using the Import Material component. Directly imported materials will not have a associated GUID number associated with them, as there is not a corresponding material to reference in Rhino.

Alternatively, a Material can be imported from Rhino using the Query Material Component. Because these materials are imported from Rhino, they have an associated GUID number with them.