My latest kitesurfing kite - 9m, 5 strut, freeride/big air design:
3D model and cut files created 100% in Grasshopper:


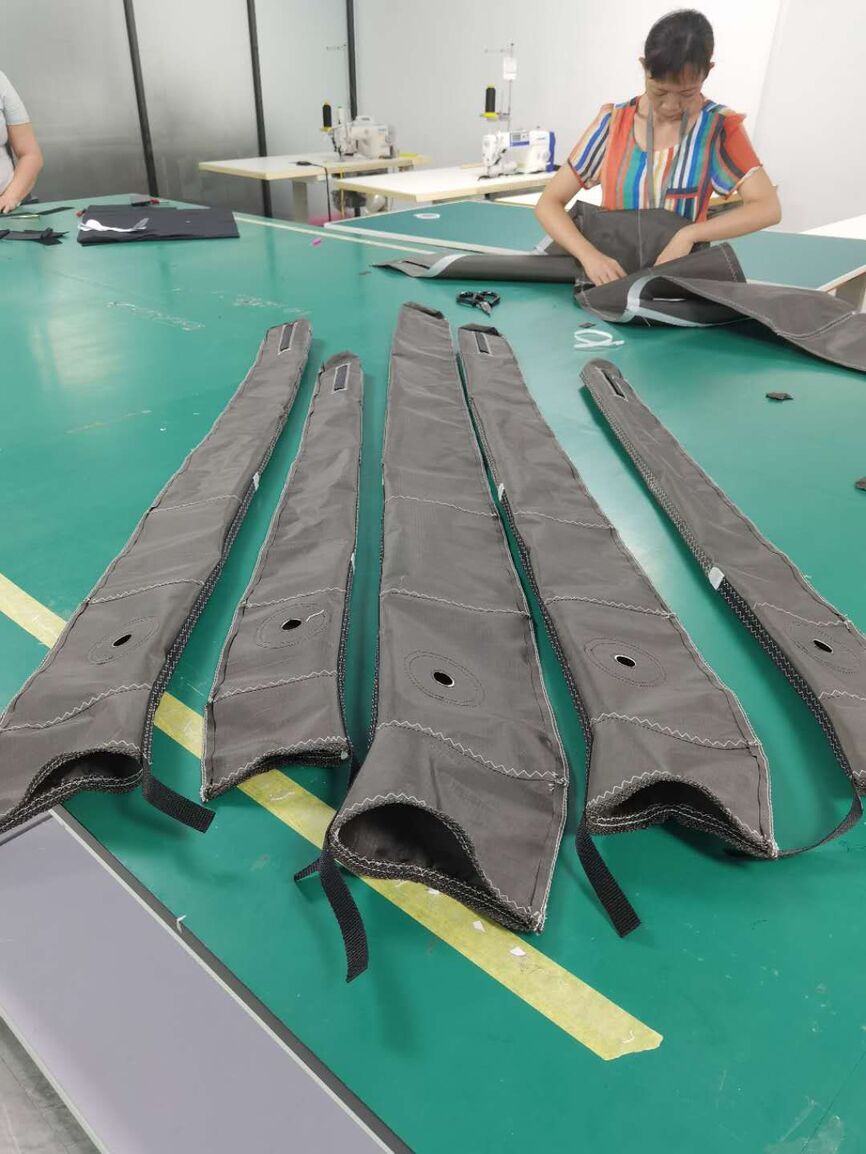
Building pics:


Flying in Cape Town:
! ! !

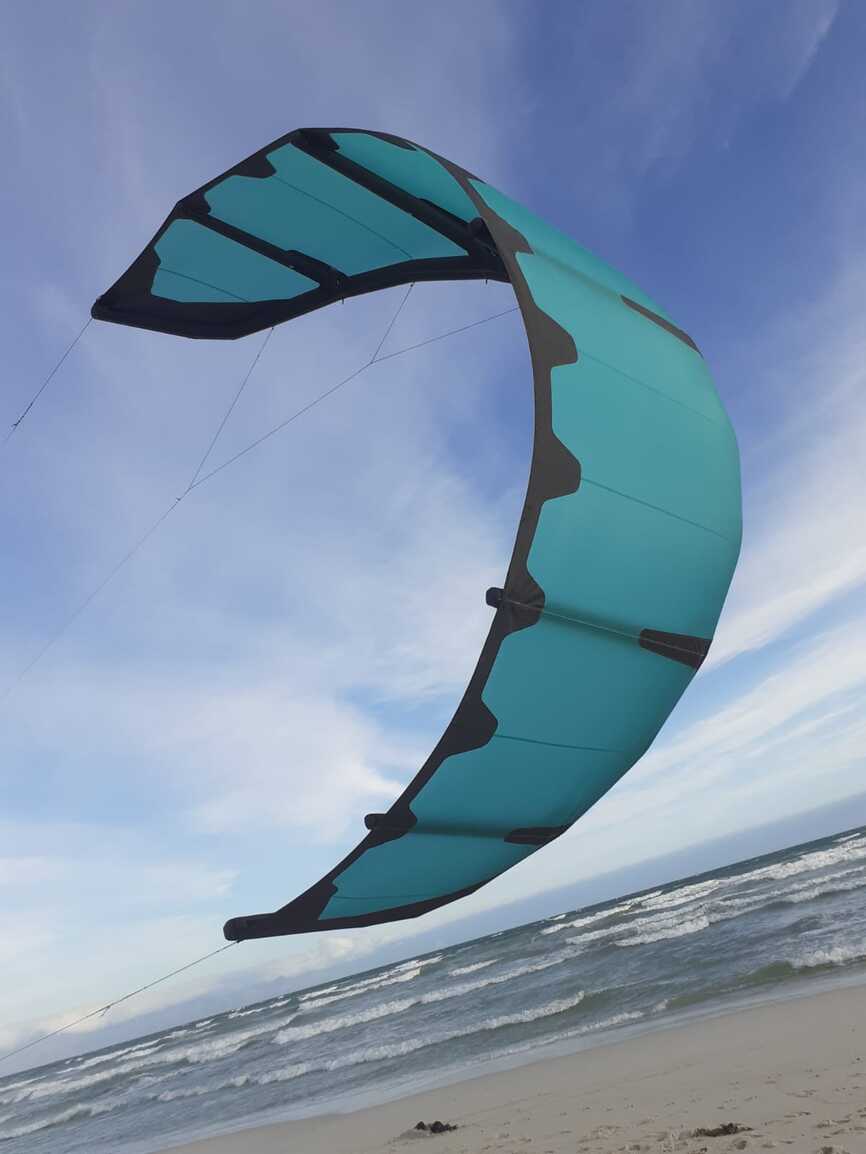

Very stoked on this one too, super fun to fly/ride.
Cheers
DK
My latest kitesurfing kite - 9m, 5 strut, freeride/big air design:
3D model and cut files created 100% in Grasshopper:
Building pics:
Flying in Cape Town:
! ! !Very stoked on this one too, super fun to fly/ride.
Cheers
DK
That looks like an Autodesk VRED render, so what’s the backstory here? 
Got any shots of the CAD model? How difficult was it applying G2 fillets everywhere? Did you manage G3 as well? How did you analyze the surface flow across multiple surfaces in Rhino? (This is perhaps best for a different thread perhaps, a gallery thread?)
The renderings were made by another person in 3DS Max with V-ray. The NURBS modeling was done by me mainly in Rhino 5, some of the later parts after 2018 were made in Rhino 6, and currently I use the new Rhino 7 for the design of the last remaining components such like window actuators, latches and a few others. Over the past year I already posted some wireframe screen-shots from the same project in the current topic. I will add several more pictures below.
G2 fillets were easy. Basically I used a pipe along the edge to split the two surfaces and then applied “Blend surface” to make a G2 blend with variable strength depending on the requirements. Certain areas needed a true G1 filled, because they were meant to accommodate round rubber sealing.
As for the surface analysis, I used mainly Zebra analysis of Rhino, as well as Curvature analysis with the “Gaussian” and “Mean” options.
Blimey.
-Pascal
uh… wow. Thanks for sharing
amazing work!!! 
Speechless. 
// Rolf
That’s a phenomenal amount of work. Any idea of the number of man hours involved (in Rhino)?
Whatever - chapeau! Incredibly impressive.
I started the modeling work by the very end of 2013 and stopped around middle of 2019, so that’s about 5,5 years minus several months spent on a vacation during that time. However, the car originally had an internal combustion engine and was nearly finished in 2017, then more than two years of extra work was needed to adapt its chassis, suspension and some interior panels to make it fully electric, so the extended time after 2017 is purely driven by the changes on the drivetrain. Without those extra changes the CAD work in Rhino would be about 4 years long. Currently, I do some additional work on the project due to a new decision to replace some OEM parts with custom made ones.
Where there’s a will there’s a way, but daaaaaaaamn. 

Oh my - that’s incredible work! Well done!
It doesn’t get any more “real life product design example” then this…
Thank you Wim,
Here are some other images.
The design was done in Rhino 1 and the demo boat was build from 2001 to 2005.
This, how did I never thought of using pipe instead of trying to offsetcrvonsrf? This won this discussion for me. 100%
You should watch more Youtube tutorials. 
This technique is shown in many videos.
I usually extract a curve from edge, then the big advantage is that I have the option to simplify the curve (rebuild the curve via “! _Rebuild”, or delete individual curve control points with the “Delete” key, or use “! _RemoveMultiKnot” or “! _RemoveKnot” etc). The simplified curve results into simplified pipe. As for the pipe itself, it could be also simplified if necessary, further making any additional control over the shape of the pipe much easier. Once the pipe is built, I could move certain control points in any direction I want, or scale the 8 control points that make a full circle around the pipe, in order to make the latter larger or smaller in a specific area. Then I use the pipe to split both surfaces that share the same edge.
That is a beautiful piece of work!
Yeah, I admit I kinda gave up on filleting using rhino, and just stopped trying to find ways to do it, but I will sure do during this Holidays, this and trying to learn SubD for good.
You can check after the 18th minute of the following video to see how I used pipe to split the adjacent surfaces:
")
Incredible work. Chapeau!