Hi all,
Just got a 3d printer (Creality Ender 3 s1 Pro). I haven’t printed yet. That said, I have started sketching…
So I have a few 101-level questions I’m hoping for help with.
Regarding creating the model “properly” - I’m not sure how to go about creating the model as a “solid” within Rhino - for example, with a 3cm cube, I’m wondering about determining a) how thick the walls should be, b) how to model them efficiently, and c) how to create the internal support structure. Any recommendations for which guide(s) to start with would be great.
Materials… some things I’m designing need to snap together and apart repeatedly. I don’t know what materials to use for something like this, though the hot end goes to 300˚C. The site lists some compatible materials as:
PLA / ABS / Wood / TPU / PETG / PA
And I’m not too sure about what these are yet, but if anyone’s printed something that snaps together & apart, please let me know.
Finishing process - for items I want smoother, paintable, etc. I’m not sure where to start other than light sandpaper for areas I can reach.
Usually this part is called “slicing” and would be taken care of by an application (e.g. Cura, Prusa Slicer, etc.) other than Rhino, unless you want to do it manually, which I doubt.
From Rhino I usually export geometry as STL or 3MF, the latter being preferable, if your slicer supports the format.
PLA or PETG are the most common filaments nowadays and both would be able to handle snap fit parts. It’s more about how you design the geometry and slice it than material properties, but I would go with PETG, since it’s a little more flexible than PLA, which is more on the though and brittle side.
ABS would also be a good fit, but it emits toxic fumes while being extruded and needs a stable temperature environment for good results, meaning an enclosed printer with a heated bed.
TPU is a flexible filament. It comes in different flexibility grades usually indicated by a number representing the Shore hardness of the filament. Very flexible TPUs are the hardest to print and like ABS absorb moisture from the air while being stored away, which leads to bad prints. The filament needs to be dried before printing.
I’ve never printed with PA. It’s supposed to be similar to nylon and thus rather strong.
ABS can be vapour smoothed with acetone, which again produces harmful fumes.
PLA post-processing is a little more involved. I usually apply a coat of CA glue, then sand with 200 grid sand paper or file to get a smooth surface, and after that finish the part with a coat of clear, matt or glossy, water-based polyurethane, usually used to finish wood.
Alternatively automotive primer can be applied and sanded back, when you want to spraypaint the part.
I like the CA glue method, because it doesn’t require painting and the surface can get really nice.
Check out Maker’s Muse on YouTube. Angus has videos on how to design mating parts for 3D printing.
FWIW, the printer I bought uses Cura Slicer, though I don’t know anything about it yet. I also got something called a Sonic Pad, intended to provide better control over the printer, but, more importantly, speed up printing quite a bit while maintaining quality.
As far as the materials go, hey… I like toxic fumes but I can put the printer in the garage or even a bathroom with an exhaust and drive it from the Sonic Pad rather than being tethered to a computer.
I agree with Gustavo,
Learn from good resources (the book and YouTube) then print simple stuff to understand the process and only when you’re confident enough start with more complex stuff.
My advice is to start with PLA that’s super simple to print. PETG is more difficult because can block your extruder easily.
Second snap fits are more about geometry not about material. Better to study snapfits theory as well.
Get good quality PETG and this won’t happen. I never had it clog the nozzle or extruder, but I had a couple of accidents with PLA, which I’ve also printed more frequently with so far.
One thing to look out for with PETG is that it sticks like a motherf***er to glass, so make sure to use glue stick or even better hair spray to get it off, if your build plate is made out of it.
Another good book for Grasshopper users that are willing to get more experimental and work without a slicer software, is this one.
definitely try Prusaslicer as well. It has profiles for your printer. The latest 2.5 has the ability to read .STP files which is working great. It also has a built in mesh repair that often works well.
If you are going to print a bit bigger than 3cm cubes, I can highly recommend to use a bigger nozzle on your printer. Standard is 0.4, I changed my printer to a 0.6mm nozzle, which has approx. 2 x bigger throughput area. This means you can print significantly faster, because there is less resistance, and because you can go thicker with your layers, and you need less lines for each infill.
Nylon is originally a brandname of PA (polyamide). It’s not difficult to print, but needs very proper drying right before printing, because it absorbs water very quickly. It needs a special surface to print on. Once following these rules, the resulting prints are great and super tough.
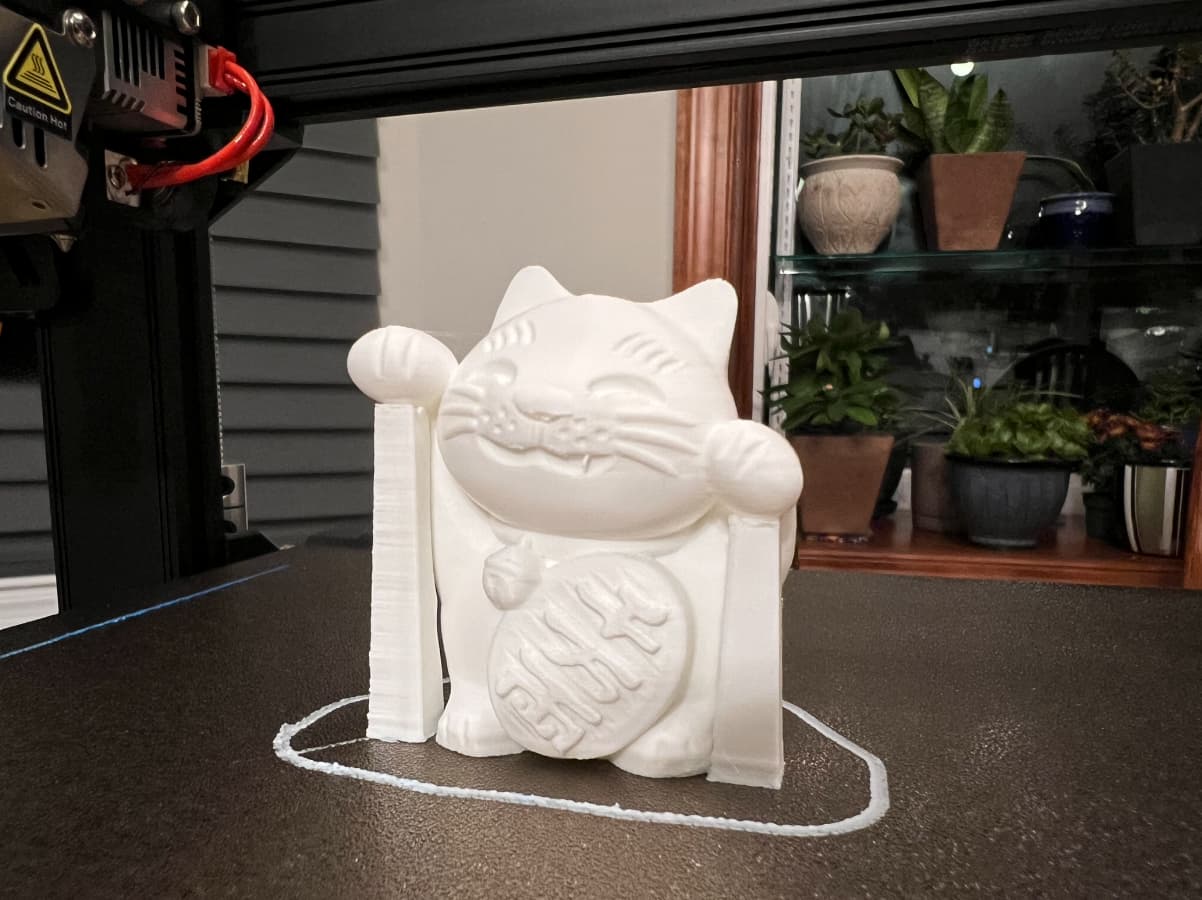
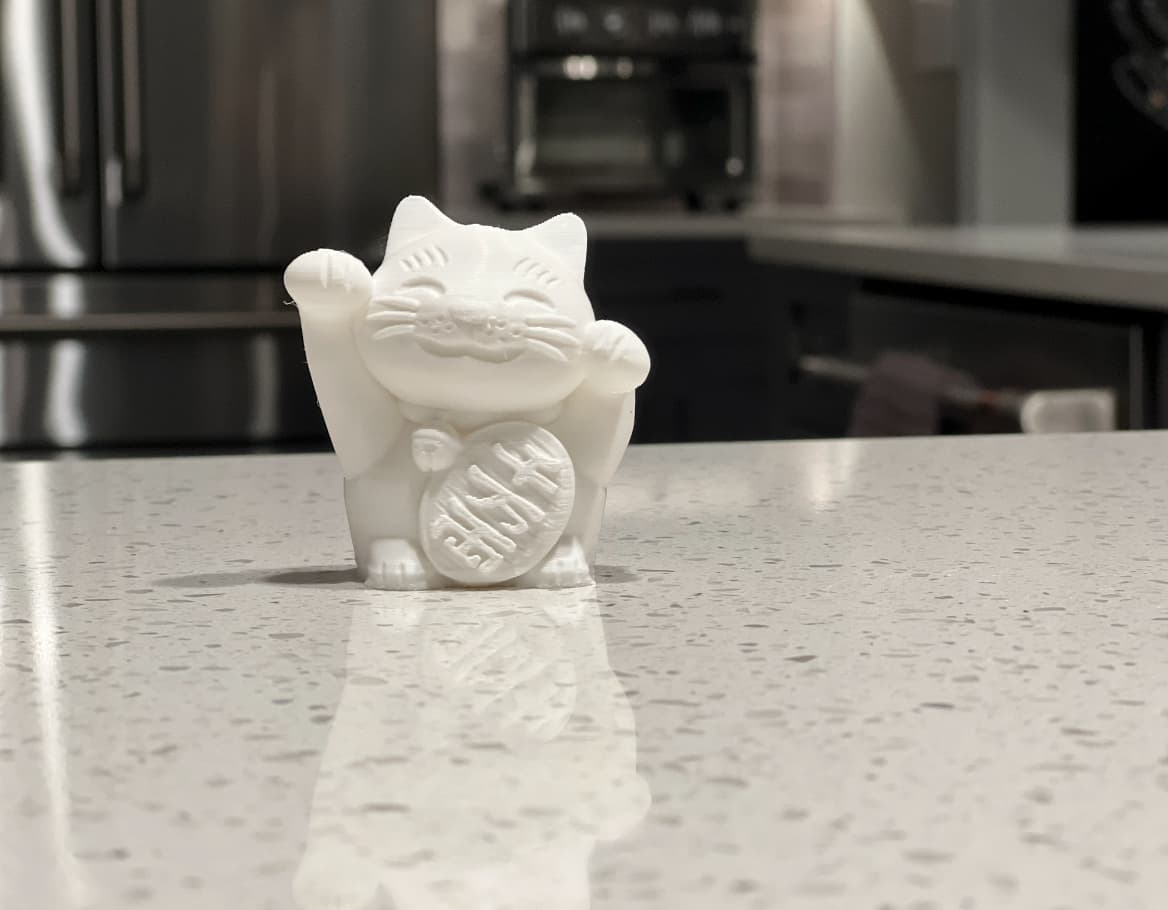
FWIW the setup & test print with default settings seemed to work pretty well. Running Overture PLS+.
A few small “strays” of plastic & thicker band near the bottom, but otherwise I’m ok with this for my first-ever 3D print.
Now, on to actually creating & printing something of my own…