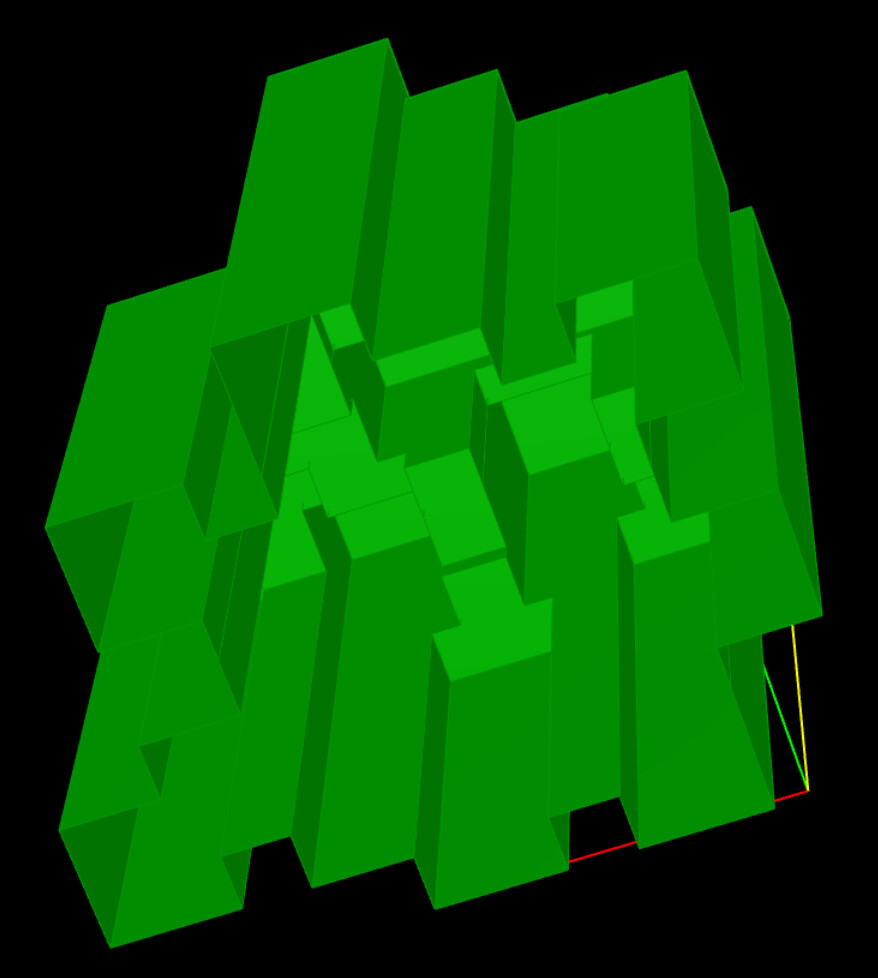
My intent is to put a light inside so it can show out through holes (windows) in the outside shell. To test this I made a rectangular solid cutter that makes a window on opposite sides:
Oops! It looks like SDiff returned the original bottom surface before it did the subtraction. My guess is that’s because it uses the original Closed Brep version of the shell, even though it’s input was not that. The bottom surface makes it impossible to put a light inside the shell, so I’m stuck,
I thought maybe meshing would be a solution, so I made this to test that idea:
This fails by ultimately crashing my PC with an out of memory error. I have attached the GH file for anyone who wants to mess with this - note that the SDiff is disabled. This allows you to load the file and see the shell and cutters, but enabling the SDiff take about 3.5 minutes to compute on my system, and a bit more to display the results. I left the mesh components in there but I wouldn’t try to use the MDiff. bb-test1.gh (2.7 MB)
That looks good to me - certainly better than anything I’ve been able to come up with using SDiff or Trim. (I need to understand what the difference is between those 2.) The problem I have with your method is it is so unintuitive - at least for me. It’s going to take me a while to figure out why it works as well as it does.
My method basically involves cutting out individual faces rather than the entire brep.
I slightly modified the surfaces to get a better result. bbtest c.gh (125.0 KB)
Thanks for your continued interest - your GH file is a very helpful learning tool for me, and I am (slowly) starting to see how your approach to this idea works. To that end I’ve re-formatted your solution to look like this:
Your method uses a number of GH components I’m totally unaware of, so it’s going to take me some time to learn about them. I’m guessing this is because you know how to use Rhino - and I do not. All my work has been with GH only; my only use of Rhino is as a display medium.
I see you did some separate work to separate the column tops from their sides. That’s something I knew I would have to do eventually since there is no way to 3D print the tops without underlying supports. I don’t do supports, so my solution for this is to extrude the tops to a peak as shown he this screen grab:
My real GH file is built with a boatload of sliders that control all the geometry objects, and I’m (slowly) experimenting with how to tweak different sliders to enable all the cutouts to appear in the proper places, while at the same time being a reasonable size. I’m currently working on ways to gab all the top surfaces rather than just pick one. I’m not sure yet how I’ll deal with the issue of overlapped/truncated tops.
====================================================================
OK, I’m I’m not afraid to admit that your method is far superior to mine, and more importantly, that mine will probably never work the way I intended.
I generated the boxes from a set of random sizes because I thought I could configure the size and placement of the cutouts to fit simply by tweaking their parameters. After trying that for a while I’m thinking that is just not going to work, basically because there is no “one size fits all” set of cutout parameters that will work.
Your solution completely solves this problem, including the one about extruding the tops: