i think he may have wanted it to curve the other way. if that’s the case, try making a planer surface on the end of the inner cylinder and select that edge for the blend instead.
Still not going to look any good though - the edges of he faceted cuts end in the same plane as the end of the c\ylinder - there will be a mess there. It would help to have an idea what the desired result is…
You can also try to experiment with the powerful “Loose” option of the “Loft” tool, which can give you some really cool smooth results. Of course, if the intent is to connect the cylinder and th outer body in a flat way, then the solution provided by @diff-arch is the way to go.
Note that the resulting transitional lofted polysurface is not ideal, because the additional profile curves I added consist basic arc fillets. If the aim is to achieve a perfectly smooth surface, then you have to use a single closed curve instead. And try to use profile curves with equal number of control points. That will give you the best possible quality and a clean single output lofted surface. But the outer body also needs to have at least some tiny smooth blend shape across the 4 edges. Currently, those sharp edges are the reason for the bad transition.
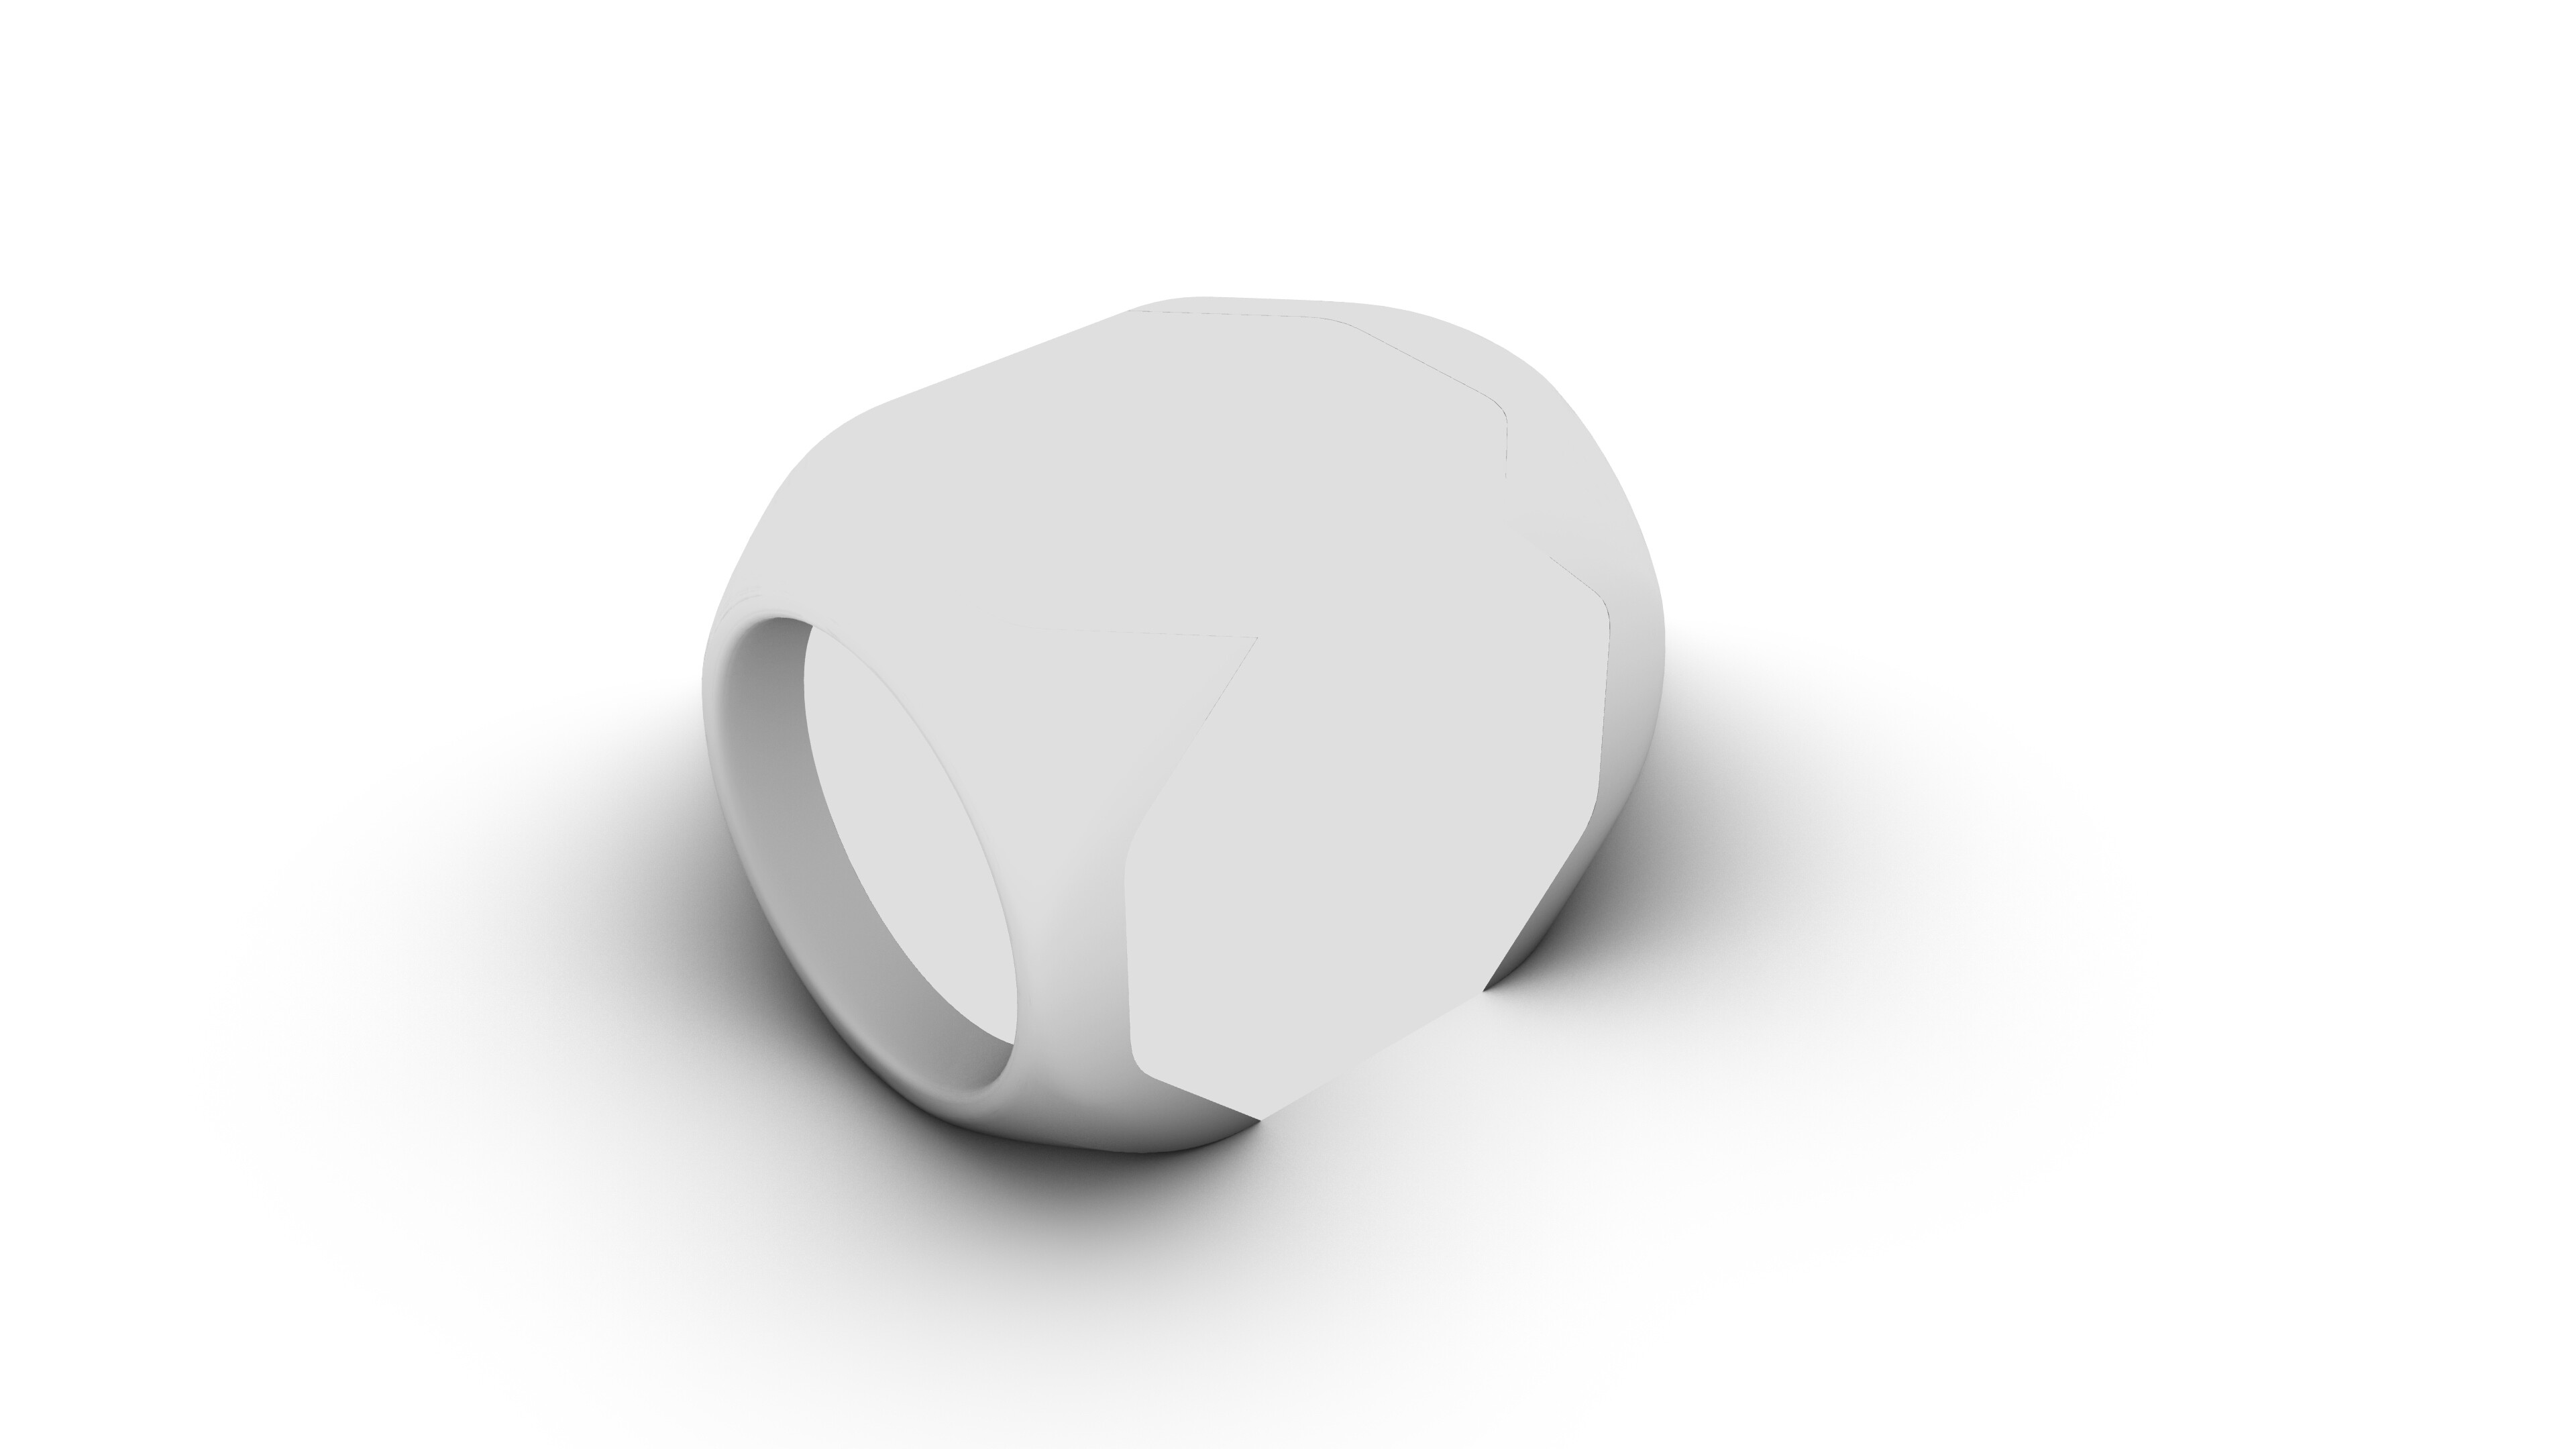
By the way, there is something strange with the outer body, because it renders weirdly in the Arctic display mode.
Thank you Kyle, yes you are right, it is a logical outcome of how I used the blend surface tool, but I was sure there was something wrong, so what @davidcockey did was my expected result, but I agree with him that it is not pretty, and what @diff-arch did has solved my problem
Thank you Pascal, it was a mess indeed because I didn’t do it correctly, and the way @davidcockey did it was my desired result; however, I thought that there wouldn’t be a clean transition because of the different nature of the polygon and curve, but @Rhino_Bulgaria just did it perfectly
I have two great solutions, @Rhino_Bulgaria and @diff-arch but to guarantee the ideal result on the design I am working on, I will go with the Diff-arch solution.
Thank you so much Bobi, this looks very clean and smooth
Well, my intent was a curvy, smooth shape, and you just did it in a very nice way indeed. I will follow your instructions and try to have a blend shape across the edges to avoid the bad transition, and I will definitely use it. But for now, I found that the ideal solution to use for the design I am working on is @diff-arch solution.