Announcing Assembler - a plugin to construct and manage.... assemblages

I am very excited to announce the release of Assembler!

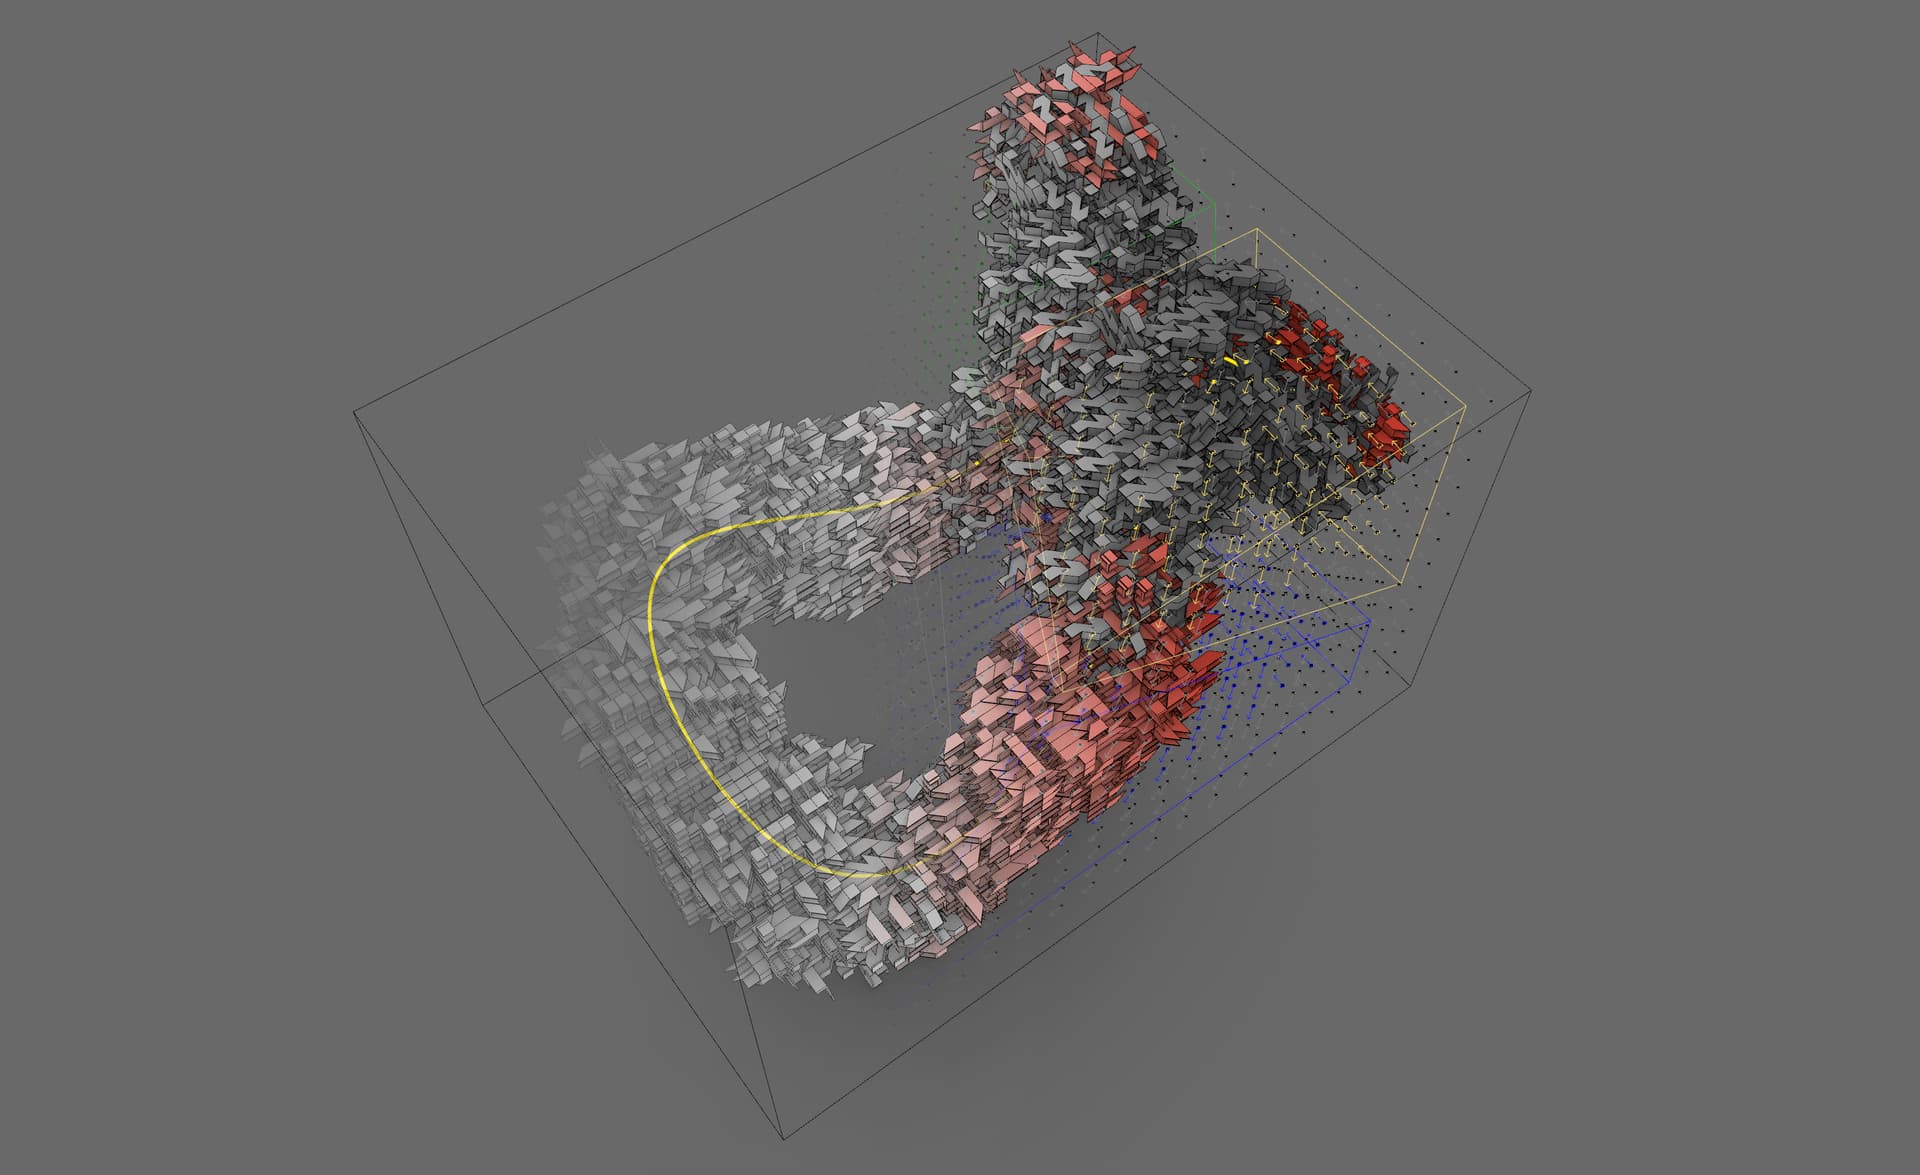
Assembler is a Grasshopper plugin that helps you construct and manage assemblages of parts, conceived with (but not limited to) the architectural scale in mind.

You can find all relevant links and detailed info (including documentation, example files, and GitHub page) here:

https://www.co-de-it.com/assembler.html

With Assembler, you can create assemblages from parts and rules for their connection, manage the criteria for the assemblage growth and its interaction with environmental geometries and data, and perform local (part) and global (assemblage) level computation on the results for analysis or post-processing.

Assembler is the result of 2 years of research and teaching. Developing it was, and still is, a learning journey: it taught me so much already about ways of thinking and making, and, at every turn, there’s always something new and unexpected (and not always pleasant, but still part of the process), new possibilities open up and demand to be explored (I file them in a “wild ideas” note).

There is a philosophy behind the tool, (synthetically) described in a section of the documentation. By all means, feel free to skip it; I believe a tool shouldn’t be restricted to the sole purpose it was intended for, but its affordances must be explored also through peruse, misuse and abuse (without harming anyone of course).

Now, it’s your turn. I look forward to seeing what you can do with it, and what I can learn from you.

Happy exploring!

Alessio


Links:

. Assembler main page

. Assembler on food4Rhino
. Documentation
. Example Files
. GitHub page

PS: If you are showcasing something made with Assembler, I’d love it if you tag me and/or Co-de-iT and use the #madewithassembler hashtag!

6 Likes

Looks like a cool and useful plugin, I just read through the intro/documentation/acknowledgements.

you must be anticipating this, but I will ask it: Can you explain in a few sentences how this tool differs from Wasp and Fox, and maybe an example of things I can do with this tool that I cannot with those?

1 Like

Hi James, thank you for your comment!

Well, I thought I had cleared that difference in the Acknowledgements… :sweat_smile: Evidently, I need to work on my prose!

In a nutshell: deterministic (non-random) choice, heuristics control and topology. Then, if I had to articulate all of them, it would be a long list… still, allow me to articulate a bit.

My interest is in the role of decision in a design process, and I wanted to build something based on explicit granular decision control: in Assembler, you can choose several deterministic decision criteria (or write your own criteria with C# scripting). The entire architecture of the tool revolves around this principle. Controlling how the tool decides at each iteration is something I found very difficult (if not impossible) with other tools. Also: I wanted a stable response (so, no randomness). Another key difference is how parts are conceived: mainly, the collision geometry is thought of first as a void to be filled later, and you can decide what geometry fills it on the basis of contextual data after the assemblage. As an example of these principles, you can check some of the advanced examples (folder 04): they show assemblages growing along isofield values (something in common with other tools), with controlled orientation and sets of rules that vary according to spatial zoning, thanks to a Field that stores scalar, vector and integer values - geometry is then selectively placed according to the orientation of the individual part in the Assemblage.
Topology is stored in the parts, and handled during the growth process with some nuance: other than having a map of connections generated by the applied rules, the system catches secondary connections and keeps a map of occlusions (handles that haven’t connected but won’t be able to do so because there might be another object in the way - if the object is a part of the assemblage, the handle would know who it is and vice-versa). All this information can be used afterwards (or while assembling using bespoke scripting methods).

Well, the list is still long, but I hope I answered your question!

The best way to discover them all is to go through the example files in order: between those and the documentation, I tried to put as much explanation as possible. Then, of course, there’s always room for improvement and any feedback is welcome!

I also have to say that I developed it more around what I wanted (and making it as organic and flexible as possible) rather than finding a niche unoccupied by other tools. So I think it is possible that some of the things I mentioned can also be achieved with other tools (or even with standard components).

4 Likes

Alessio, thanks for the reply. You did answer my question, and intrigued me to try it out. I’m heading to food4rhino right now!

1 Like

hi dear alessio
I had a question Is it not possible to give the initial module as a block and then convert it to a mesh so that the rotations are not ignored when baking?
The reason for my work is to be able to change the output dimension of the modules at the same time
I use Legopad and Rhino 8 plugins for blocks