At around 24 minutes of the video linked below, @BrianJ explains how to use a Floating Viewport to render a texture at an exact size:

I did pretty much what he explained but to make things one step easier I centered your content on the origin. I had some trouble moving the corner of the camera to your curve control point I think because I had linked viewport turned on. It worked after I unchecked the option. Here’s the file I captured:

And a screenshot from GIMP:
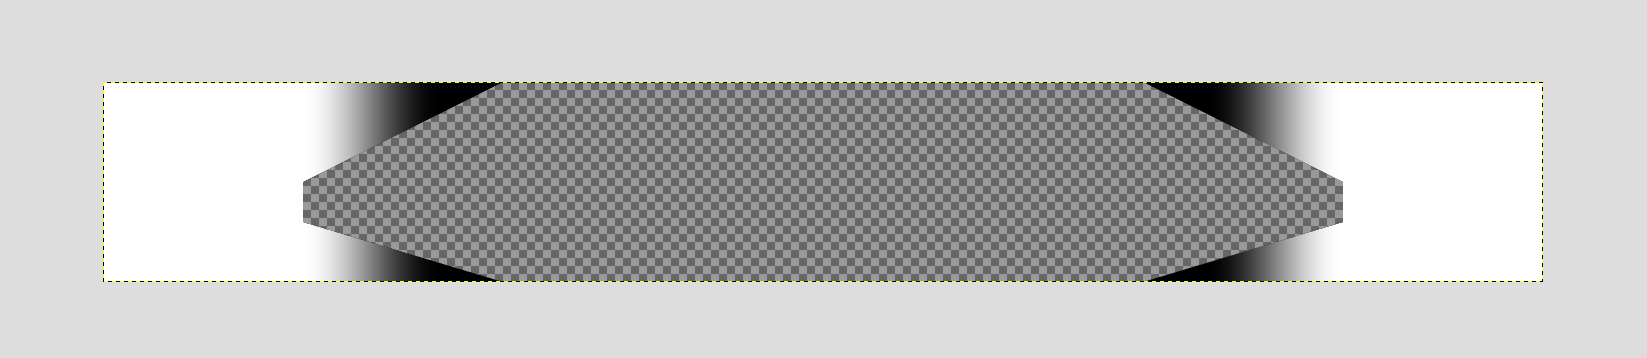
I see the gradient is not yet what you’re looking for.
If the hatch is replaced with a material, it seems to work. I kept your hatch on the left side and replaced the right side with a surface and added a gradient texture on the transparency channel.

And again a screenshot from GIMP:

The files are 1440 x 200 pixels. I did that to see it a bit better on my 4K screens.
compass_mask_720x100.3dm (171.1 KB)
If I could suggest an improvement it would be Gradient Hatches that are defined with transparency should also be exported with transparency.