Made my third electric heating iron but this time i recorded the whole thing.
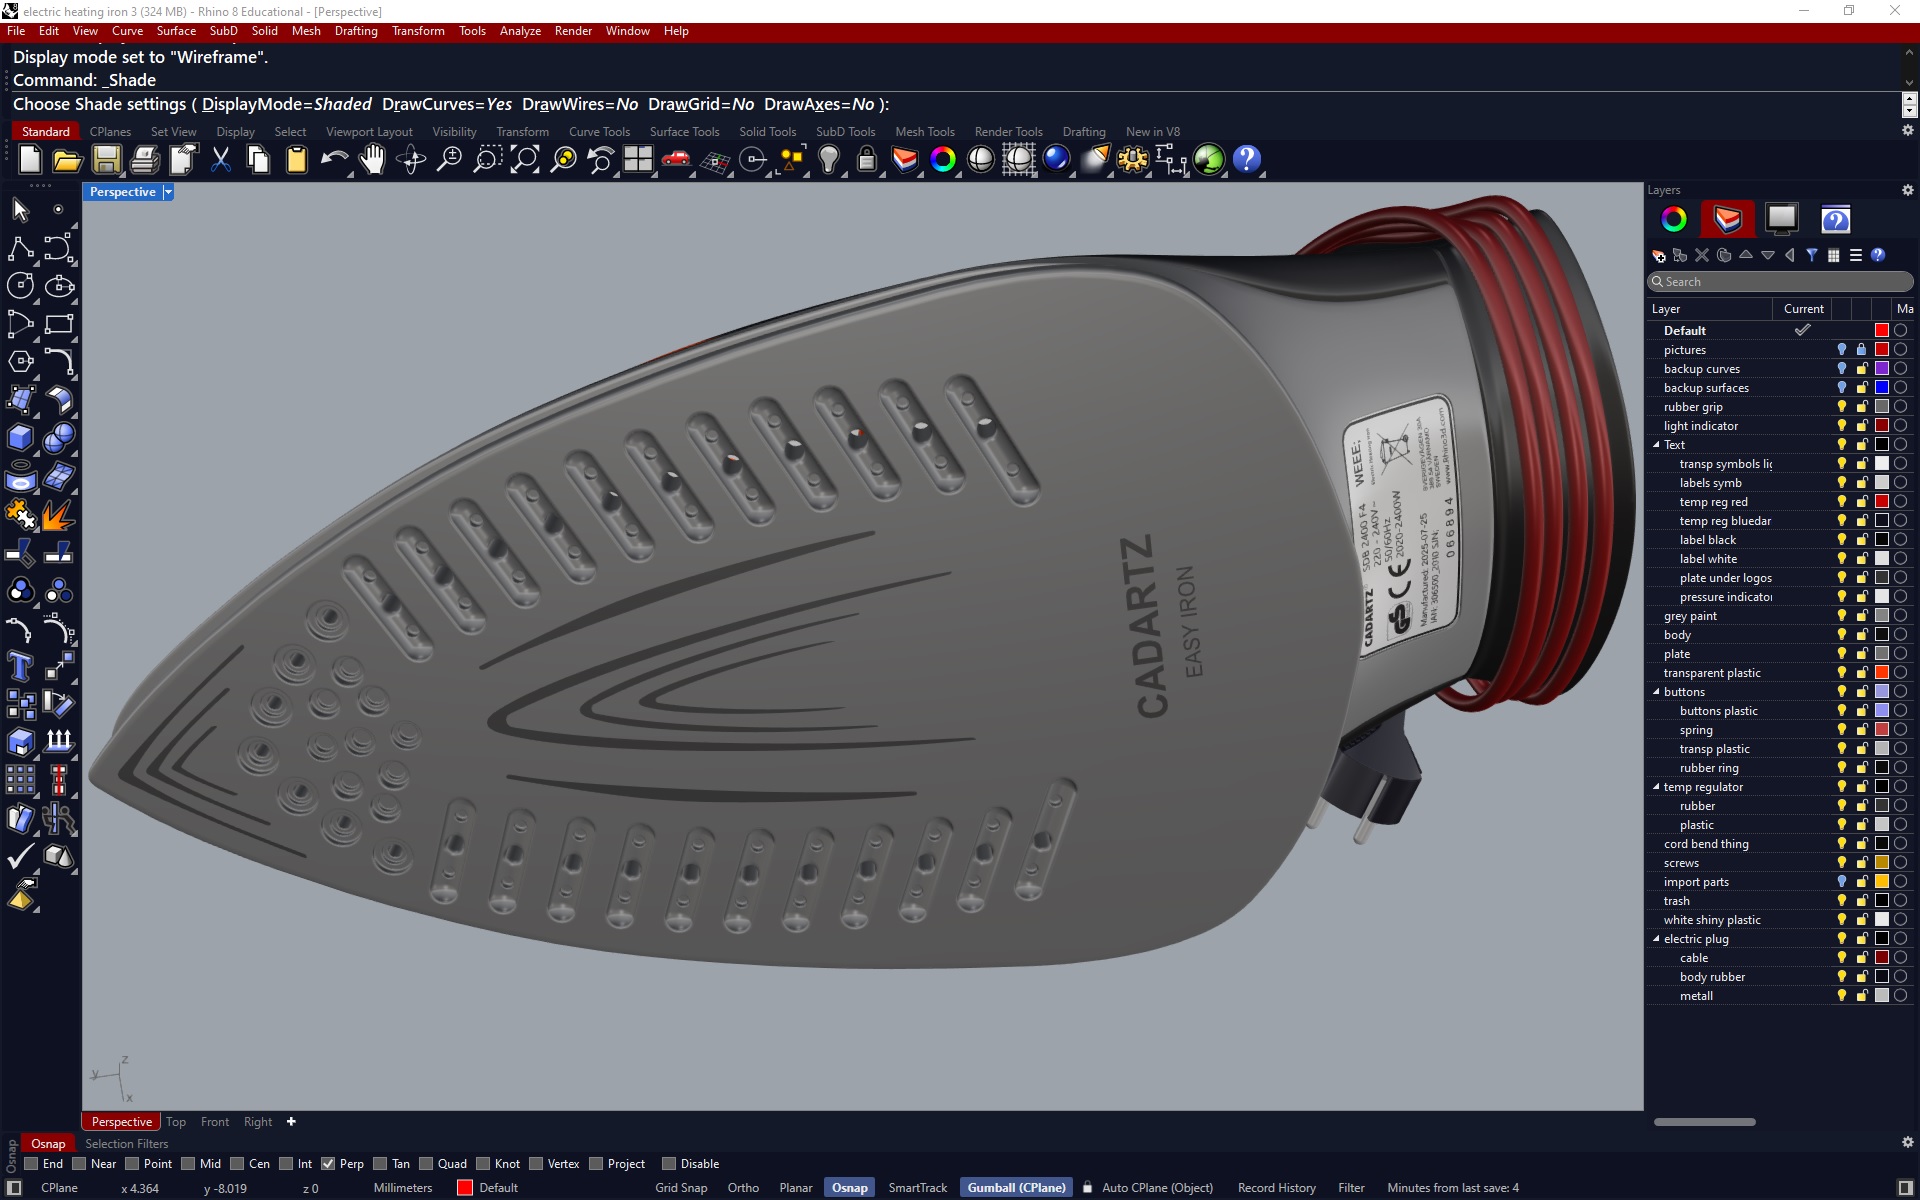
some renders


rhino shots


The video, let me know if i can make the videos any better since im just starting out making these, any feedback is appreciated enjoy.

Made my third electric heating iron but this time i recorded the whole thing.
some renders
rhino shots
The video, let me know if i can make the videos any better since im just starting out making these, any feedback is appreciated enjoy.
Just noticed some overlapping audio will this shortly and update the video
video is fixed a bit of silence a bit music in between for a long video
i got this youtube comment from this video, for those of you who use plastic city is this true? i kinda doubt this for any cad that uses nurbs only
3- 4 hours at the minimum if you know what you are doing but 18 maybe the body shell i dunno
or im just very slow?
I only watched a small part of the video, but where you can win some time is in BlendSrf:
Cool!
(It would be good to have a hint of what the “Straighten” number is about, from the video it seems like a percentage, I’ve used 90 a bunch of times thinking the value was an angle)
actually, you’re right, going over 90 is not useful. I suspect 100 ‘=’ 80
Clicking the straighten button multiple times is possible to refine the result
clicked 5 times on 100 value now its nice and straight, this saves me alot of time as it can be tedious adding shapes manually, thanks
maybe 100 wasn’t a good starting value, try something 85-89 ish. I wonder if we should make that the default.
default 30 does not seem to be doing anything at all for me i set it from 80 and now 90 there is just a slight fix needed here after several clicks doesnt solve it entirely
before
after add shape
I watched the blendsrf bits the amount of time I could shave off from the video is more than 30 minutes
It’s quite significant I will definitely use this in my workflow from now on just need to kill old habits from v5
Got any more improvements I can make just keep em coming it helps me greatly
here’s another area where you can save yourself a lot of time. The features you add in the bottom plate can be seen as a hole, and as such can be copied/arrayed. ArrayHolePolar in this example:
Also, in the process where you are creating the boolean difference, I see you selecting the cutters one by one. Why not simply window select them?
Depends what the intention is. That part designed for manufacture would take more than a week, but if all I care about is a quick render with zero concern for anything else then a quick sculpt is possible though 18 minutes seems like a stretch.
Another good one: Arrayholepolar
For the bool diff reason i do this sometimes is because it takes such a long time for it to process if all is selected also gives me the time to inspect the results
Sometimes its also bad habits so I don’t stop in the process even if I know i can select them all the job is done anyways it sounds silly but you can notice this in all videos I have released so far spending hours in Rhino the mind does not always follow the same path to get the same job done
It’s like the middle mouse button menu and having it mapped on the side button of my mouse I know it’s there but I click on the middle mouse button anyways
And even better: i have hide and isolate command on another side button but I click middle mouse button menu
He is releasing a video so let’s see, I told him normal speed in 18 minutes in plasticity with same level of detail or greater
Either he does it or not is irrelevant to me the idea with my videos is not to be a tutorial but to give people ideas on how one can do things or start which is already a success if he shows it
Plus a free video, heating iron model in plasticity does not exist some forum members here use the software they could use a normal paced “tutorial” like video created by one of my lovley viewers ![]()
Hi Gijs
i tried this arrayholepolar and i need couple of options for this to work for me
follow a curve path
and orientation option from the reference image you can see there is no rotation on the holes
just like what you have in “array along curve” command
“Array hole along curve” command is needed
I saw that coming ![]()
A little bit more of a workaround: you can extract the surfaces that you want to array, then array those along the curve. DupBorder to get the trim curves, and use these to trim the base.
will christmas come early? ![]()
i was just testing this it works well


