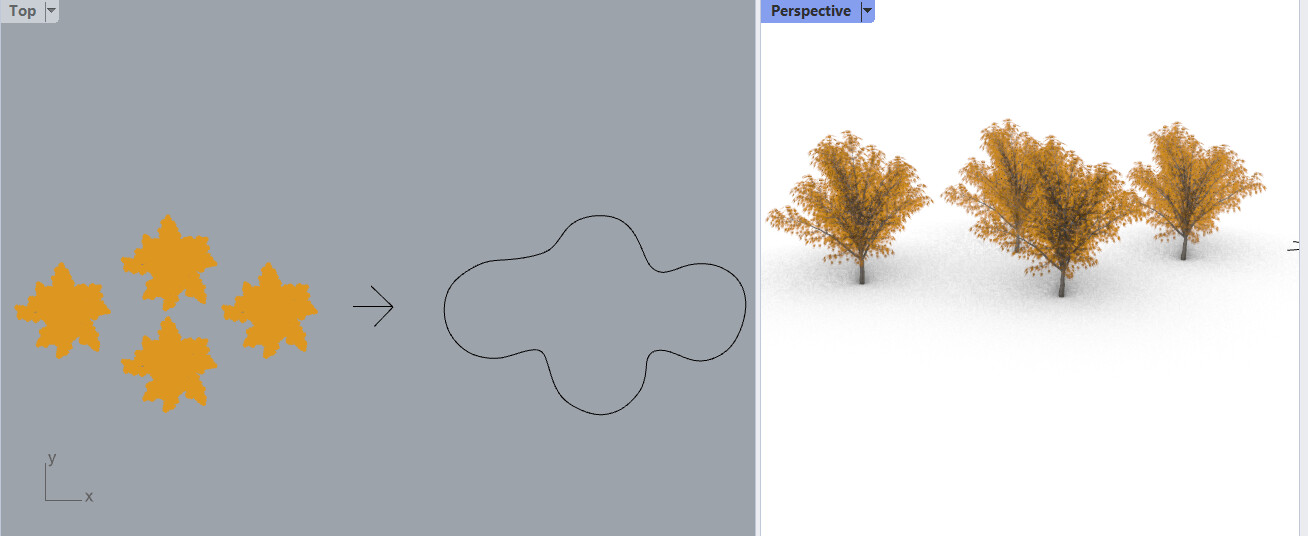
I have some trees in Rhino created with LandsDesign plugin. Is there a way (in Rhino / grasshopper or LandsDesign itself) to create a 2D boundary line around them in the plan view? something like this:
The above is just an example. In real life I will have the whole park with multiple tree types, and need to create a planting schedule with different species, similar to the below:
3 possible approaches - assuming it is more a graphic workflow you re after:
Use Shrinkwrap (Rhino WIP V8) to generate a overall (3d) mesh that “packs” the group of trees.
then meshoutline to get the curve.
You can also do simpler stuff like this in 2d - use Affinity Photo or Adobe Photoshop.
Do a selection - of the trees
extend the selection
optional smooth the extended selection
shrink the selection back
Also check “convex hull” which is not 100% what you’ve drawn. (more like a string / rubber band you wrap arround - without any concave section).
maybe give more info what exactly is the usage of the resulting curve - just visualisation ? on screen ? printed ? for fabrication ? which precision is needed?
You can get the tree mesh vertices and compute their boundary using the native Convex Hull Grasshopper component. For concave hulls (i.e. like in your sketch) you can use alpha shapes:
MeshOutline or Convex Hull would do the trick I think, just not sure how to get my trees to mesh form beforehand. I have Rhino 7 so sadly don’t have shrinkwrap. Exploding the trees makes them into open meshes, but computing for meshoutline after takes too long (and usually just crashes my rhino), and also ideally I’d like to have my trees in their original form so I could still edit their properties in LandsDesign. I also need the final output to be 2D Autocad so I could calculate m2 of the areas, so don’t want to take it to Photoshop. The final output is planting area drawing (a bit like picture below, just 100 times more complex!):
Each ‘blob’ will have m2 area, and a table next to it specifying what plants are within it (some blobs will be for plants, and some will be for trees).
ok but you’ve looked a the link posted already above by AndersDeleuran ?
I think the quick and dirty version is:
use a 100x100 square as size reference.
photoshop - selection - make workpath - copy paste to illustrator - export svg / ai / pdf - import back to rhino - use the reference to scale to more or less the size.
try above workflow with different resolutions - what ever your machine is able to handle.