Grasshopper and shoe design?

David, thanks for replying. I even thought sending you an email (mcneel) about this.
In fact, most of my work is kind of artistic. It means there’s no much place for patterns.

But I’ve seen some complex shapes made with GH and I thought it would be interesting adding some eccentric shapes to the shoe leather, specially in plastic ones, where some patterns of shapes do repeat.

I’ve tried to download the GH primer PDF, but the website no longer has a link to it (english version).
As I don’t know GH, I’d need to have an idea about what’s possible to do with it.

By the way, is there a place with shapes generated through it?

Thank you David!

:smile:

Sorry Holo, but I didn’t undestand the “joke”.
In fact, as a Rhino fan, I’d like to know as much as possible of it.

Hi Joddys,

there may have been some misunderstanding. When I mentioned “pattern” I
wasn’t specifically referring to geometric patterns, but more to
methodological ones. Are there certain steps you always have to take that
could be converted to an algorithm?

It is true that GH is particularly unsuited to mimic manual modelling. A
lot of organic surface tools are simply not available.

You can have a look at the Gallery on the Grasshopper Ning forum (
http://www.grasshopper3d.com/photo ), but it’s pretty architecture heavy.

Sorry, it was just the choice of word run in “run into cases” in the context of sneakers. My bad, long day, bad humor :smile:

Talking about running jokes:
Q: What do you get when you run in front of a car?
A: TIRED

Ok, I’ll stop now while I’m ahead :wink: Cheers!

4 Likes

David
When developing the shoe upper, sometimes adding geometry looks nicer than textures.
I’ve found these two impressive images at the galery
pattern 1
pattern 2

I think it would look amazing doing something like that to replace some flat surface with it. Is it possible to make the geometry follow an exact shape with GH?
I could use it to simulate some kins of fabric in shoelaces, as an example.

Hi @joddys, maybe Displacement Mapping can help you during the design/shape finding face.

Here is a simple shape with a black and white texture added to displacement:

displacement.3dm (985.7 KB)

Note that I sat displacement to max, tuned the “white point” from 1 to 0.2 and sat a custom render mesh that is finer than usual to get enough polygons. The result is a 227.000 polygon mesh part. So it is quite “heavy”.

And by the way, the surface was flipped, so flip the direction if you like, (I didn’t notice) so the displacement goes in instead of out. Set White to 0 and black to 0.2 if you want to change that as well.

Holo!
Sorry, but displacement can’t get the following results.

Any suggestions?
By the way: done in Rhino V4

No, not in Rhino it can’t. But you wouldn’t need that for production, so is this for rendering purposes, and if so in what renderer? It looks amazing, but why are you keeping that in nurbs? If you extract the meshes you can join them together and that will make the file much lighter and faster. Impressive to see!

Dear Holo!
I need to say that this work is from a fellow of mine. He’s teaching me how to do it. I think I can use this technique for jewelry design.
Take a look closer in the grid pattern, please. Suppose I need to do some extra shapes in its edges, let’s say something like a diamond.
I know a lot of this can be achieved by textures (I use Blender for rendering) on exported meshes (lighter). The point is that I want to increase my skills in Rhino too.
So, that’s why I thought Grasshopper could be handy.

1 Like

Wow modeling individual threads on a single shoe lace has to be the most intricate Rhino model I have ever seen. Impressive.

Joddy,

The diamond shapes were done (very tediously) with a grid array of diamond curves, then used them to split the surface. Copied the new diamond shaped surfaces, undo, paste, offset diamond surfaces to solid.

The laces were done similar to the tutorial below, but with one sweep going clockwise, the other going counter clockwise.

Holo,

The end use was for 3D printing. So all the geometry had to be accurate in the part, instead of being able to rely on render materials.

Excellent work. Did the 3D print turn out good?
Remember that it is also possible to extract the displaced rendermesh, so rendermaterials can be used to aid modelling too. But it is often just as fast to model the geometry like you did.

Grasshopper is a fantastic tool for shoe design! I don’t see myself working without it! Thanks David and McNeel for Grasshopper and Rhino!

2 Likes


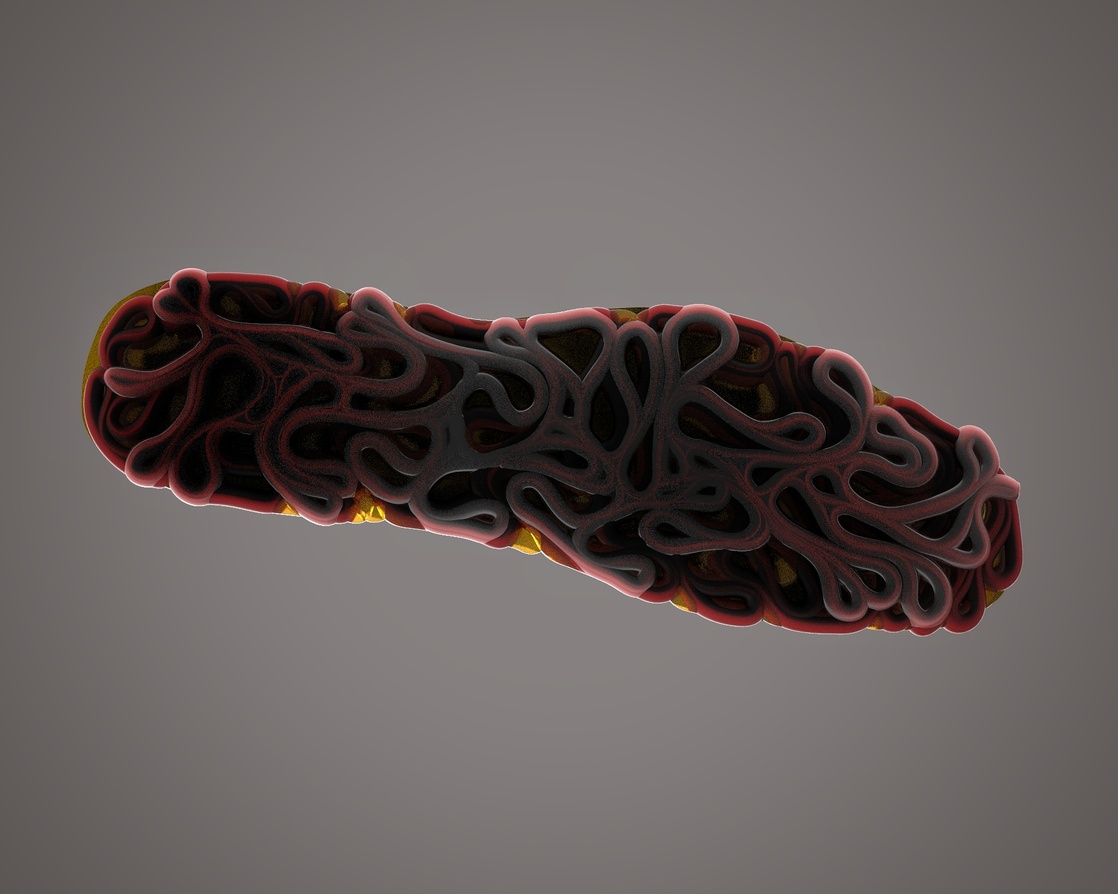
These are some of my work’s done through grasshopper for shoe; mid sole; outer sole design…

12 Likes

Very nice!
Could you be so kind to share some information regarding a starting point to understand how to design them?
Sincerely,

1 Like

Thank you @pectudaniel i created shoe base shape using reference of some shoes pictures available in internet. Using sweep 2 rails command after that i created lattice structure for midsole using grasshopper algorithm. This is the basic way to achieve this.

2 Likes

We use Grasshopper at Nike and I know many other sports shoe companies use it.

5 Likes

Very interesting to me! How do you use it? Can I see something somewhere?
Thanks,