I’ve tried a lot of different ways of adding an Icon to a Mac C# Grasshopper Component but I really don’t get it. I’m not a pro-coder but I thought I was fairly ok…
I’m working on a MacBook Pro in Visual Studio
I have no problem making components that work
BUT I really can’t get an icon to show up
I’m fairly sure that I’m not properly adding a png icon as a resource
Because it never appears in the auto-prompt when I type
Please can someone help me out with some idiot proof instructions that work on a Mac!!
right click on that file and set Build Action > Embedded Resource
add resource file to your project (by right clicking)
modify your resource.resx xml accordingly to contain the resource icon name. attached is my resource.resx file. I’m not too sure about what publicKey to put, i happen to copy from the windows version of my component. resources.xml (6.9 KB)
Thanks for the info!
I think the editing the resource.resx was where the confusion in my head was
(Let’s pretend that it isn’t just me…)
Just to make it a little clearer for other people I’ve:
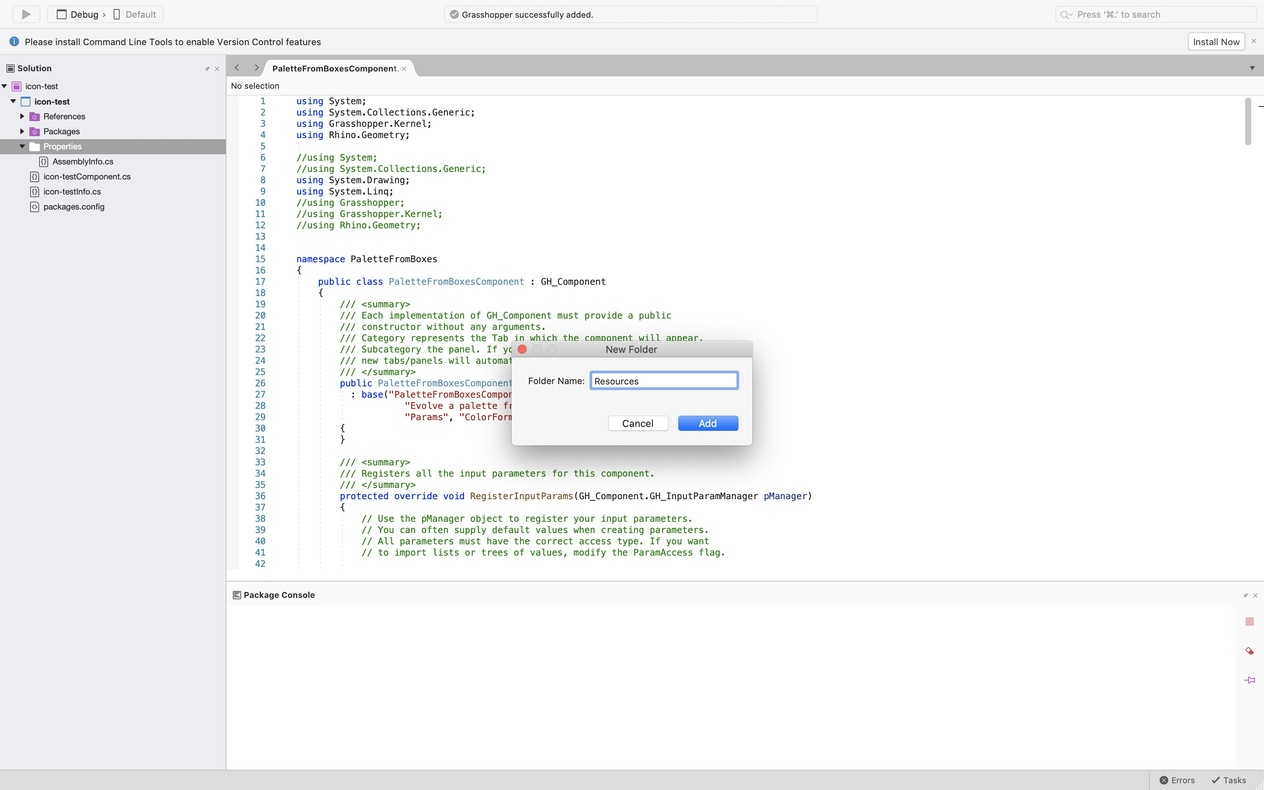
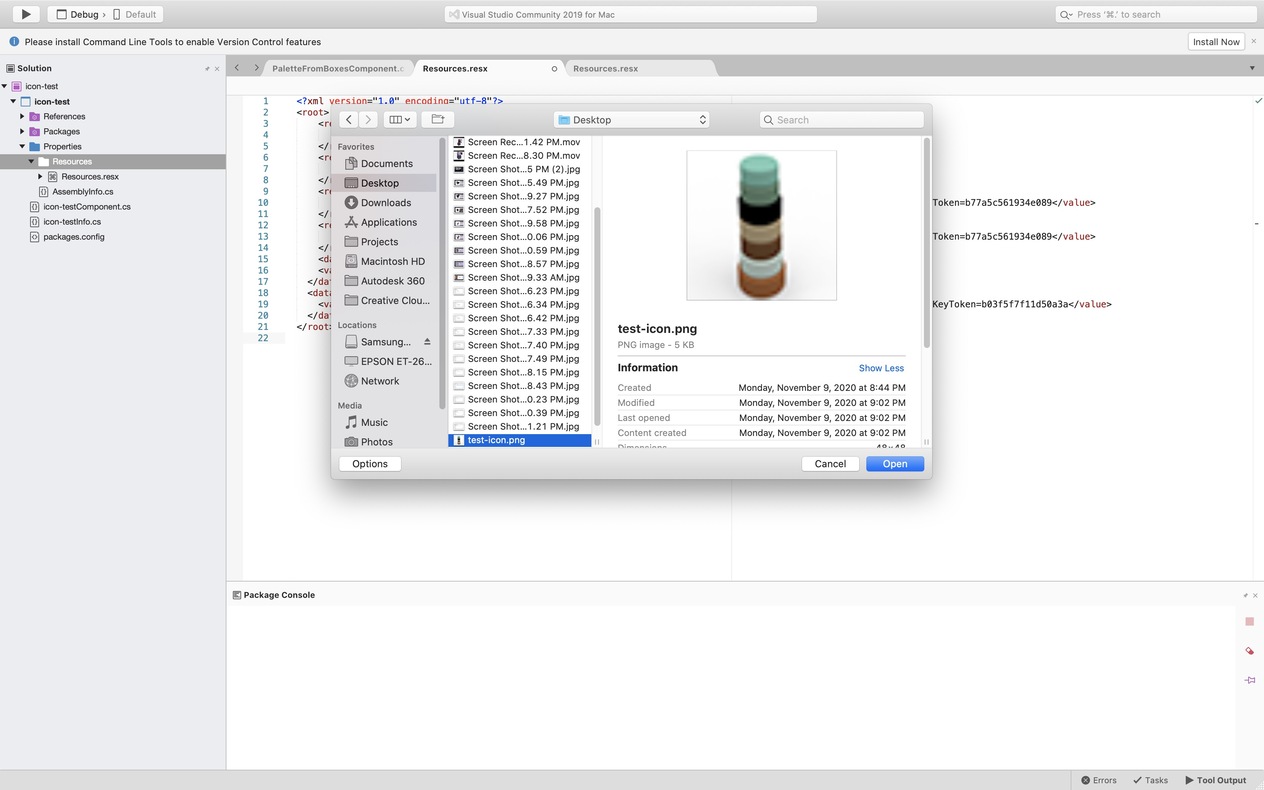
placed using the Mac [File] Finder an 24x24 pixel png image icon (called named_icon.png) in a new folder called “resources” in the folder called “Properties”
added the icon to the project directory by drag and dropping it on the “Properties > resources” folder in Visual Studio
right click on the added icon file and set Build Action > Embedded Resource
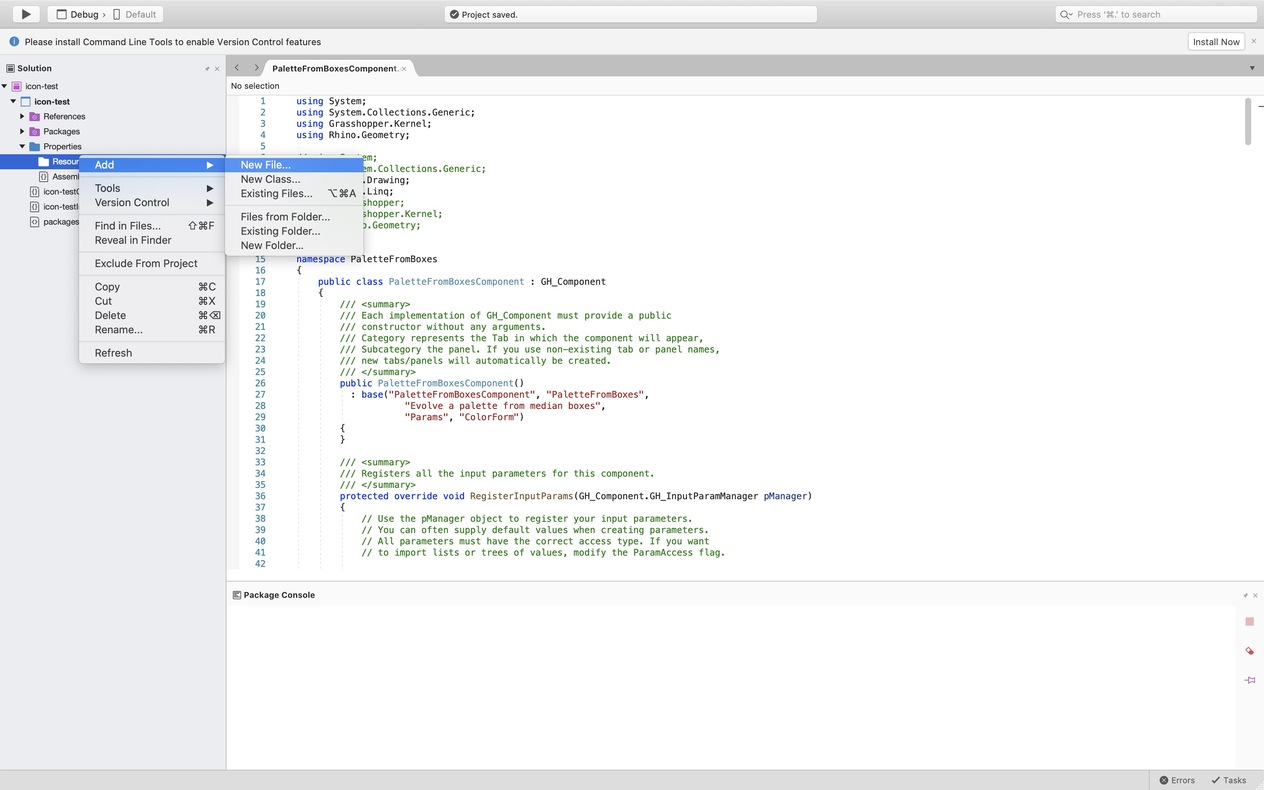
added resource file to the project (by right clicking on the “resources” folder in Visual Studio) selecting Add > New File… (in the pop-up that appears) Misc > Resource File
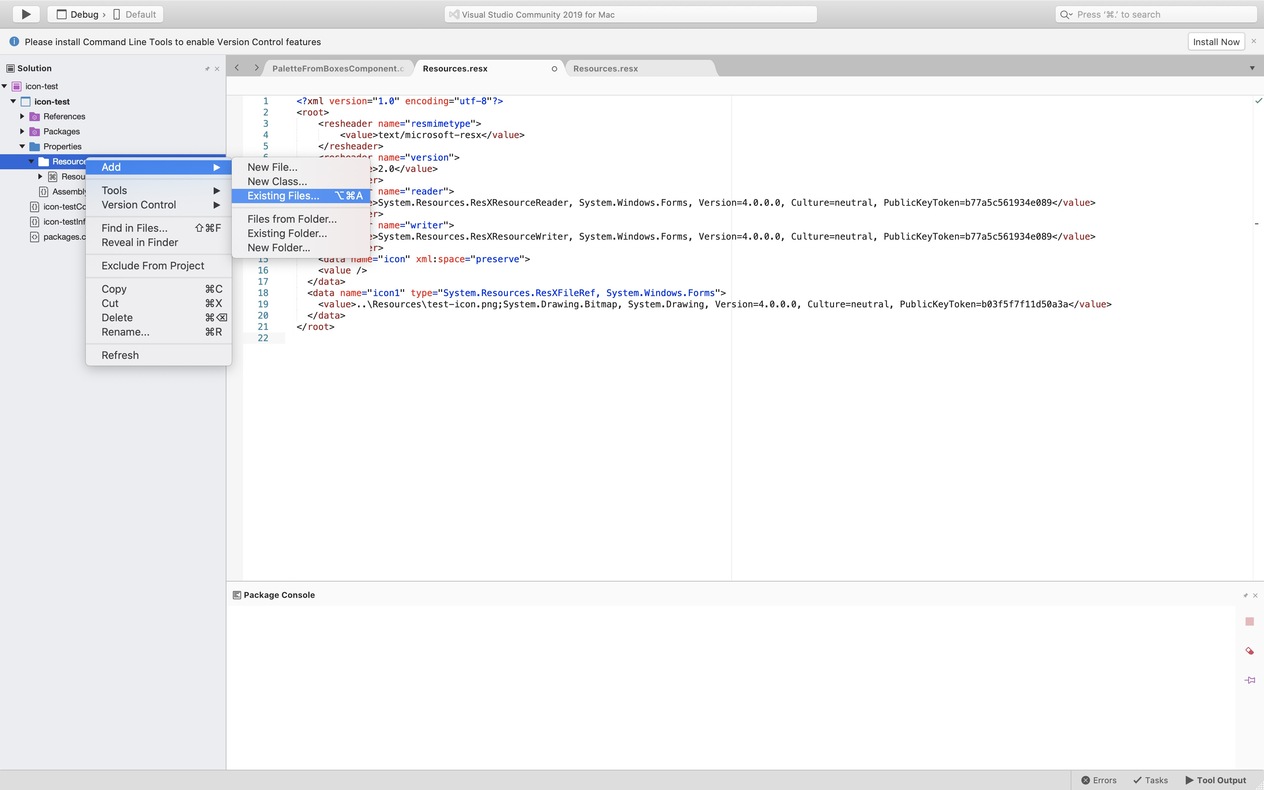
the file resource.resx opens and the xml code is modified to include <data name=“icon” […etc…] from your file just above the final line
left the PublicKeyToken alone (seems to work like that)
added this line to my .cs code > return Properties.resources.Resources.named_icon;
(next time I’ll name my folder icon_folder to be less confusing)
Hi Nishanth,
One thing that I noticed is that I can add an icon once and then if I try to change anything it doesn’t like it.
So once I’ve finished I would rebuild in a new project and then add a new icon
(But to be honest I’ve given up with this as I am only sharing my components with my students)
Andy
Hi Nishanth,
I guess resx file is a bit sensitive. I was getting "Error: The 'ResXFileCodeGenerator' code generator crashed: Invalid ResX input." , but it worked fine after few moments and unfortunately I couldn’t regenerate the same error. My workflow was:
1- add a new folder to project directory (optional) , I just used “icons” as folder name.
2- add your png files inside this folder.
3- right click on the folder you created then add > new file , and from misc choose Resources file.
4- just before the last line </ root> and after </ resheader> add :
*check attached resx file "don’t forget to change icon names and path according to your structure "
5- save your resx file.
6- in your C# Gh component file under protected override System.Drawing.Bitmap Icon part, change return null; to return icons.Resources.icon2; , where icons is the folder name and icon2 is icon name in my case (autocomplete should be working).
notes:
“Build Action > Embedded Resource” didn’t have any effect, it works fine without it.
folder naming and structure affects only bath value in resx file and your return line in gh component file.
on mac use " / " instead of " \ " when you define path.
the first icon takes one less </ data> tag , check attached file.
I used different public keys and it worked just fine.
resources file was in same folder where icons are (not sure it has any effect).
Designer.cs should update automatically when you successfully define and save new resources in .resx file.
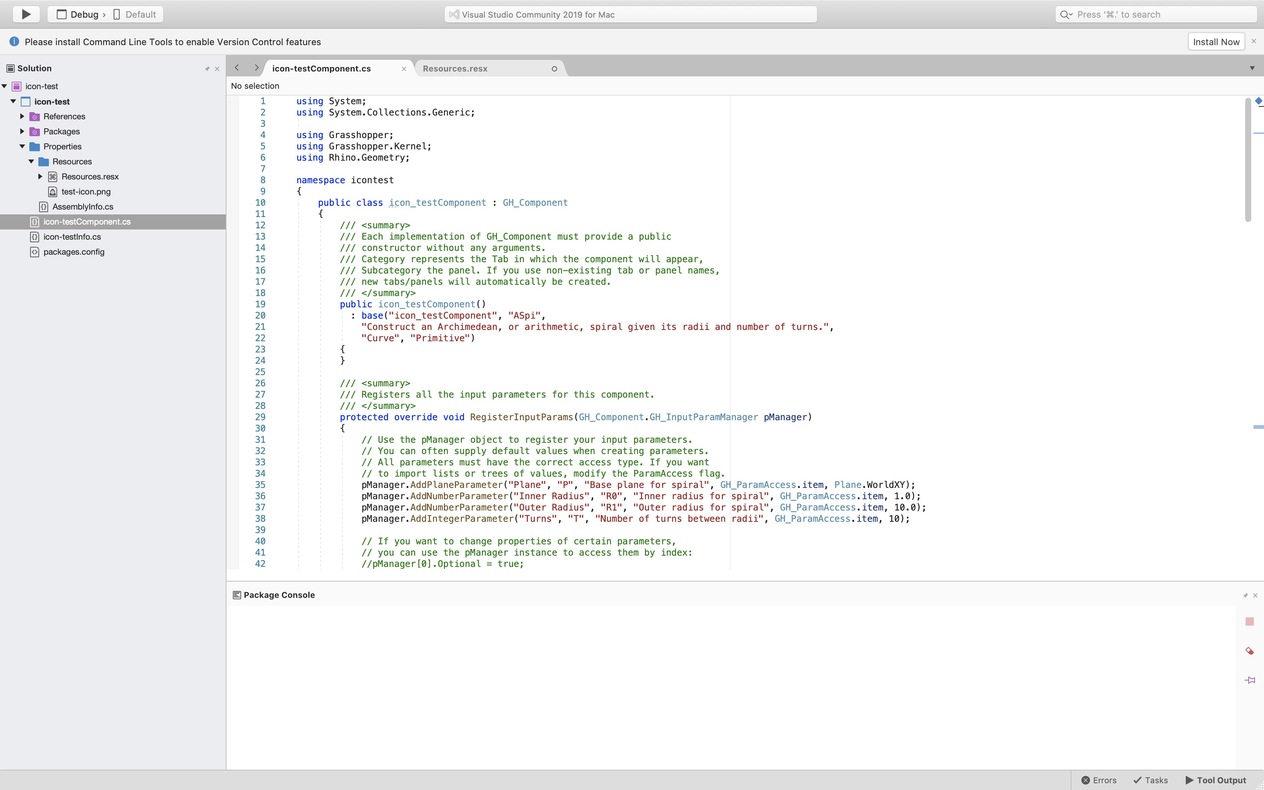
I just went through this successfully again and took screen shots
Don’t forget to save the resx file after you have edited it
I hope this is useful for someone