Hi!
Thanks so much! I am not really an advanced level at rhino, and, with this, i have the licence commercial version but in french.
So, i will try to understand what you say but now, i don’t understand all, but i will try!
Thanks so much!
Hi, thanks!
Well, this is the step by step using loft…i think i’m on bad way because it’s not what i want… ![]()
With loft, at the end i have this… not really what i want.
Below, i put the new try using “section”.
It’s nearly what i want, except that i don’t know how to smooth surfaces because at the jonction, it seems low poly…
Using “section” and trying parameters…
It’s nearly what i want but at the jonction, it seems “low poly”! ![]()
A hint: You can upload multiple images in the same post. Just make a new row, and define a new upload file as usual, no need to make a new post for each picture.
// Rolf
2 Likes
Hi! Thanks so much!
Also, perhaps you should just post the 3dm files with the curves so that someone can have a go at them…
1 Like
I do similar work, then CNC. Sweep the inner curved section separately. Then surface the “sides” where applicable separately [in the drawing you posted you have none], then the top fingerboard area. Join or create a solid. Attempting to sweep the outer and inner at the same time will give you interpolated solid/surface curvatures, even if you add additional “control curves” - I think this is what you are now doing. You require a flat planar finger area. Do the surfaces one at a time and then join. Again, split your control curves into curves and lines - sweep the curves along you center curved full length neck curve, surface the lines [finger area], then join. Does that make more sense? Try it, you will be happier. If you fail to fully constrain anything, and the “curved” section extends beyond your finger area - simply trim or slice the offending surfaces with your neck length line from the “front” view before you surface the flat and join.
What I just stated sounds convoluted to me too, but I think you’ll understand without CAD examples. Got to go - good luck.
1 Like
test_.rar (142.4 KB)
Hello,
I made a small file to help you. I avoided measures and reality for time reasons but I think you can understand what I’m trying to achieve in the example. You could achieve the result in many ways but I propose in the file an easy way to do it.
Hope it is helpfull.
1 Like
Here’s an approach which allows you to vary the curvature along the neck.

violin neck test.3dm (543.4 KB)
1 Like


Hi Clark!
Thanks so much!
But i’m trying the first step of what you wrote: sweep in 1 rail.
I give here step by step what i did.
I don’t know if it is what i should have. Because we see that at the right, the volume dosn’t go to the end of the curb section.
After that you write" Then surface the “sides” where applicable separately [in the drawing you posted you have none], then the top fingerboard area. "
Is it now that i have to create this:

At the end, is it the command "end cap "?
But now i don’t understand what to do! 
Is it first the good result i have?
Thanks so much
Sandrine
Hi luis!
Thanks so much!
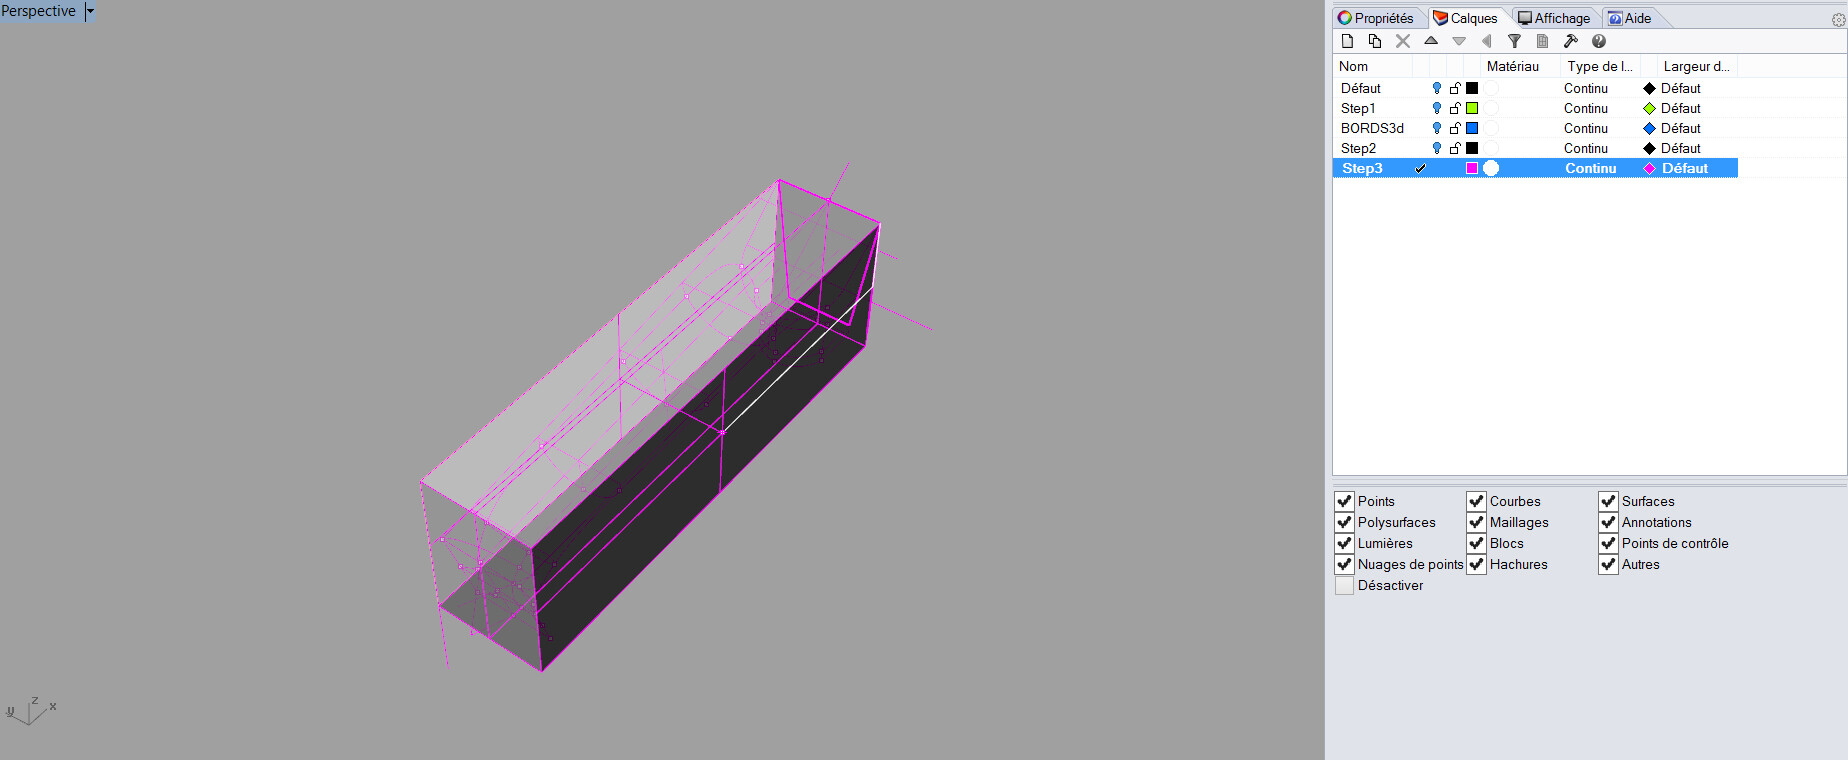
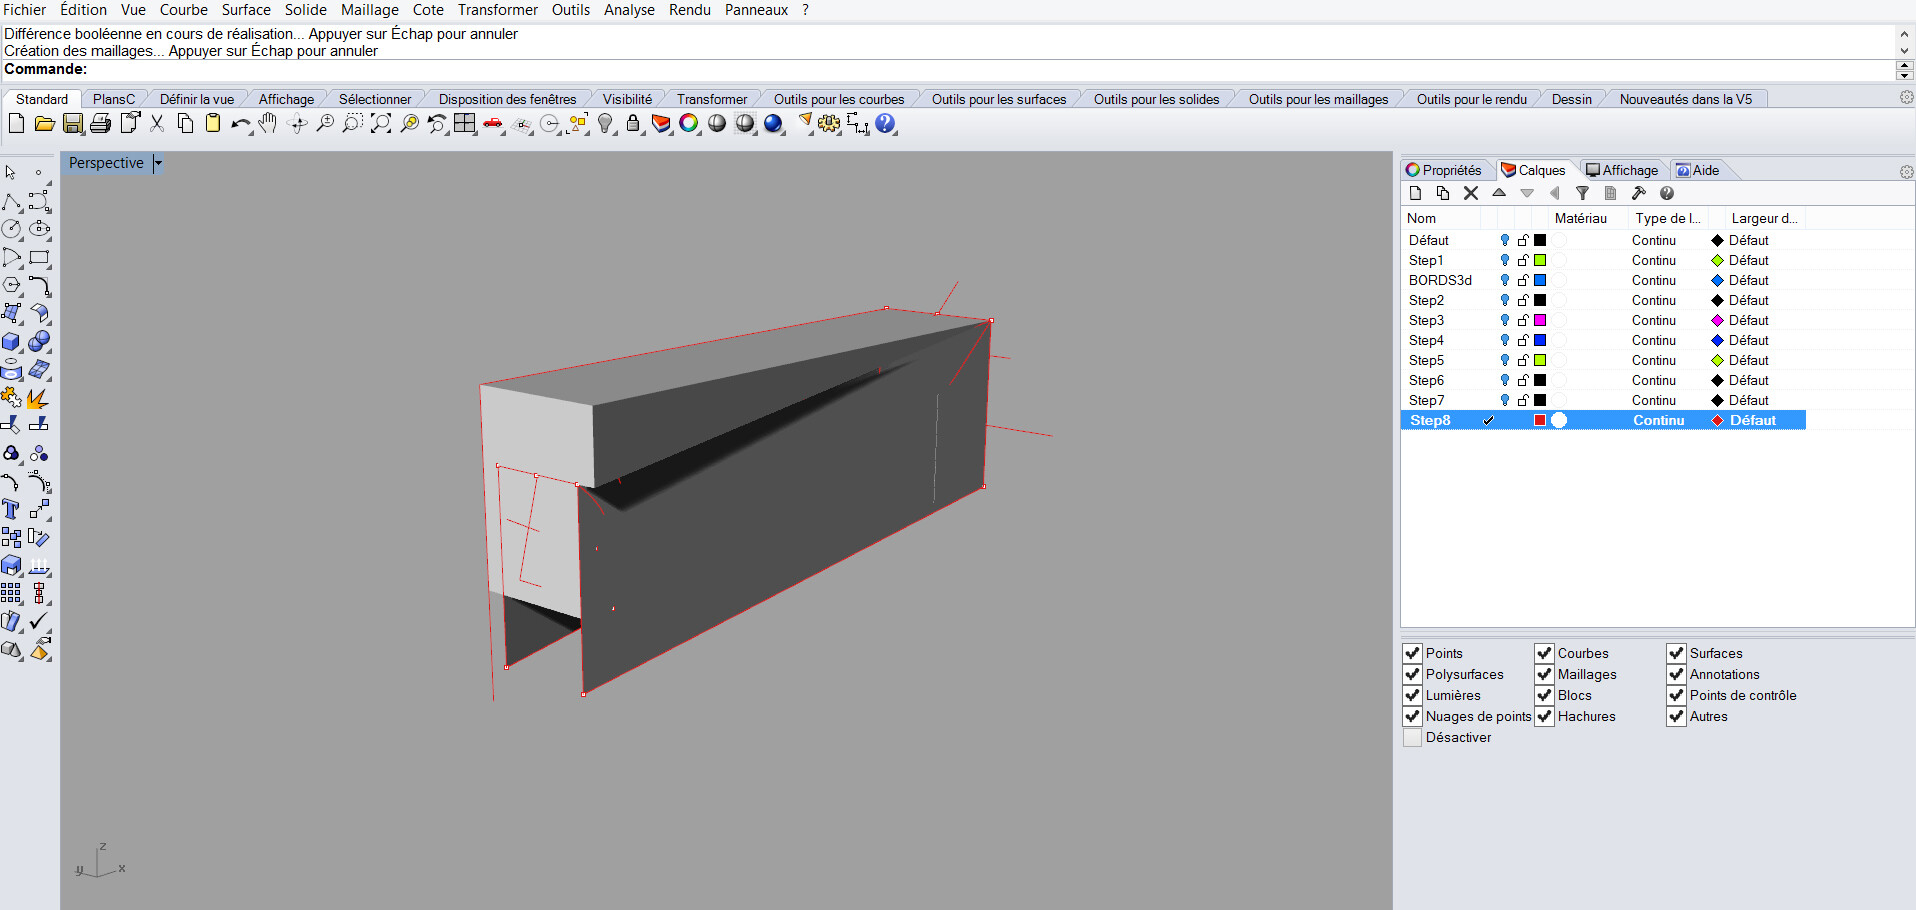
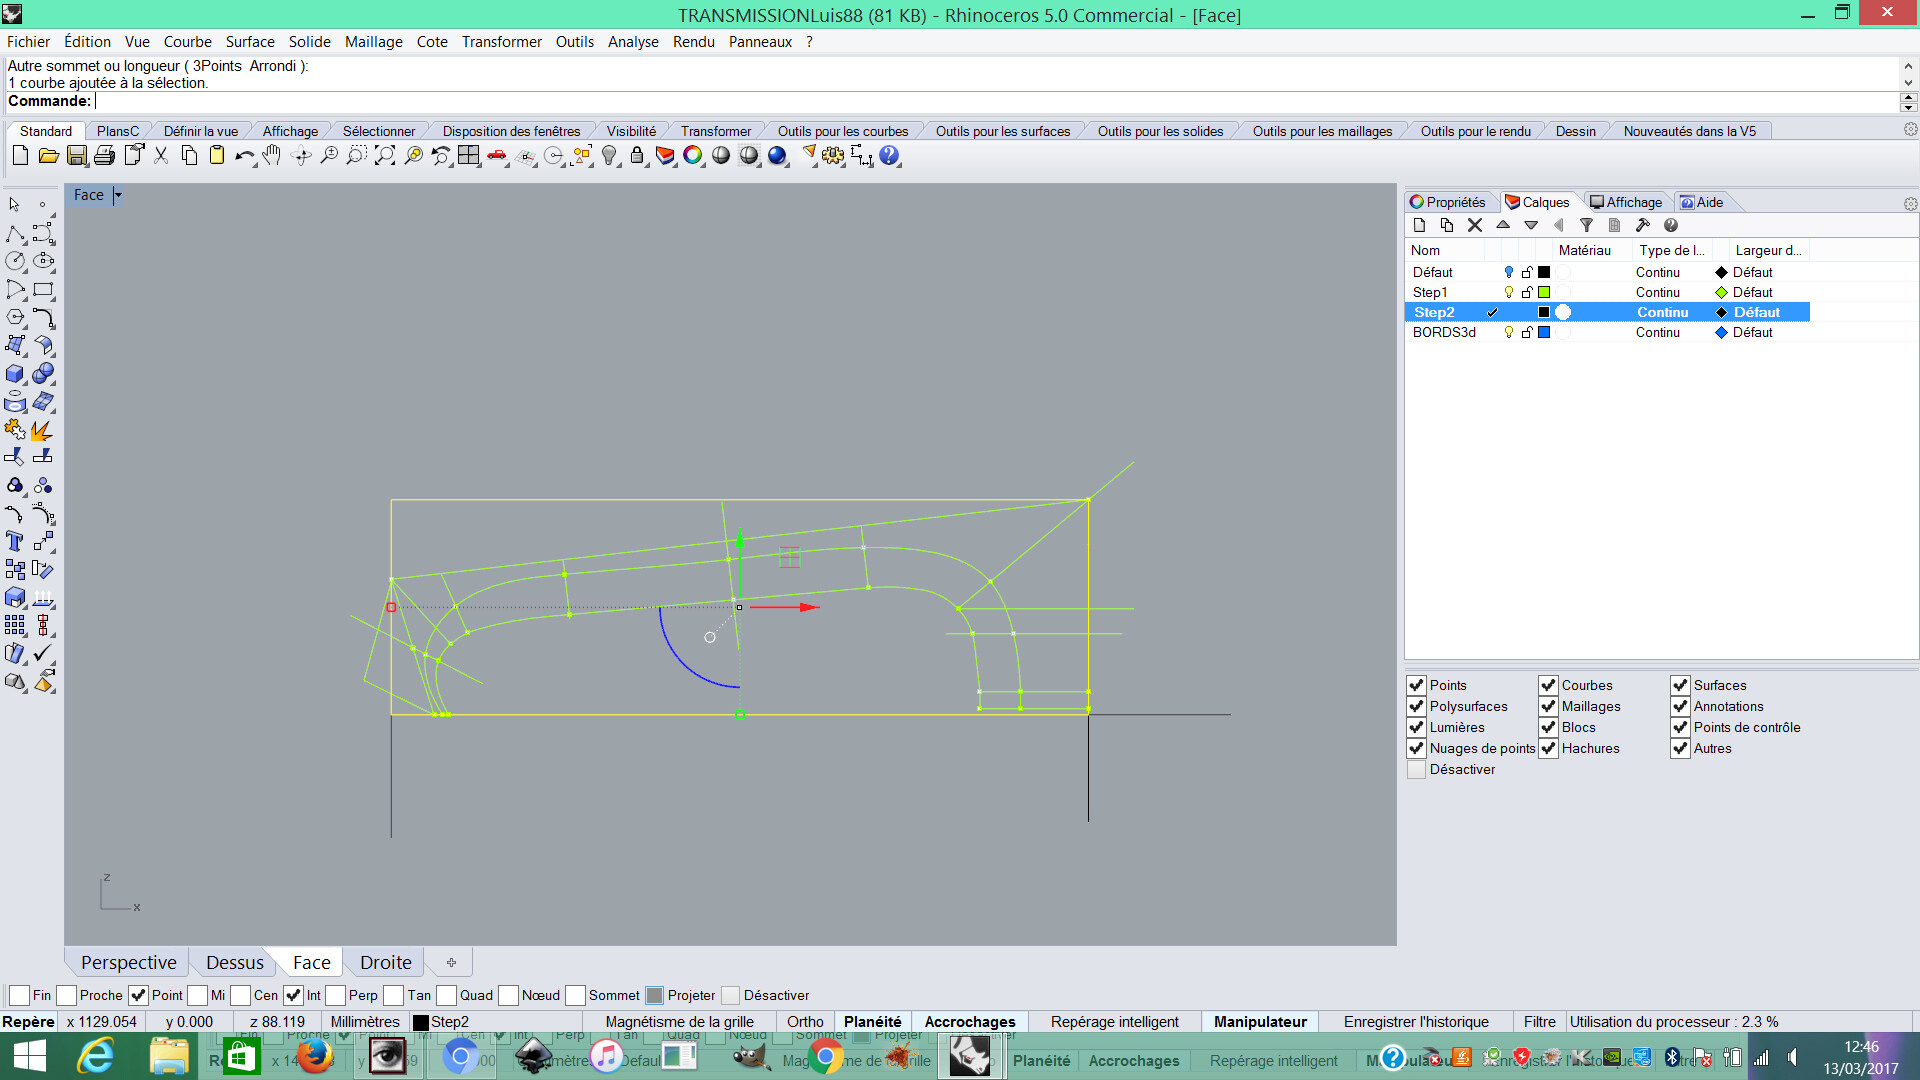
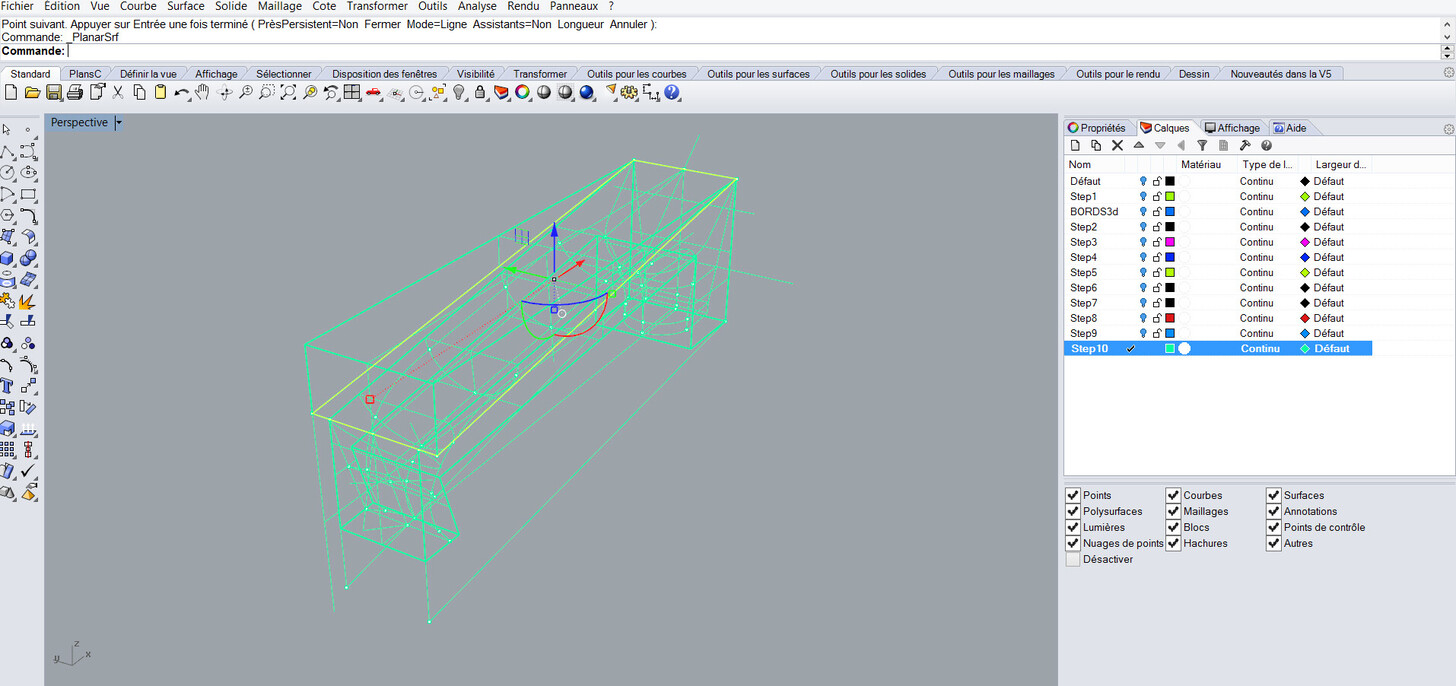
Well… i just tried to do like you did, and i jiin my file unachiieved, and the all step by step screenshots.
At the end, i don’ know how to do your 3 ultimate steps: i thought it mas “intersection booléene” for have the curve, but it’s written " intersection failed".
At i don’t know how you the ultimate step, to have this curve around the neck… i’m learning Rhino… ![]()
Other question is, if i understood well how you did, you are using a lot of boolean oprations, i read for 3d printing, or globally, we have to be very carefull for the bolean operations, sometimes we can have bad surprises… is it that?
Thanks so much! ![]()


1 Like
And this is my file!
Thanks so much!
MancheLuis88.3dm (1.2 MB)