Thanks for your interest, Kyle.
These are produced with an elaboration of a hack to avoid long ray-traced rendering times that I first started using almost twenty years ago, when Rhino and other software would spend hours working out actual renders. It is simpler than it reads.
So I begin with customized viewport display modes that I have cooked up. I capture them as PNG files using the Capture Viewport to File tool, and then I stack the PNG files as individual layers in a layered PSD or PSB file in Photoshop (or in a similar layer-capable painting software package, like GIMP, Fresco, or Krita…but Photoshop has the best capabilities currently). And then I use painting tools (sometimes controlled with a Wacom stylus and tablet) to mask or reveal parts of the individual layers to get the composite effect I want. I tend to apply a minimum of materials and mapped textures in Rhino; most surface material-simulating effects are painted with Photoshop.
The key to having this all work is a custom viewport display mode I made that I call Layer Mask, which has no shading, curves, or edges, and where all visible objects are displayed with the flat layer color. For this particular image, here’s the “Layer Mask” captured viewport:
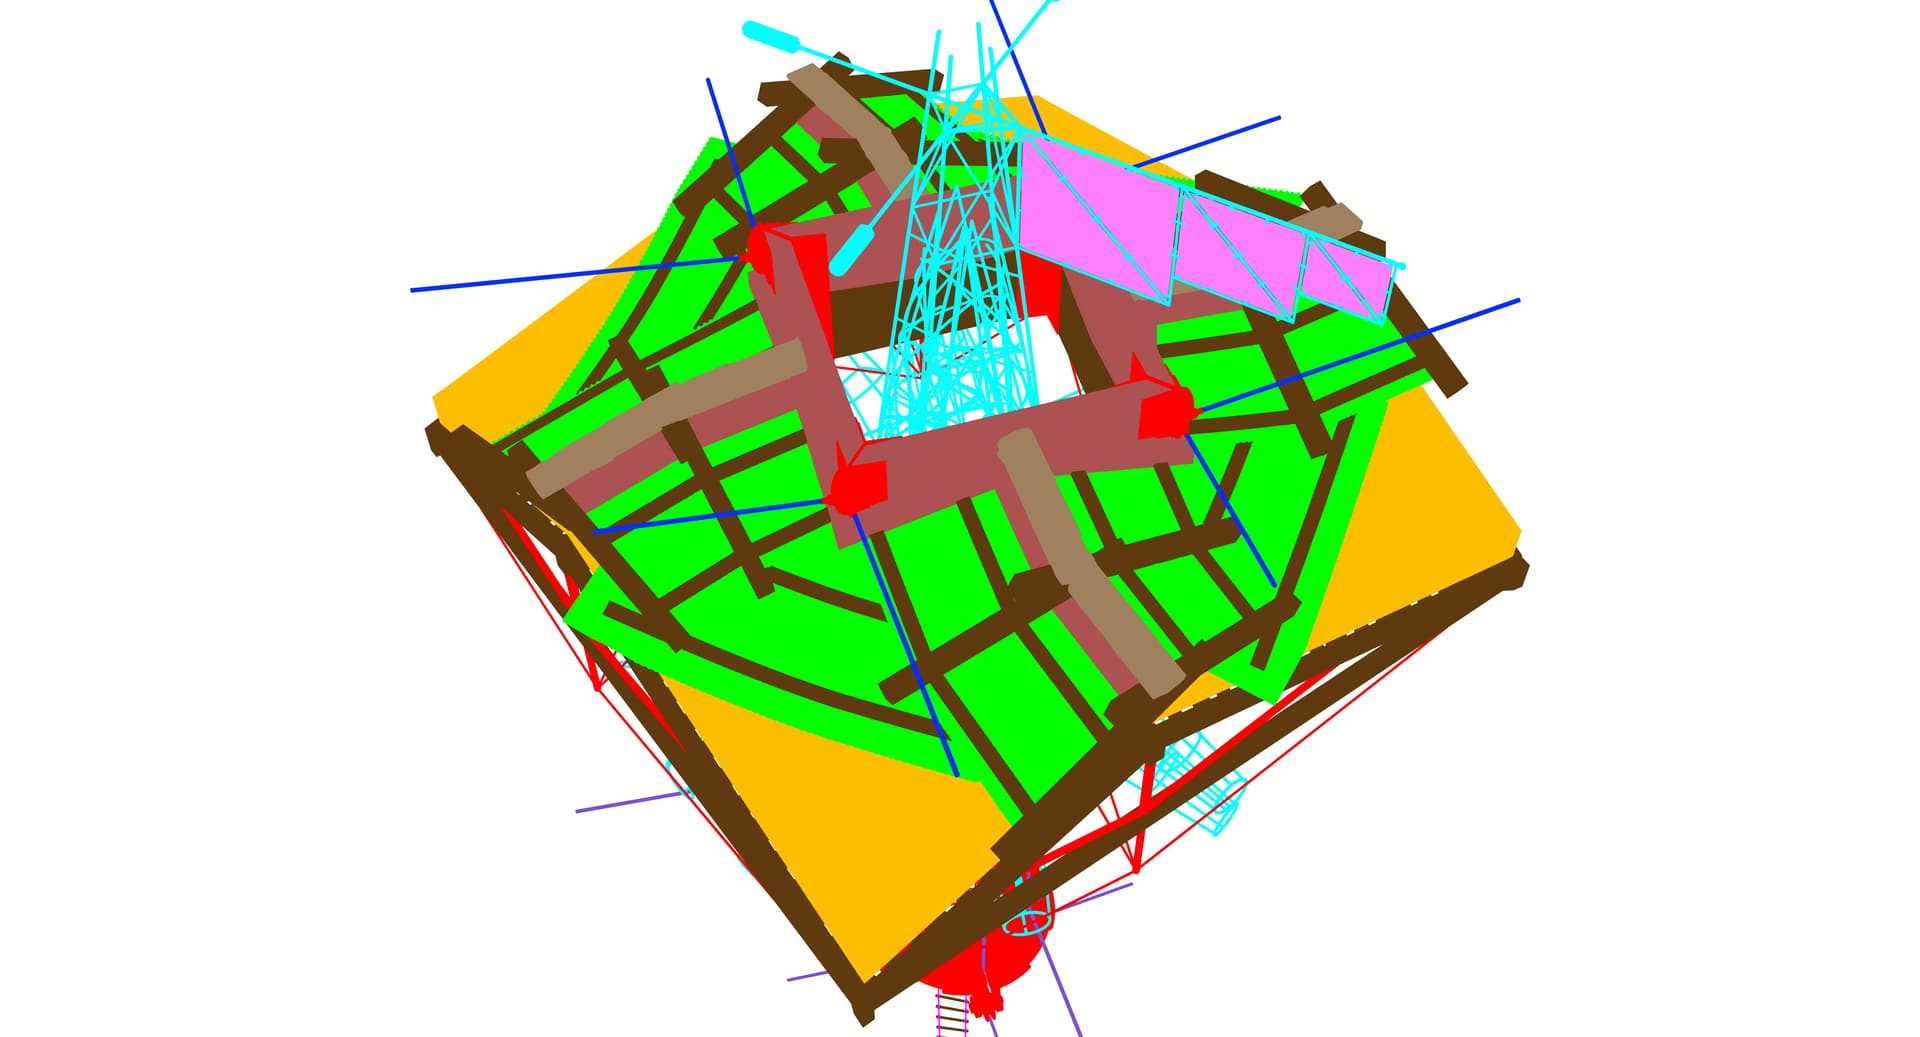
The Layer Mask will never be visible in the final image. But in Photoshop, I can use various tools (like Photoshop’s Color Range function) to isolate specific portions of the image by color on this Layer Mask layer, save the selection as an Channel (which in Photoshop is a kind of saved selection), and then apply filters or paint textures into the corresponding areas in other layers captured from the Rhino model.
Since my layers (and thus their colors in this custom viewport display mode) in the original model are strictly organized by material and object, I can use the Layer Mask in Photoshop to isolate or treat individual parts of the image based on their assumed materiality or identity in the original 3D model. If I need to affect “closer” or “farther” parts of the scene while painting in Photoshop, I can export a Z-buffer depth mask from the original Rhino model, save it as a Channel, and adjust it to select parts of the image at whatever simulated “depth” I need.
Here’s a screencap of part of the layer stack for this rendering, composed of captured Rhino viewports and texture images from other sources, in Photoshop:

On the left you can see the black-and-white layer masks made using the Layer Mask layer next to thumbnails for each layer.
If I have a really complex lighting issue that I can’t simulate in a “live” Rhino viewport with shadows (or at least “Arctic” ambient occlusion) turned on, I can always do a quick material-less Rhino Render of the same viewport at the same resolution as my viewport captures, and layer that into the composition. (This latter is tricky. Sometime true rendered images don’t exactly correspond to the viewport captures of the same view of the model. The two won’t exactly line up. I think it has to do with different anti-aliasing strategies between Rhino Render and Rhino viewports.)