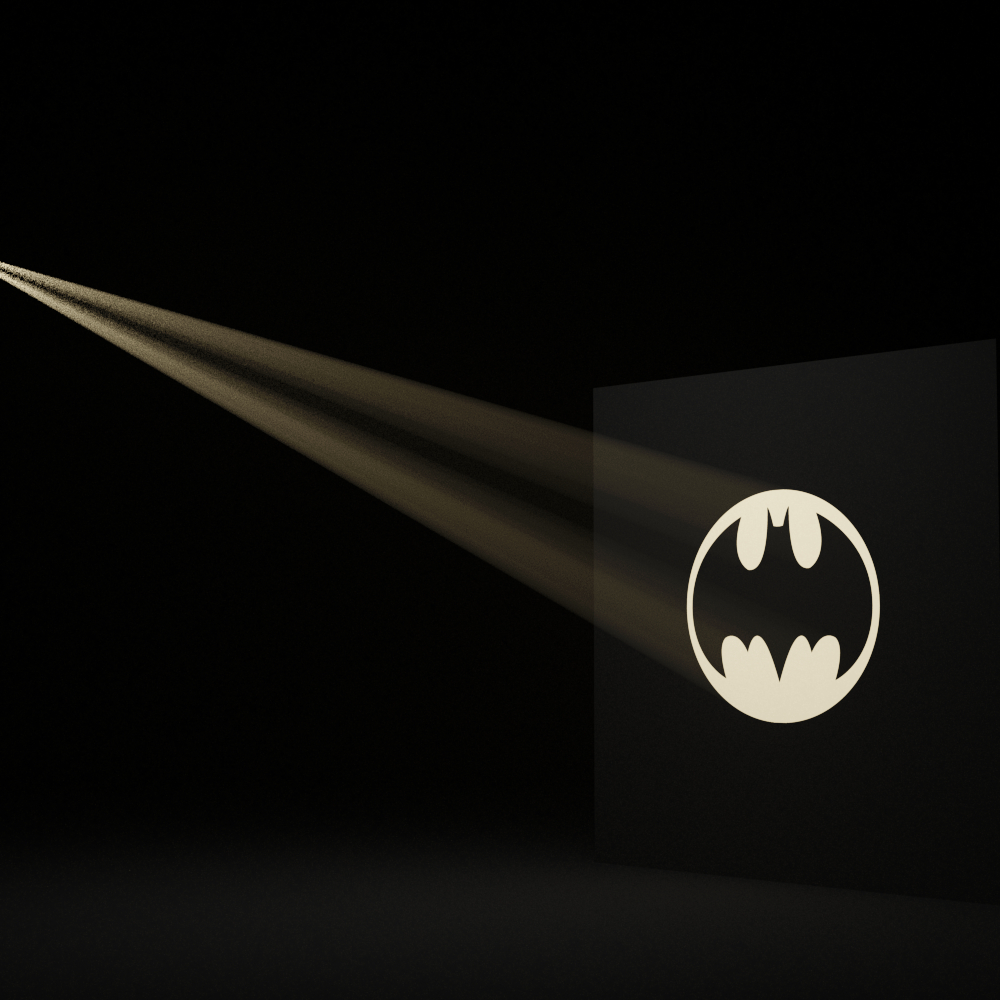
In an interior scene, I need to have an image projected on the wall. With an image with black background, the black background should naturally have the same color as the wall. Everything brighter in the image should be brighter on the wall, just like when using a projector.
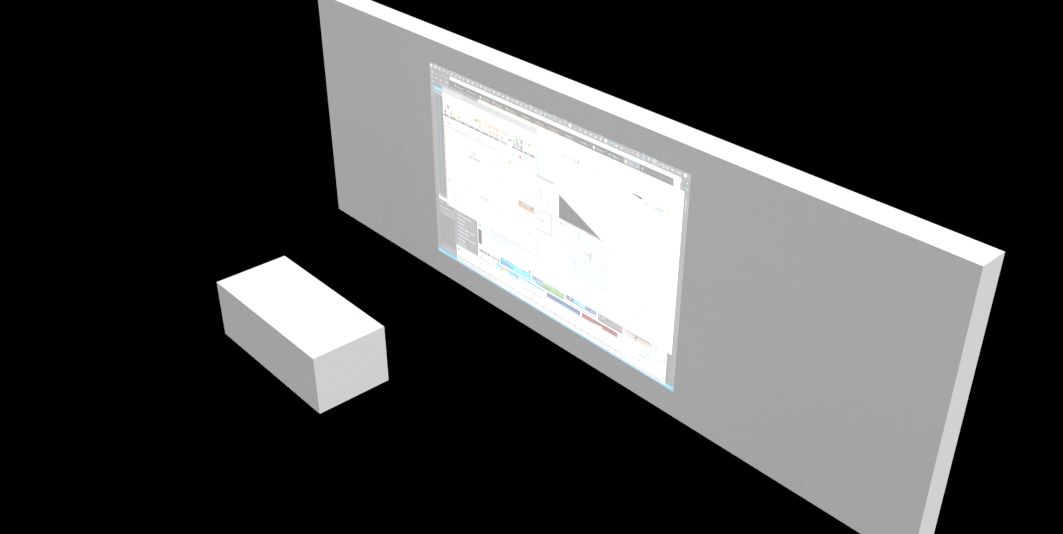
I tried a standard decal, but then the black background is black on the wall. Expected, but not what I want.
Suggestions?
By the way, I’m open to using other renderers than the default one in Rhino 6. I’m forever a rendering noob.
I guess in the basic renderer–other apps might have a feature specifically for this effect–using a Decal you would need to put the transparency of the blacks IN the decal, by Photoshopping that and saving as a PNG or TIFF.
That wouldn’t look realistic. The decal really needs to be added on top of the wall. Adding black to a white wall should result in white (in case of a projection).
Just installed Enscape, but that crashes. May try V-Ray. Hope that someone can help me fine tune the rendering later.
I understand. But just making black translucent would not look realistic. What could work, and I have to think about it, and I don’t think it’s worth the trouble: Set transparency proportional to luminance for each pixel. Maybe there’s a Photoshop plugin for that.
Well it might be more complicated than just making the blacks translucent, point is just that there’s likely a way to adjust the texture to give the effect you want.
and what’s the problem?
In reality there are some parameters to set, nothing fanciful, but a bit advanced.
If you are a beginner you would never get there and I don’t think you’ll find a tutorial …
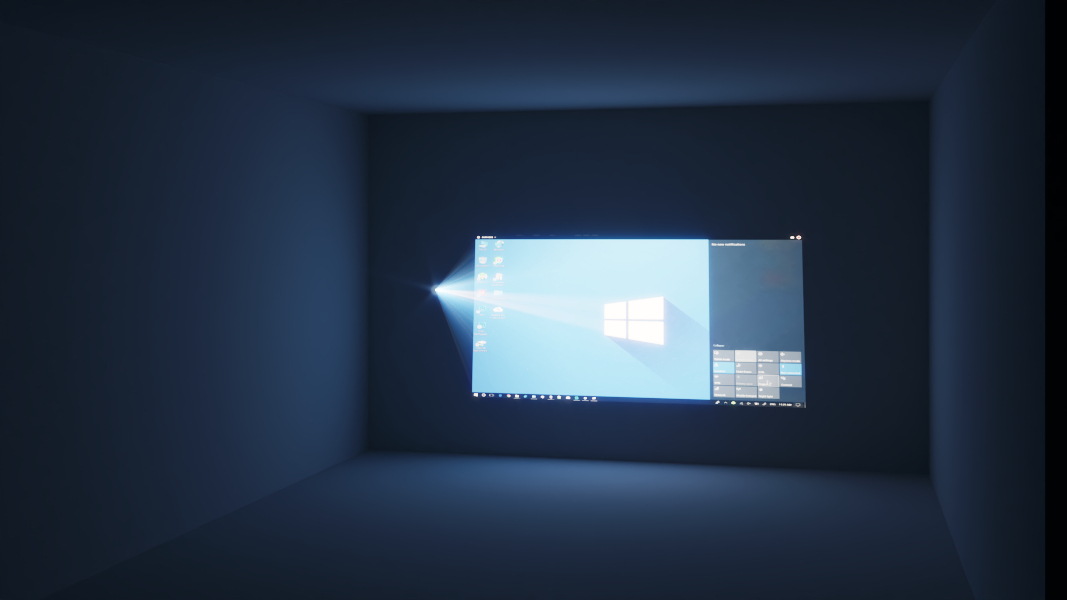
If you’ll decide to go with v-ray maybe I’ll share the scene with you.
You are lucky today it rains a lot here and I decided to laze on the couch
Just for you…
Awesome, thanks! As I wrote, I’m forever a rendering noob, since something like thrity years. Rendering is a chore. If I had more time I would prefer to just build the thing and take a photo.
Render elements ( material id, reflection , specular etc)
A proper camera with dof.
Material layering/blending with masks
displacement
Curvature/dirt masks
and surely other things I can’t remember now…
but perhaps some are already possible and I am ignorant.
unfortunately in this period I have little time to go further on cycles on rhino …
I created a blend material that allows you to combine materials using textures as masks. Here a quick example of a highly customized material (a GH-created material with procedural normal map) blended together with a blue glass material.
The aforementioned PBR material is also available through the packagemanager, and works in Rhino 6. It has support for AO map, emission map, smudge map (didn’t thoroughly test, I must admit, though)